How to Strip Varnish From a Side Table
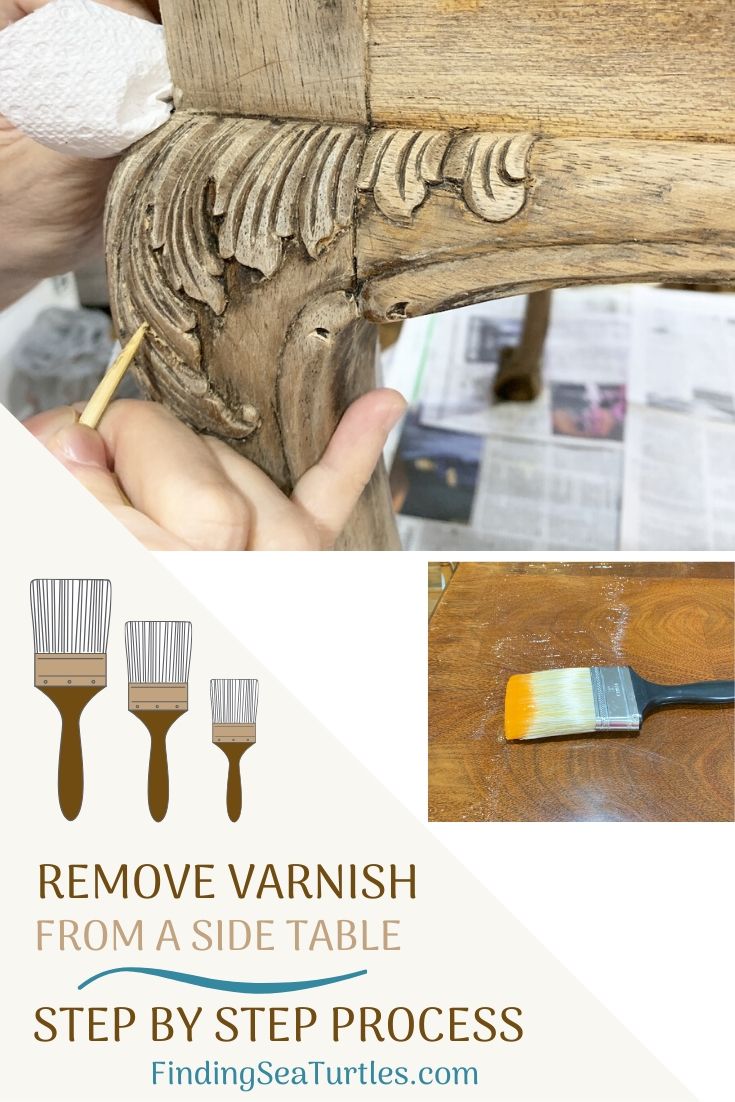
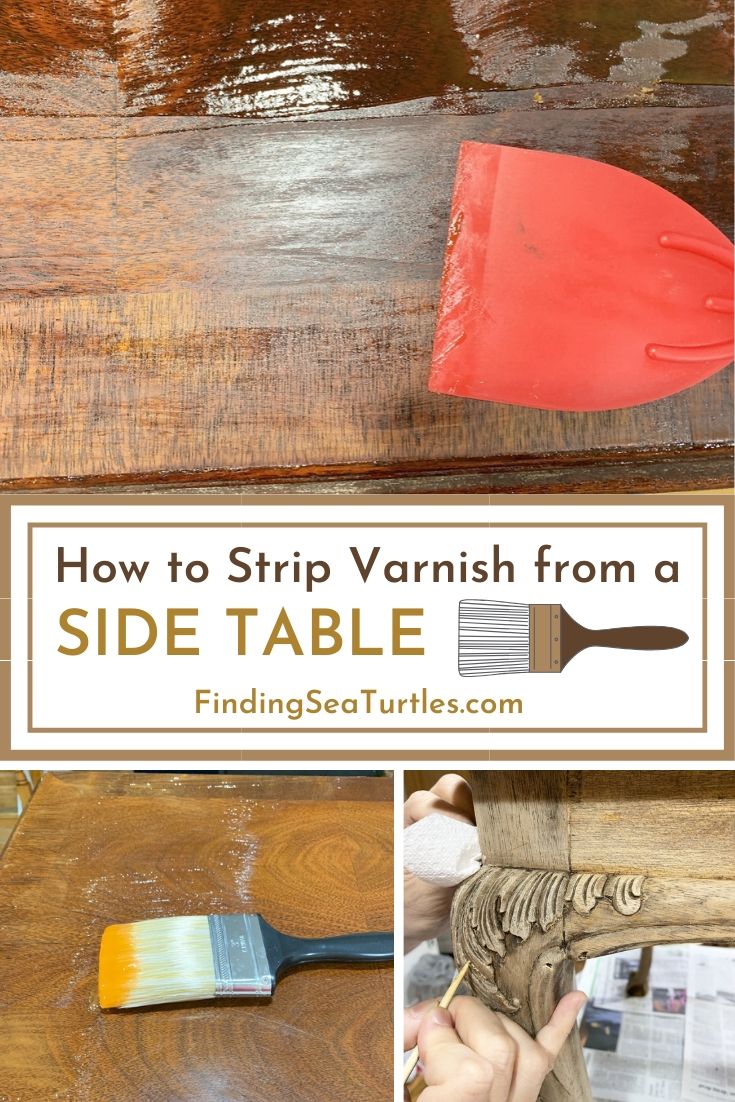
How to strip varnish from side table. A step by step process to remove old polish and varnish from a side table.
Strip varnish from a side table. We have a perfectly good side table with a dark varnish finish. The side table is in excellent shape. Sturdy and solid. The table appears to be made from solid oak which is a hardwood. The table is well worth keeping. However, we don’t care for the dark finish. We’d like to give the table a fresh updated look.
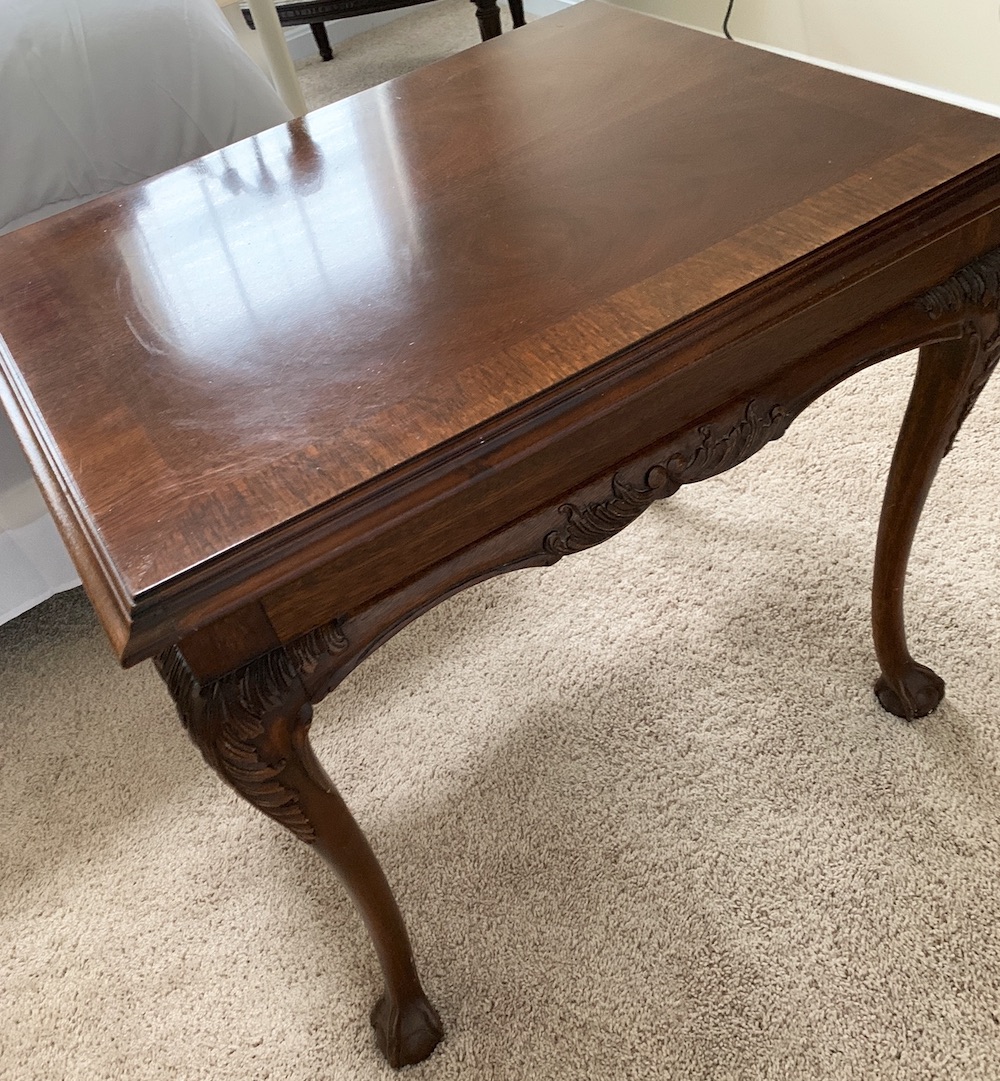
Since the table is in great condition, we decided to remove the dark varnish. We love the look of vintage and French country, so we decided to strip the varnish from the table. Out with the old traditional dark finish. And in with a fresh updated look of the table. A neutral finish that blends with vintage and French Country decors.
Just thought we’d mention that with some paint finishes, stripping is not required. Paints such as milk paint can be applied directly to a cleaned furniture surface without stripping the varnish. If you lack the time or money to strip a furniture piece then consider using milk paint or another method that doesn’t require the furniture to be stripped.
For the vintage, French country look these are the steps we followed to strip the varnish from the side table. Step by step process for removing the outdated varnish from a side table.
-
Gather the side table and stripping supplies.
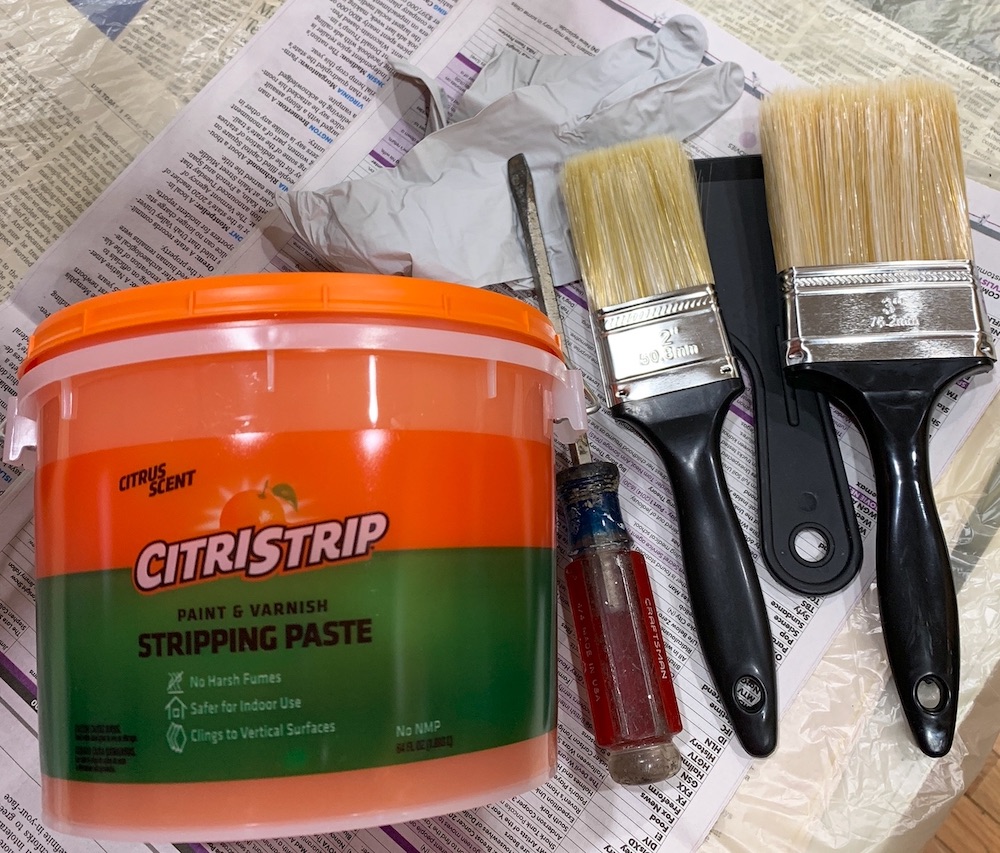
Gather the side table and stripping supplies. Newspapers, plastic sheet, disposable gloves, brushes, scrapers, paper towels, and CitriStrip gel paste. And a screwdriver or tool to remove the lid of the CitriStrip container if it is in a pail.
We used the CitriStrip Paint and Varnish Stripping Gel Paste. CitriStrip stripping paste has low odor so it can be used indoors. This was our preference since strong fumes can be overwhelming. And very easy to use. The citrus scented paste clings readily to the vertical surfaces.
2. Prepare Surface Work Area to Strip Varnish From Side Table
Cover the surface work area with newspapers and a thin ply of plastic sheeting. Protect your eyes with chemical splash goggles. Avoid breathing fumes by wearing a mask. And protect your hands with chemical resistant gloves.
3. Prepare Side Table to be Stripped

Place the table or item to be stripped on the work surface. Dust and clean the entire furniture piece. A cleaned side table will better absorb the stripping gel paste. Removing any dirt particles or dust helps the paste work more quickly.
4. Strip Varnish from Side Table – Apply Stripper
First, shake the stripping gel container. Open the CitriStrip stripping gel. If you are using the stripping paste pail container, then you’ll need a screwdriver to remove the lid.
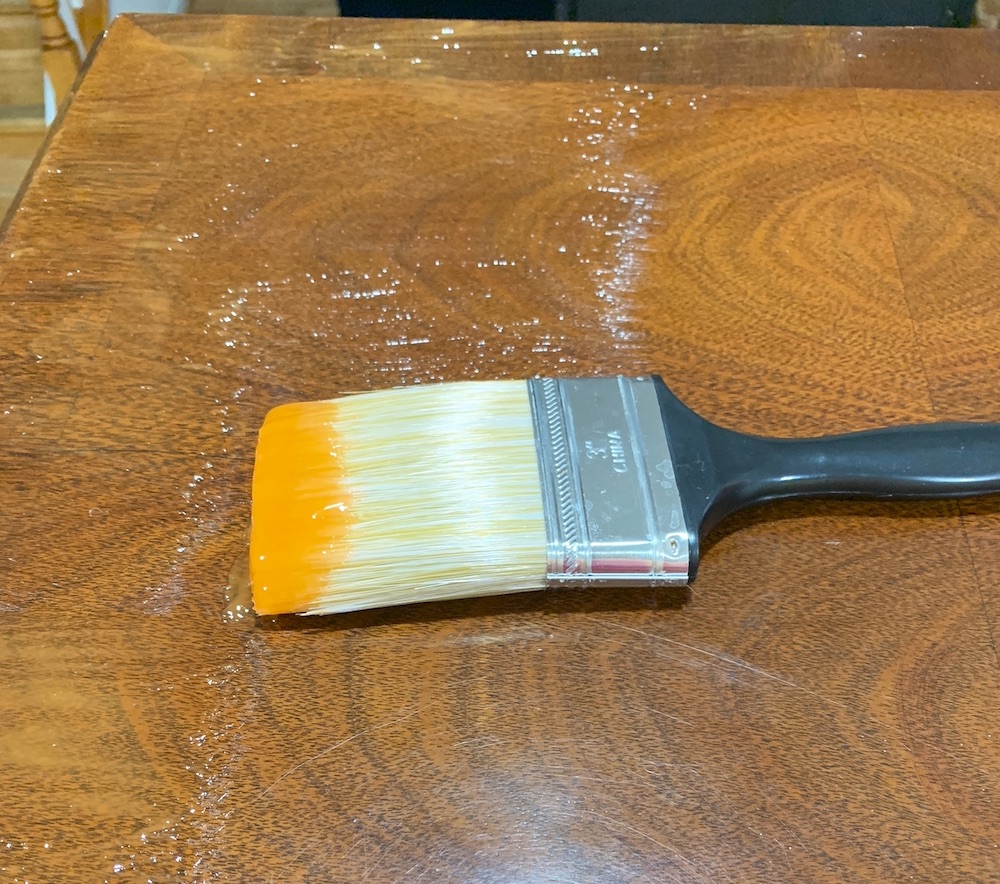
Second, apply the stripping gel to a section of the furniture piece. Initially, I applied gel to the table surface only. If you have a small piece of furniture like a small stool then it might be fine to apply the stripping gel over the entire furniture piece.
Since my side table was a good size, I worked in sections beginning with the table surface top. I worked from the top to the bottom of the table. Third, I applied the gel to the table top sides. And lastly, I applied the stripping gel to the table legs.
5. Remove Dried Stripper Gel
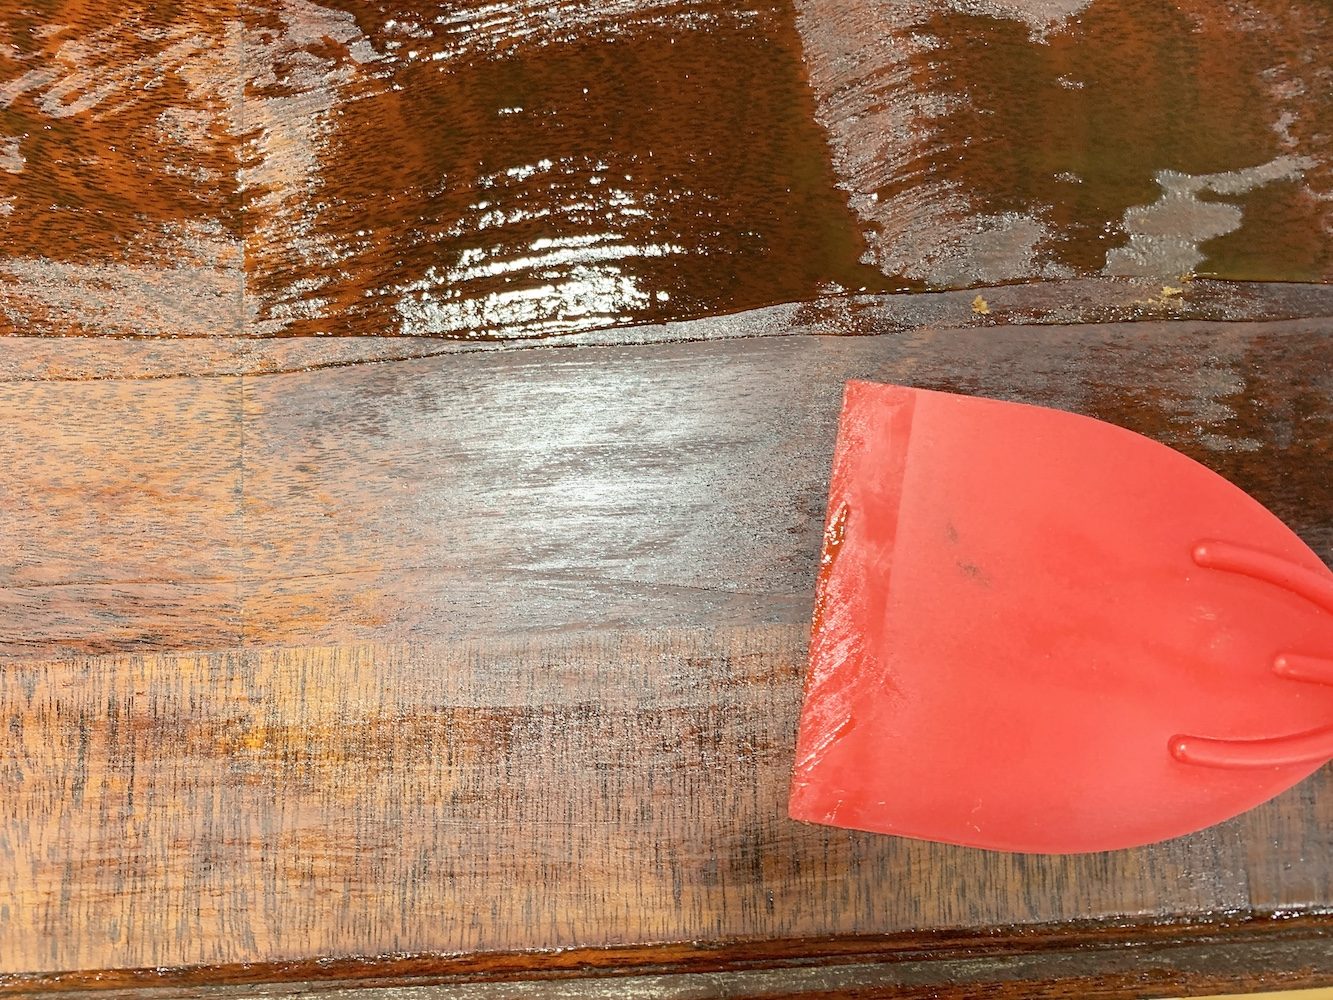
The CitriStrip gel instructions say to allow the gel to dry between 30 minutes to 24 hours. Then to scrape the gel from a small section to see if the table is ready for removal. What worked best for us, was to allow the stripping gel to sit on the table for 3 to 4 hours. Then, using a plastic scraper the gel seem to slide right off.
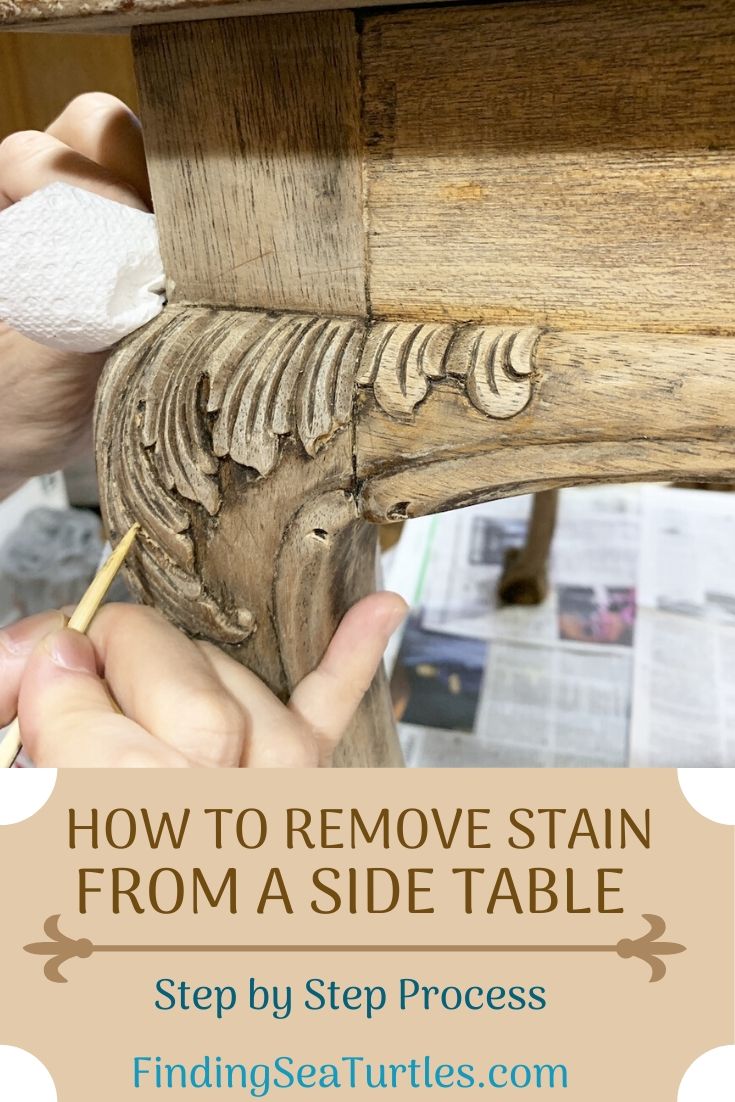
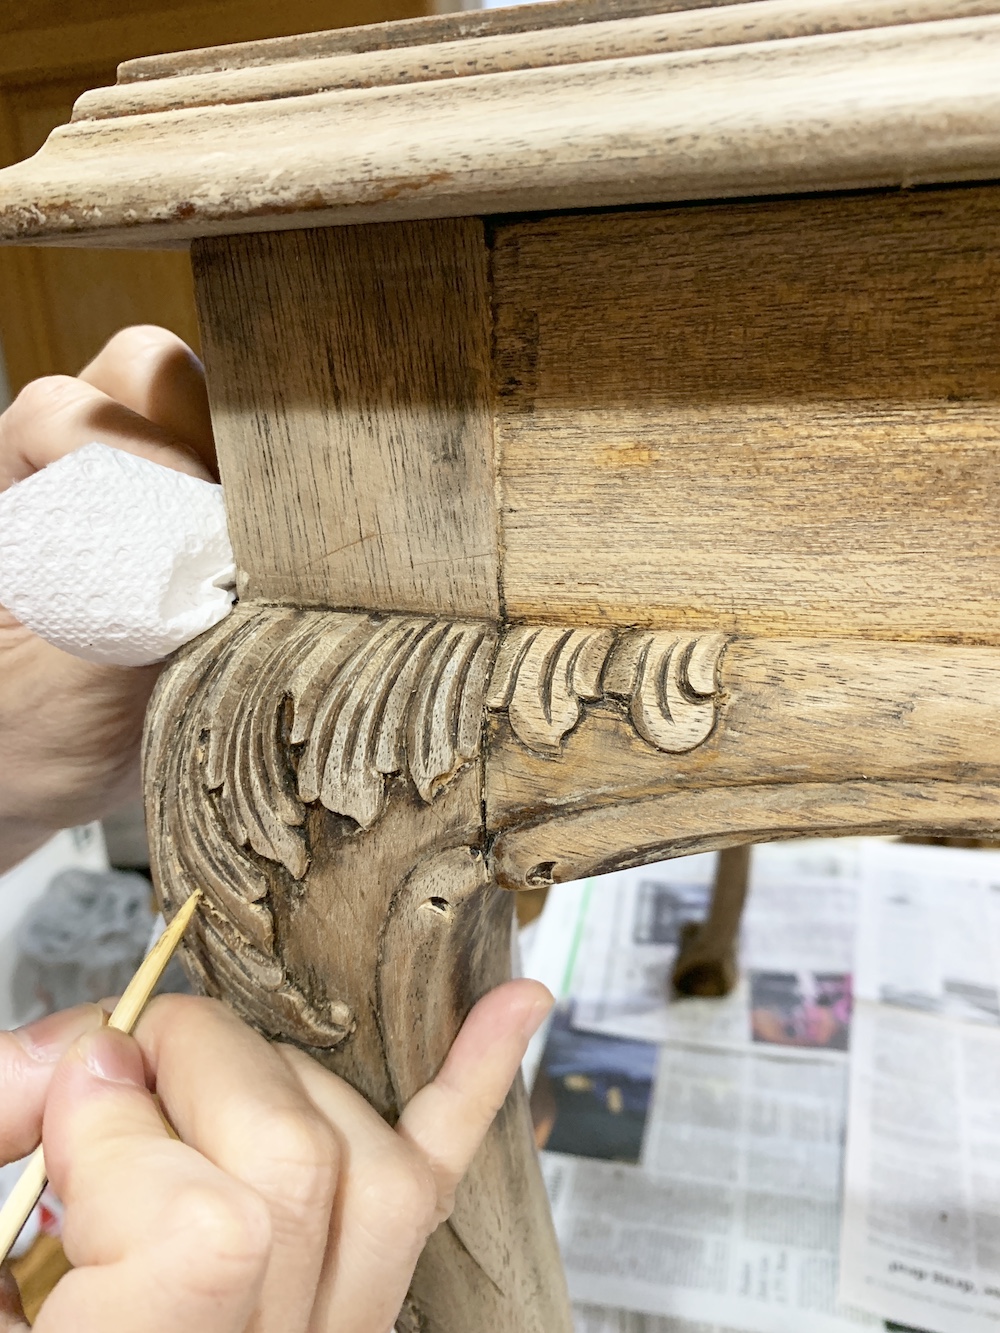
Continue scraping the gel from the table using a plastic scraper. Collect the scrapped gel in another container or on a paper towel. The scraped gel can get a little messy. For areas with deep crevices, we use smaller tools to remove the old finish. Smaller tools such as toothbrushes, toothpicks, bamboo skewers, or a stripping brush can help remove the buried old finish in the wood crevices. In our case, acanthus leaf pattern on the cabriole table legs required more effort in removing the finish.
6. Reapply Stripper Gel Application.
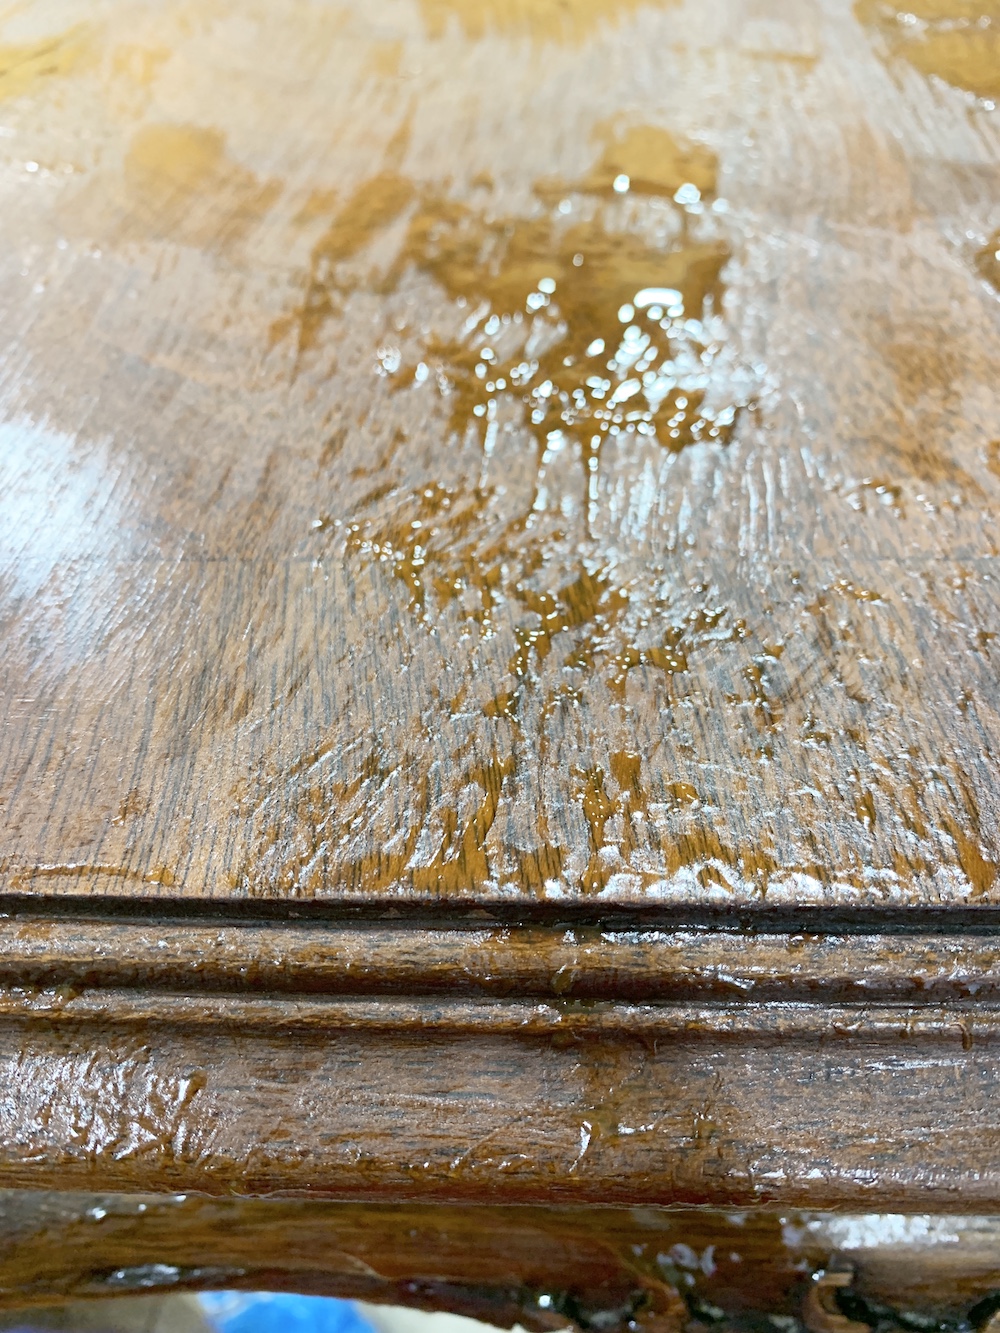
We repeated the application of strip gel paste several times. Each time removing more and more of the finish. Smoother surfaces of the table didn’t require the effort that the more ornate areas did.
7. Remove Dried Stripper Gel
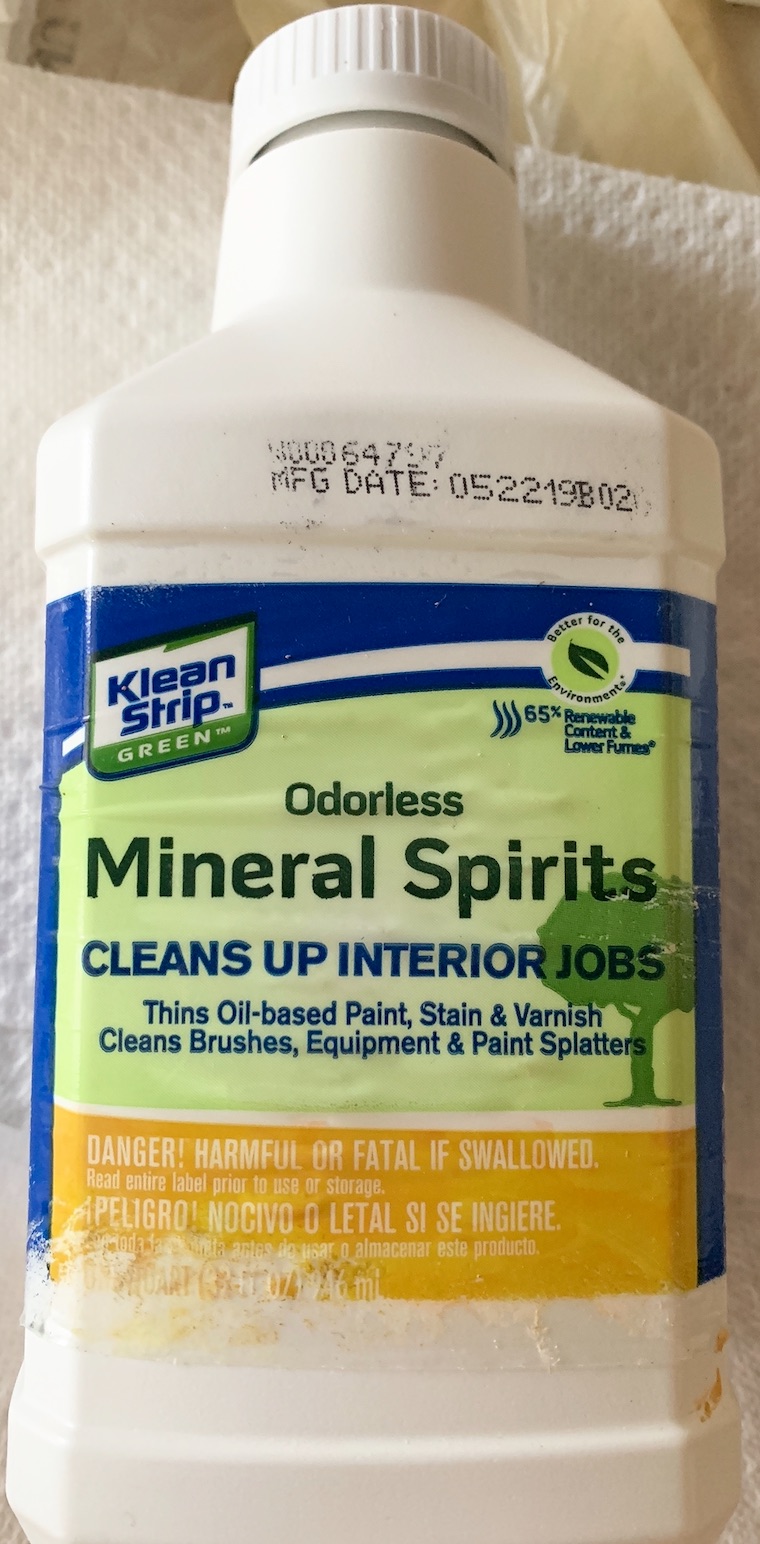
Another helpful tip is to use a paint stripper wash or Odorless Mineral Spirits with paper towels. We used the Mineral Spirits with paper towels to loosen any remaining goop in the inner areas of the leaf pattern.
8. Clean Table and Prepare for Stain or Finish.
After removal of the finishing stain, we left the table to dry for over 24 hours. As the table dried, thee wood became lighter and lighter. The wood grain become more and more noticeable.
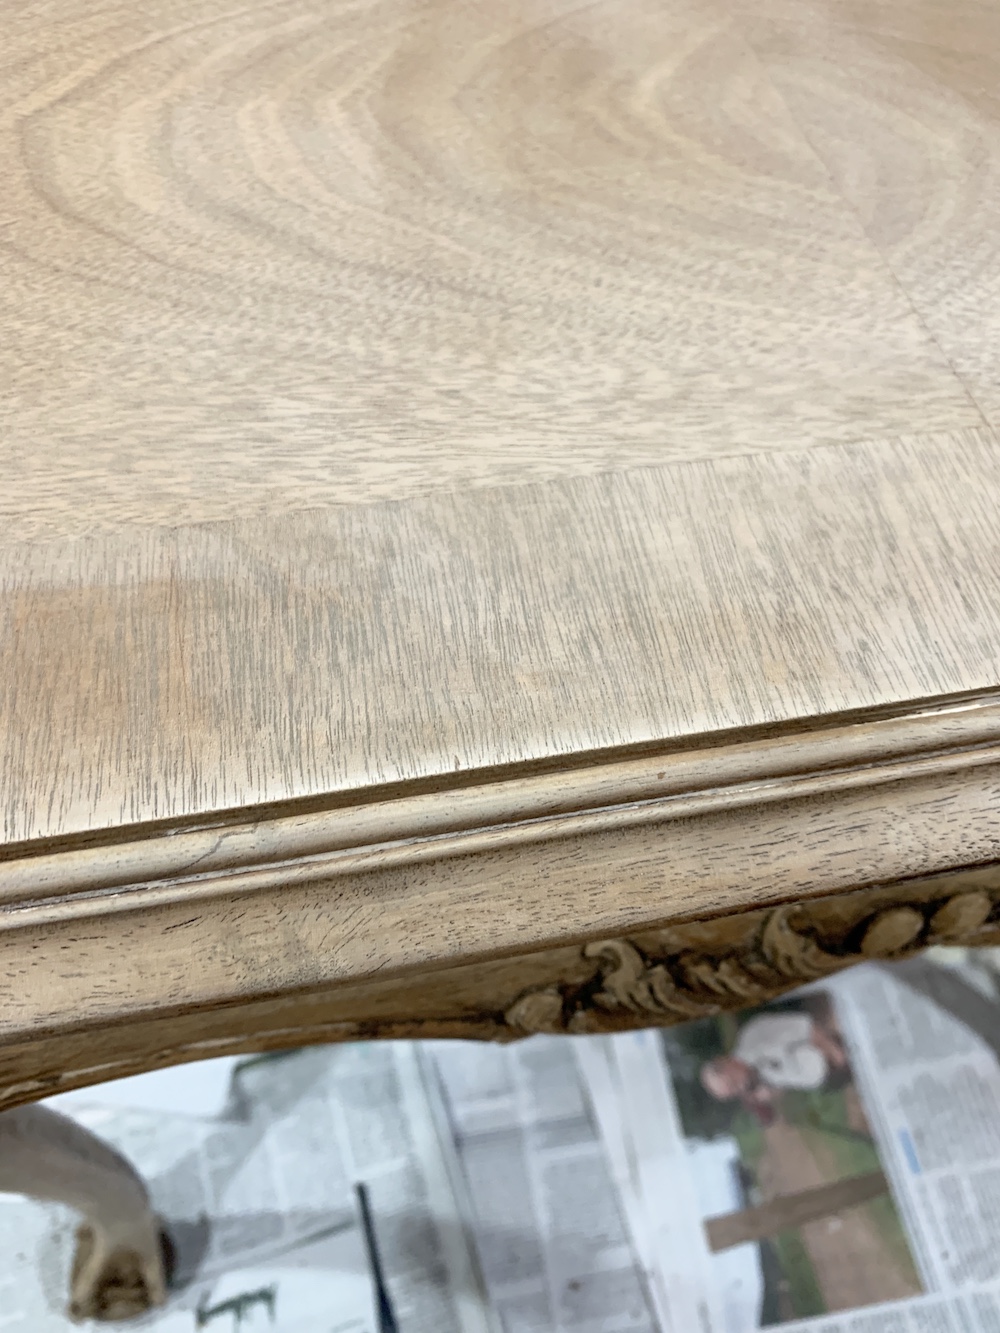
This is what the side table looks like completely stripped of the dark finish. Ready for us to begin the vintage, French Country stain transformation.
So, do you have any furniture pieces that you’d like to refinish? We’d love to hear about your ideas for furniture refinishing. And the updated refinished look.
Enjoy our other home decor related posts.
Rustic Christmas Lodge Accessories for the Home
37 Affordable Christmas Accents
30 Farmhouse Christmas Decorations to Celebrate the Season
If you have any questions, feel free to reach out to us. We always are ready to help you out. Thank you for stopping by.
Mary