How to Make a Round Leaf Christmas Tree From Felt
Make a round leaf Christmas tree in an easy 9 step tutorial that anyone can make. Neutral, affordable tabletop decor. A simple holiday project that the entire family can participate in. And it doesn’t cost a ton of money to complete.

Make a round leaf Christmas tree from felt fabric. The round leaf tree is much like the DIY pointed leaf tree we made last week except we used a round leaf template. Create this tree in about 4 hours. A worthwhile easy to make tree project. Supplies cost between $10 and $11. Store bought trees cost way more than $30. This tree is less than half the price of store bought trees.
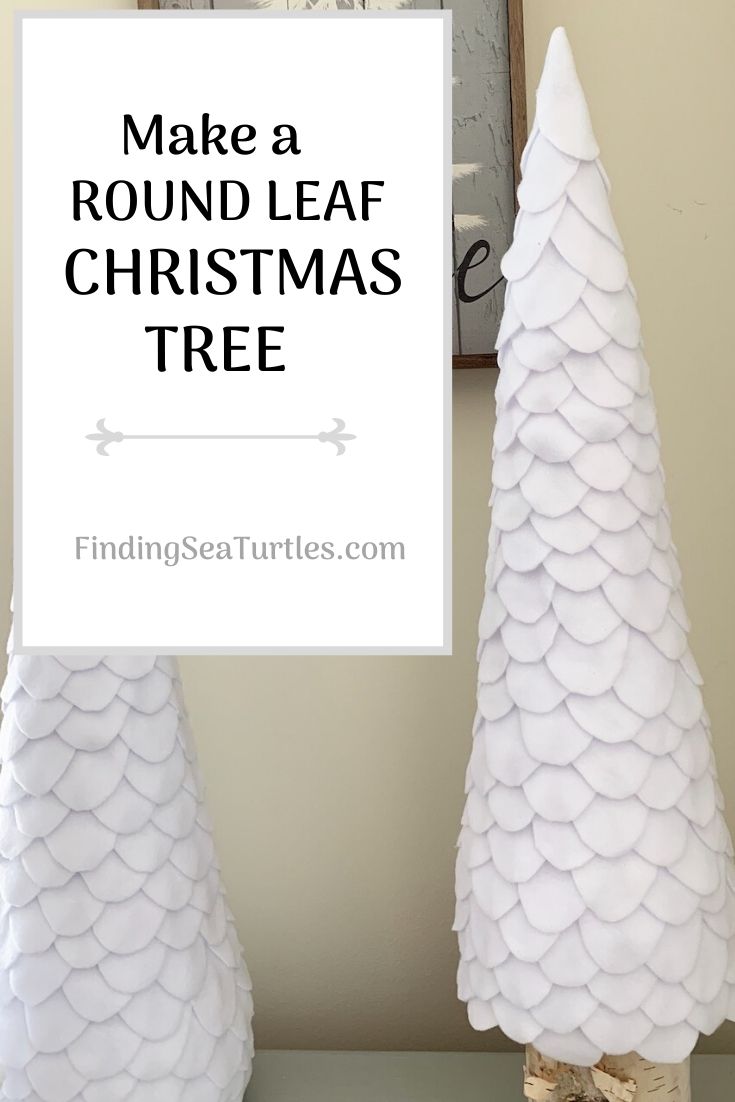
Take a look at our 23 inch round leaf Christmas Tree in white felt. An amazing look for home, office, and even gift giving.

The round leaf Christmas Tree is made from felt fabric. It takes about 4 hours. And definitely worth the effort. An affordable option to ready made store bought trees. The complexity of the tree is low and can be finished in around 4 hours. Once you’ve gather your supplies, create this gorgeous 23 inch Christmas tree for less than $11 in materials.
Take a look at this round leaf Christmas Tree in white felt. It’ll look amazing in a Winter Wonderland vignette.
-
Gather Tree Supplies to make a Round Leaf Christmas Tree
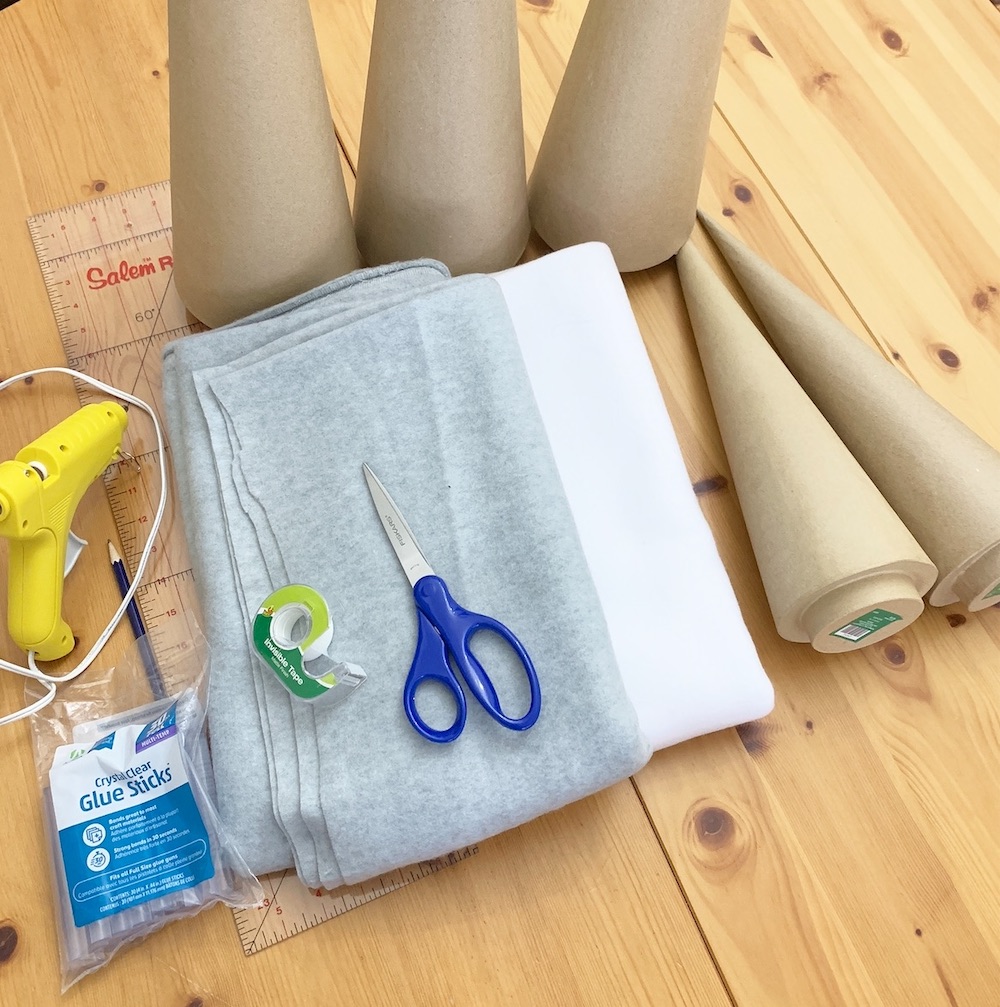
Round up the supplies to make the rounded leaf tree. We used the following items:
Supply List – Make a Round Leaf Christmas Tree
White Blizzard Fleece – 100 percent polyester about 1/2 yard
23 inch Paper mache tree cone
Glue sticks
Scissors
Cardboard or paper board
Measuring ruler
Glue gun
Supply Costs
We used a paper mache tree cone instead of using a tree with wooden stake. If you like, decorate these trees with your favorite ornaments. Add stars or garland. Whatever you’d like to add to them. We were interested in a neutral Christmas look for our entryway console table so we didn’t add any ornaments.
We picked up the White Blizzard Fleece from Joann’s Fabrics. It is usually $9.99 a yard. But will go on sale for either 50 or 60 percent off of the regular price.
Paper mache tree cones can be found at Hobby Lobby.
Time to complete is about 4 hours for a 23 inch paper mache size tree.
2. Create Round Leaf Template
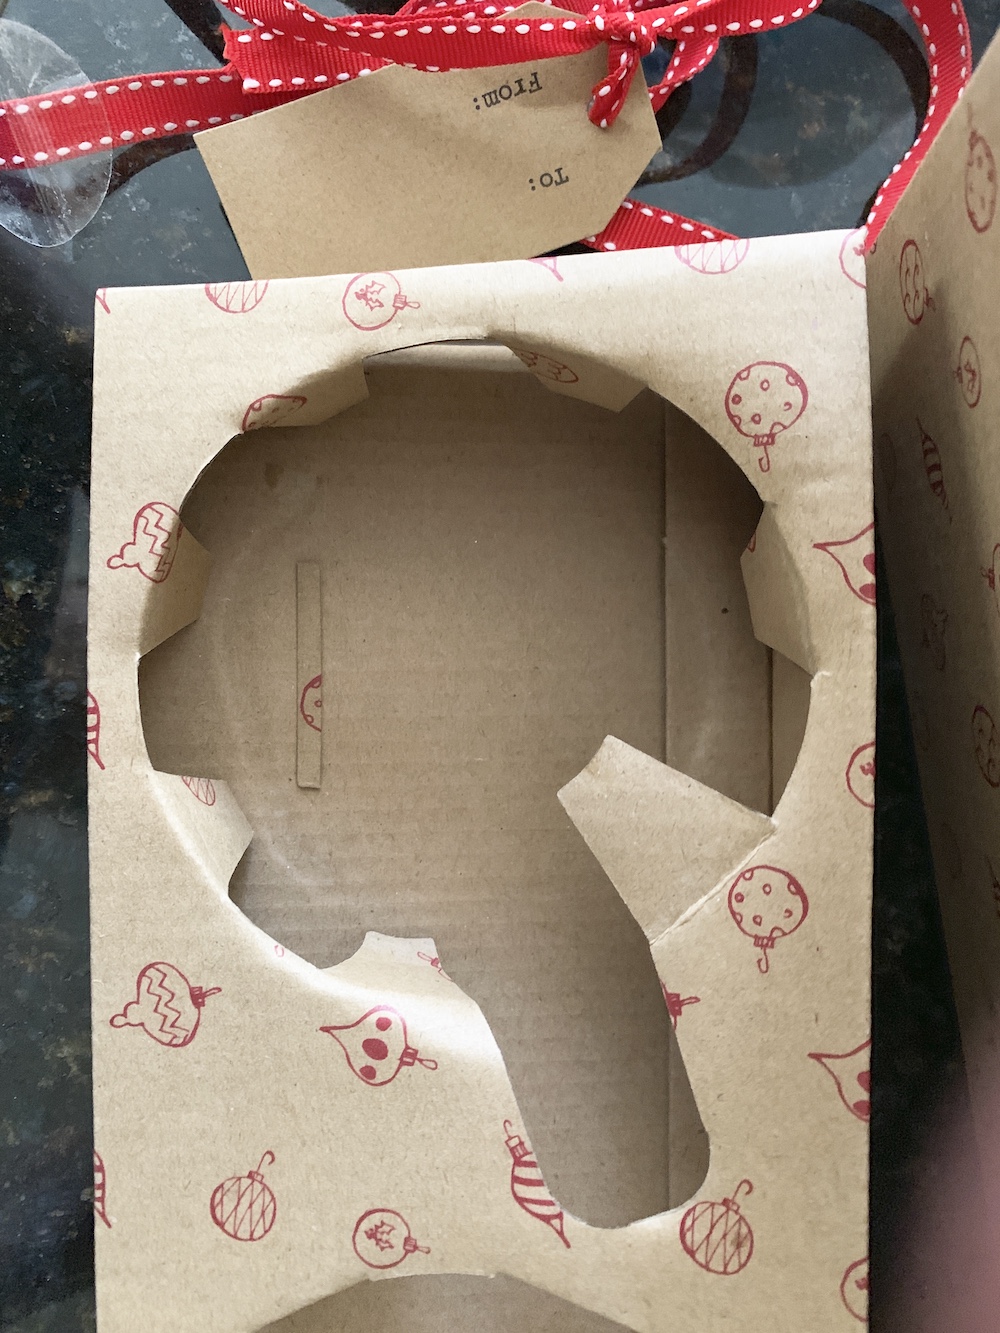
Once the supplies are gathered, the second step is to create a leaf template. Use either paper stock or cardboard to create a leaf template. We used this leftover lightweight cardboard to create our tree leaf template.
We found two websites with leaf images to download. The first website is First Palette. And the second is Best Ideas for Kids. The downloadable leaf images can be used as a starting point to develop the leaf shape that appeals to you the best. Remember to scale the leaf size to the tree size. Small leaves for a small tree. And larger leaves for a larger tree gives the tree a more natural look.
Once you have the right size and shape of the leaf, you are ready to begin cutting strips of felt.
3. Measure and Cut the Felt into Strips
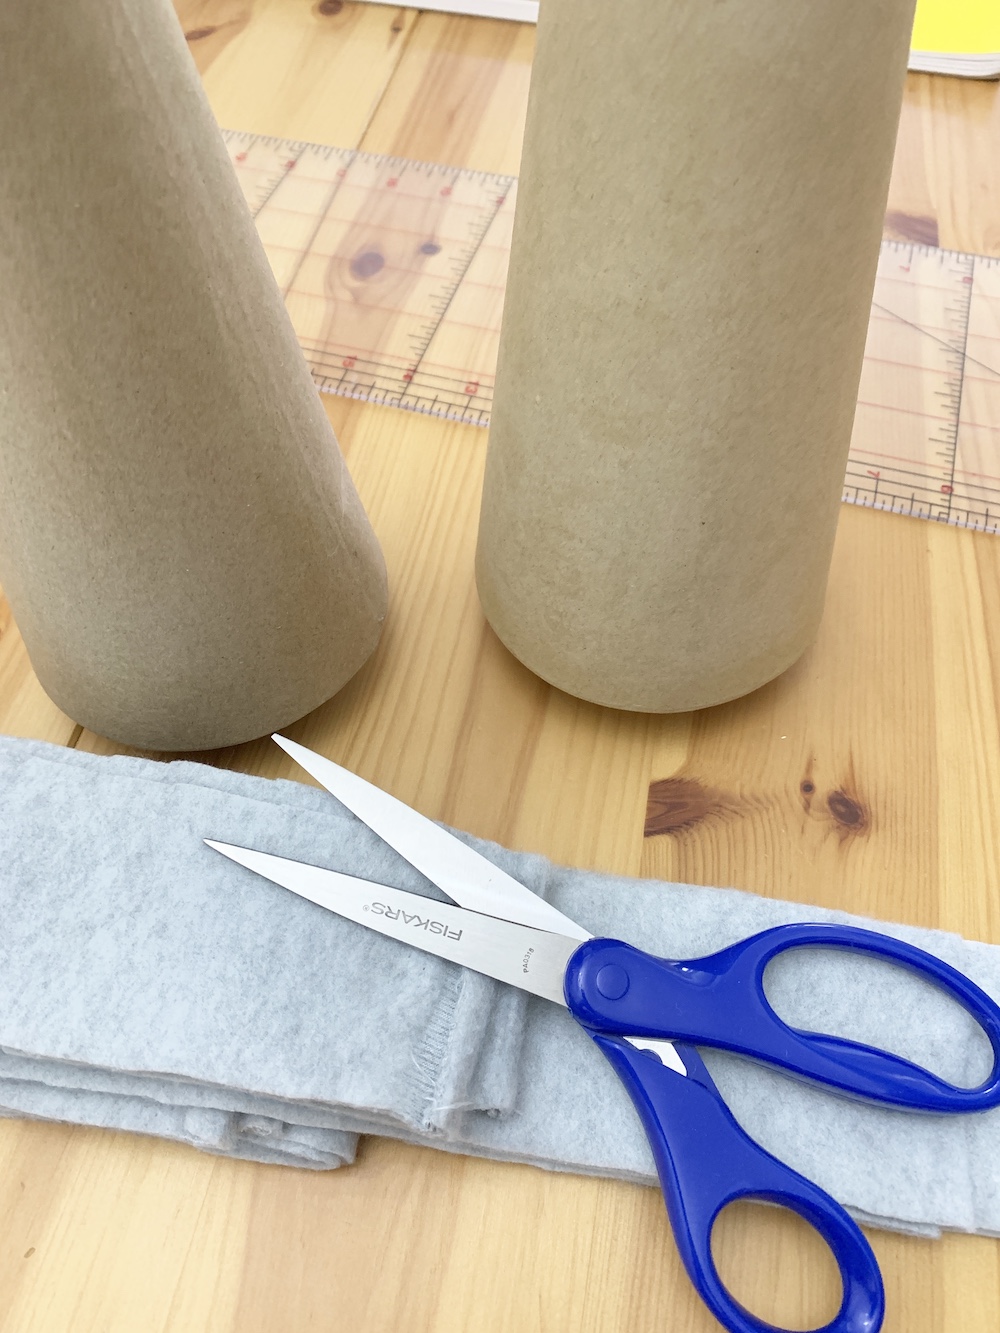
Third, spread the fabric on the table. The cut fabric should already be folded in half. From one of the cut ends, measure the fabric so that the leaf template fits inside the measured area. Cut the measured area to create a strip of fabric. Our leaf template was between 2 ¾ to 3 inches wide. So each strip was that width.
Cut as many strips as you need to cover the paper mache tree cone. A folded fabric strip produces two leaves when you cut around the leaf template.
Our leaf was placed slightly at an angle within the felt strip. Next, cut the measured strips of felt the width of the fabric. The width of the leaf template should fit within the felt strip.
4. Cut Leaves From Each of the Felt Strips
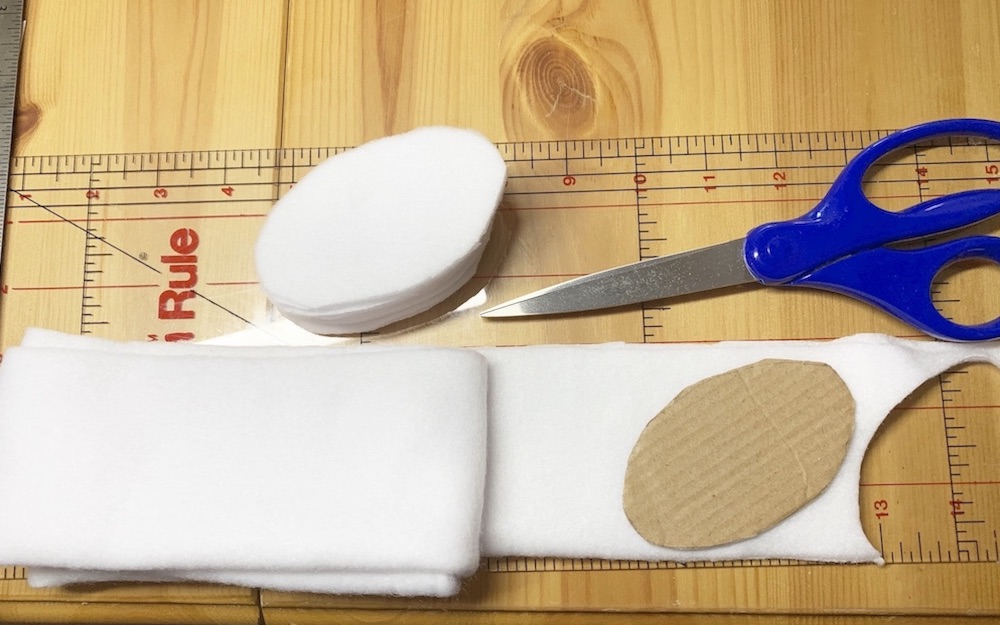
Fourth, cut the round leaves using the leaf template. Our 23 inch tree cone needed around 210 leaves to cover the entire tree.
5. Cut Tree Cone Base Strip
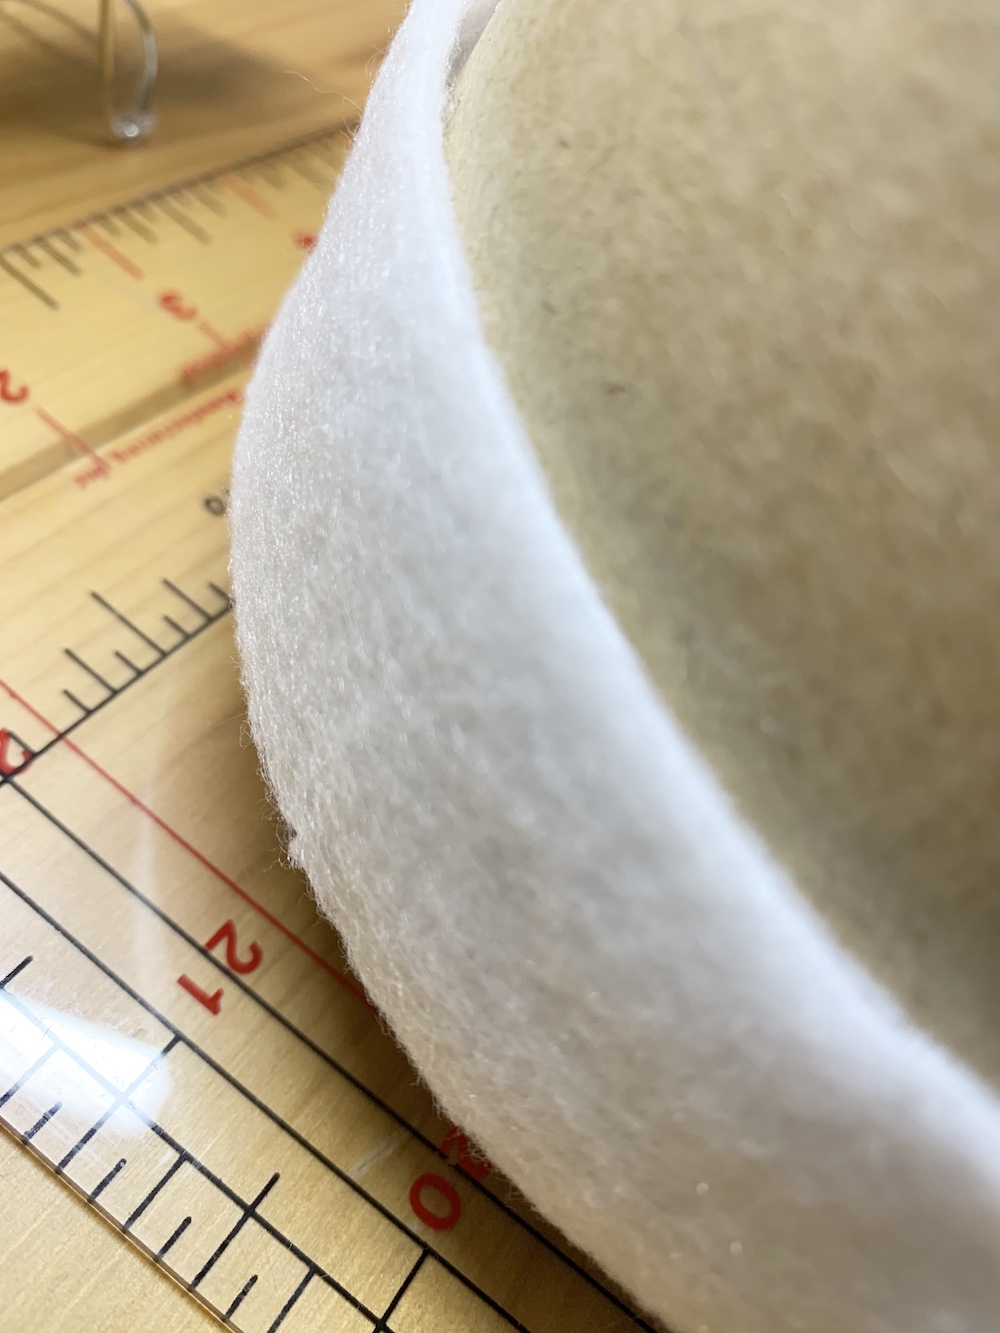
Fifth, cut a 1 inch wide small felt strip the length of the paper mache tree cone. Glue the strip to the base of the tree cone. Begin at the base and glue the strip around rotating the cone. The strip will provide coverage between the round leaves.
6. Attach Bottom Row of Round Leaves
Sixth, glue the first round leaf to the tree cone. The first row of leaves should have half the leaf on the tree cone. And the other half should hang over the bottom of the tree cone. This will conceal the paper mache tree cone stem section.
7. Glue Second Row of Leaves
Seventh, glue the second row of leaves to the tree cone. The second row of leaves will straddle the first row of leaves. This will completely cover the bottom of the cone. Next, glue the third row of leaves slightly above the first two leaf rows. Again, the leaves will hang over the two leaves from the second row. Area where the two leaves below meet will be concealed. The idea is to cover the area where the side of the two leaves meet in the row below.
8. Attach the Remainder of the Leaves
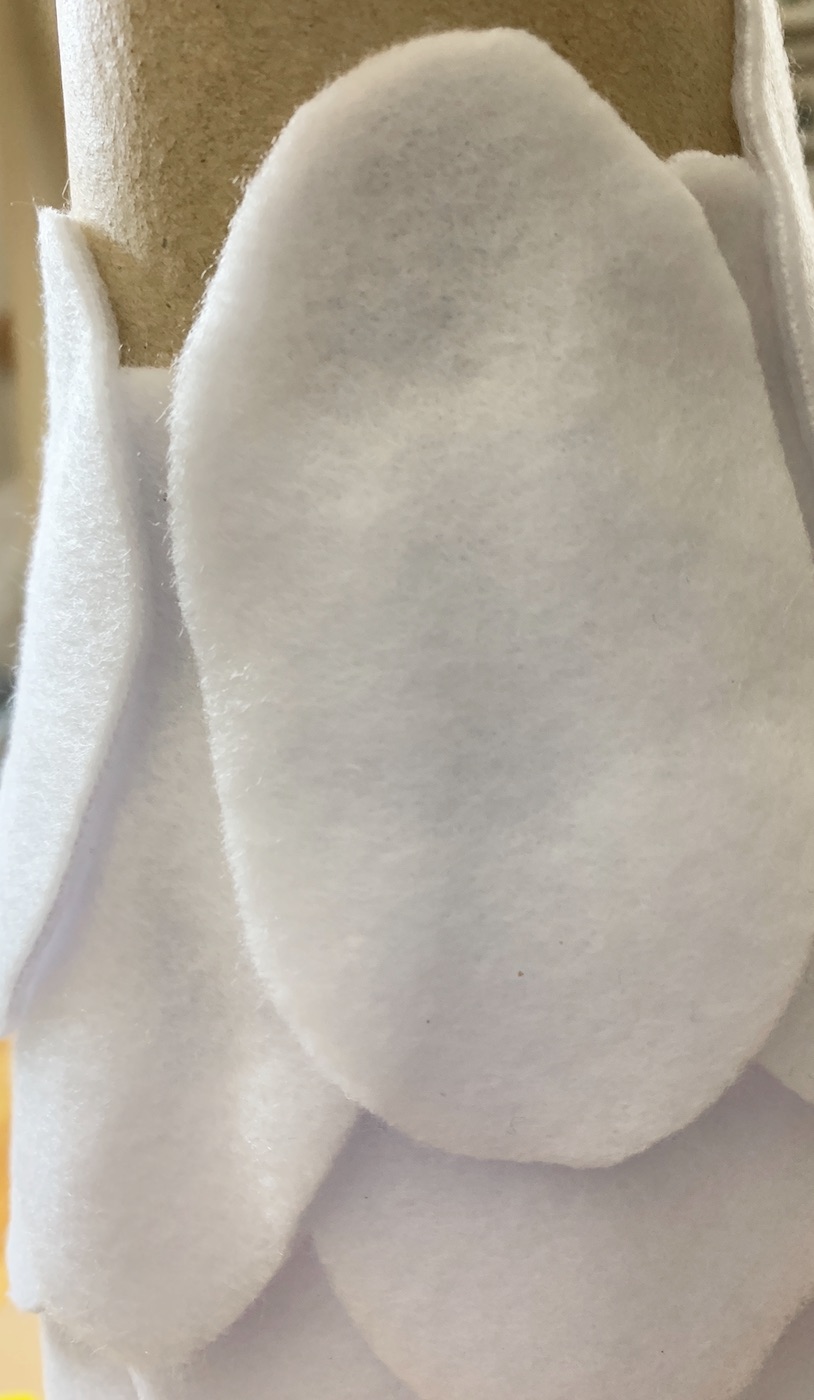
Continue gluing the round leaves to the tree cone. Attaching leaves to the area above where the two leaves meet. Rotate the tree cone covering the entire cone with the leaves until you reach the top.
9. Top Leaves
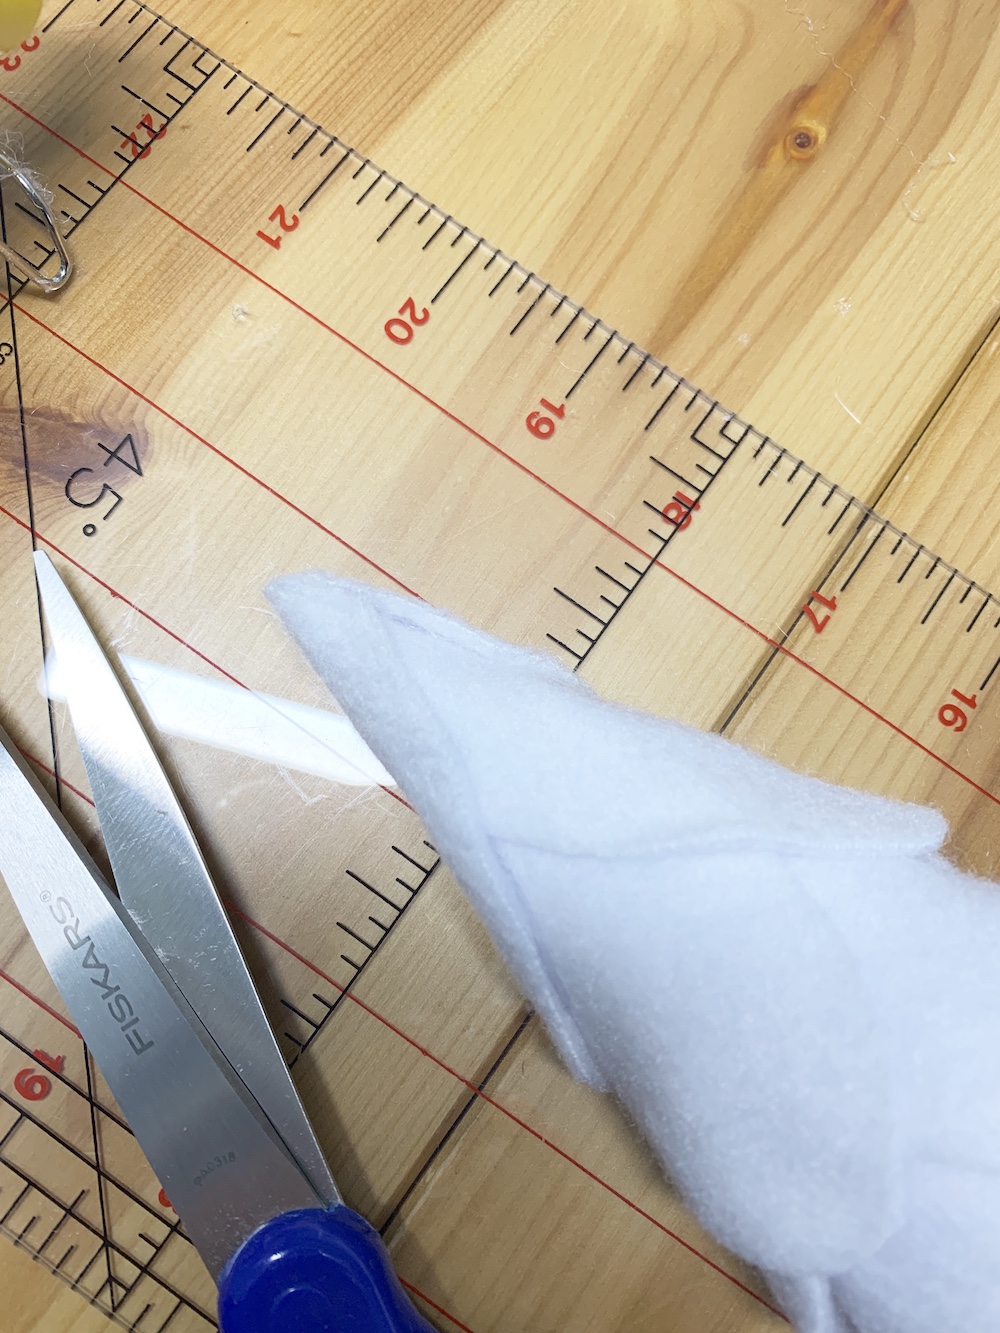
At the tree top, take three round leaves and glue them to each other and to the top area. The three leaves will form a peak at the top.
10. Add Star to the Round Leaf Christmas Tree Top (optional)
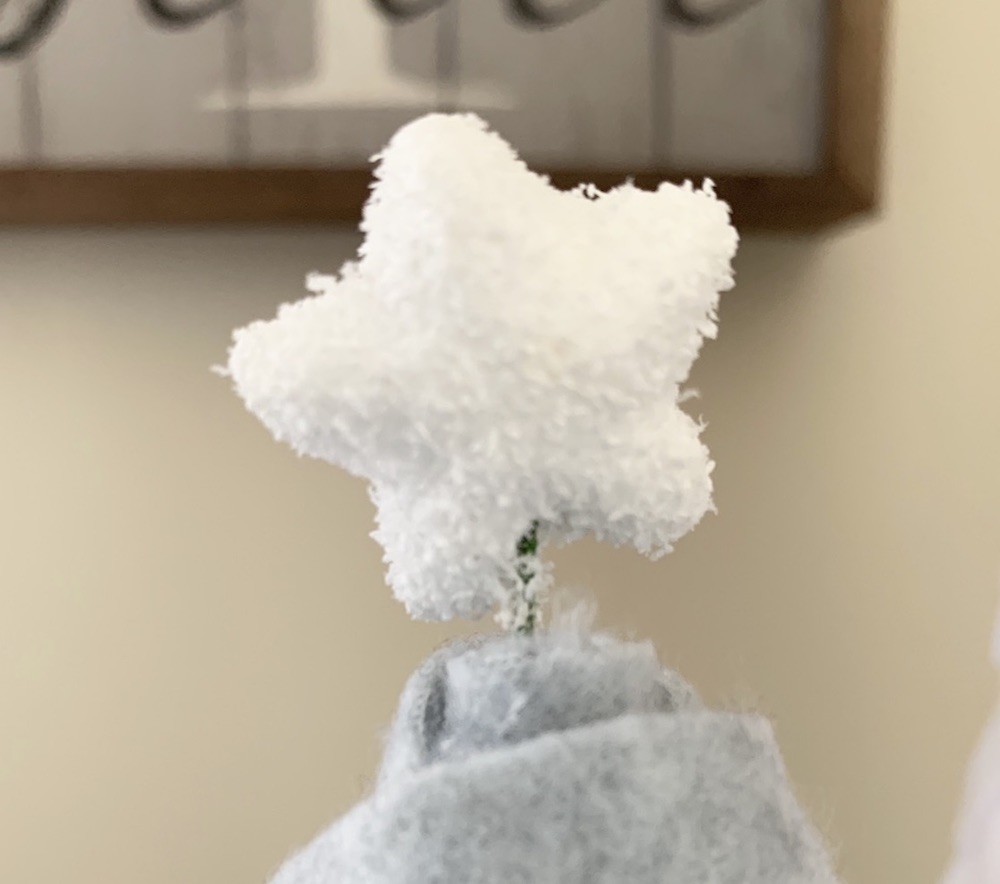
Add a star to the tree top, if you like. A package of various size stars can be bought for $1 or more.
Let the tree stand for about an hour. Then use a lint roller on the tree to remove any loose lint. Now your tree is complete. We’re sure you’ll enjoy your tree for many seasons to come.
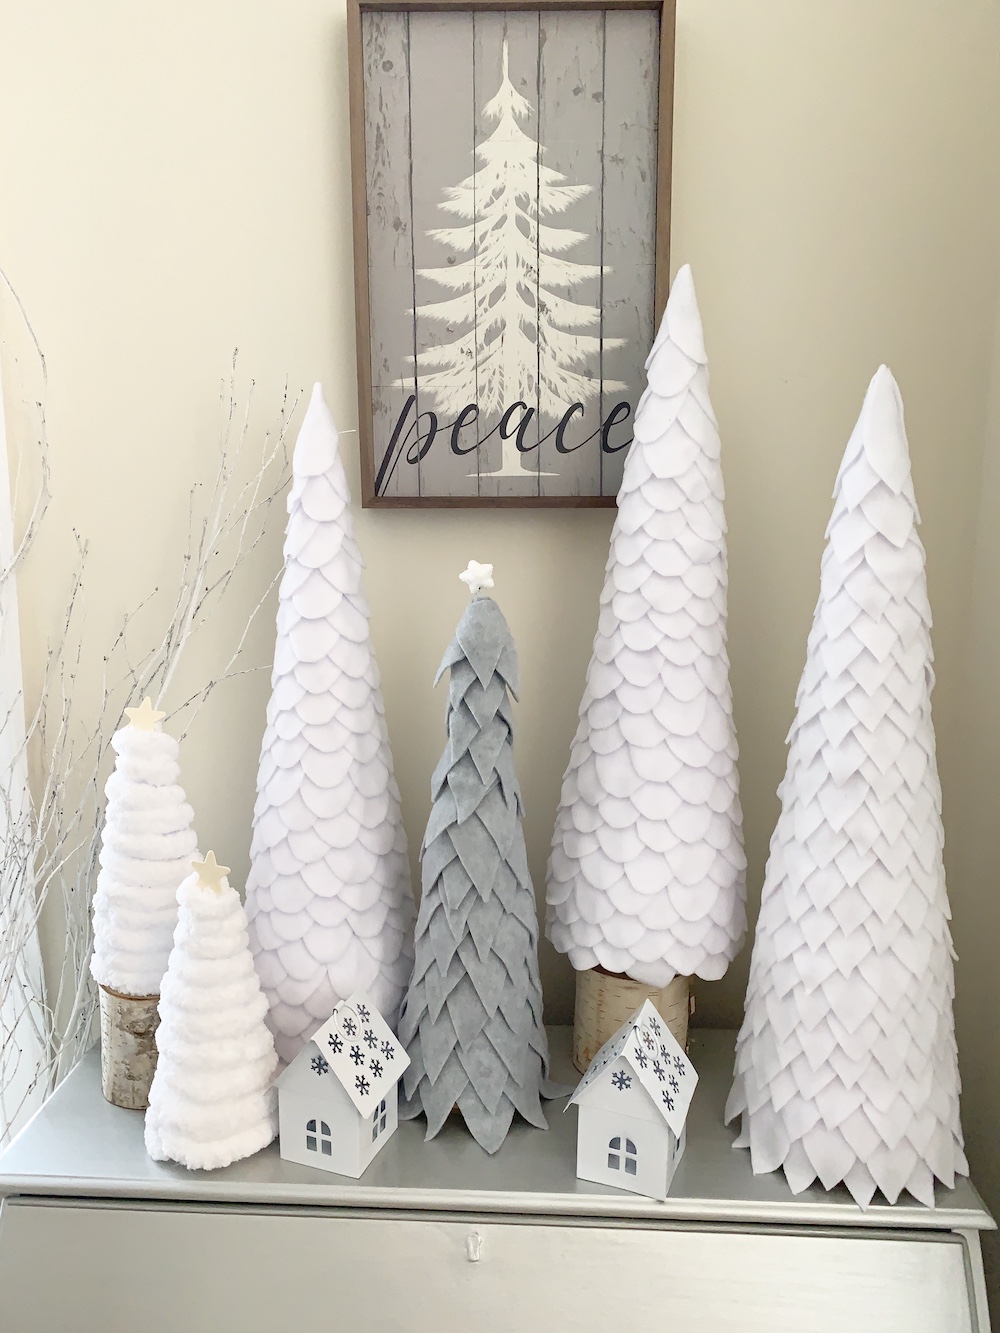
We are really excited with the look of the white round leaf felt tree. It looks beautiful next to our pointed leaf tree. A perfect addition to our Winter Wonderland vignette. Do you have any Winter trees you have made? We’d love to hear about your DIY decor projects.
Enjoy our other DIY home decor related posts.
How to Create a Rustic Christmas Centerpiece
Rustic Christmas Lodge Accessories for the Home
How to Decorate French Floral Buckets for Christmas
How to Make a Pointed Leaf Christmas Tree from Felt
If you have any questions, feel free to reach out to us. We always are ready to help you out. Thank you for stopping by.
Best Wishes!
Mary


