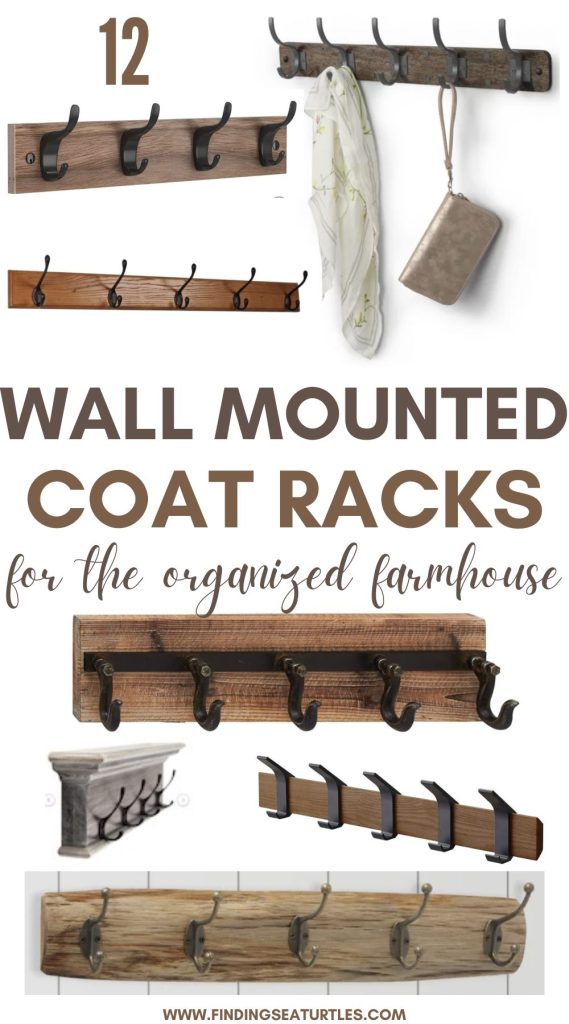
12 Wall-Mounted Coat Racks with Farmhouse Style
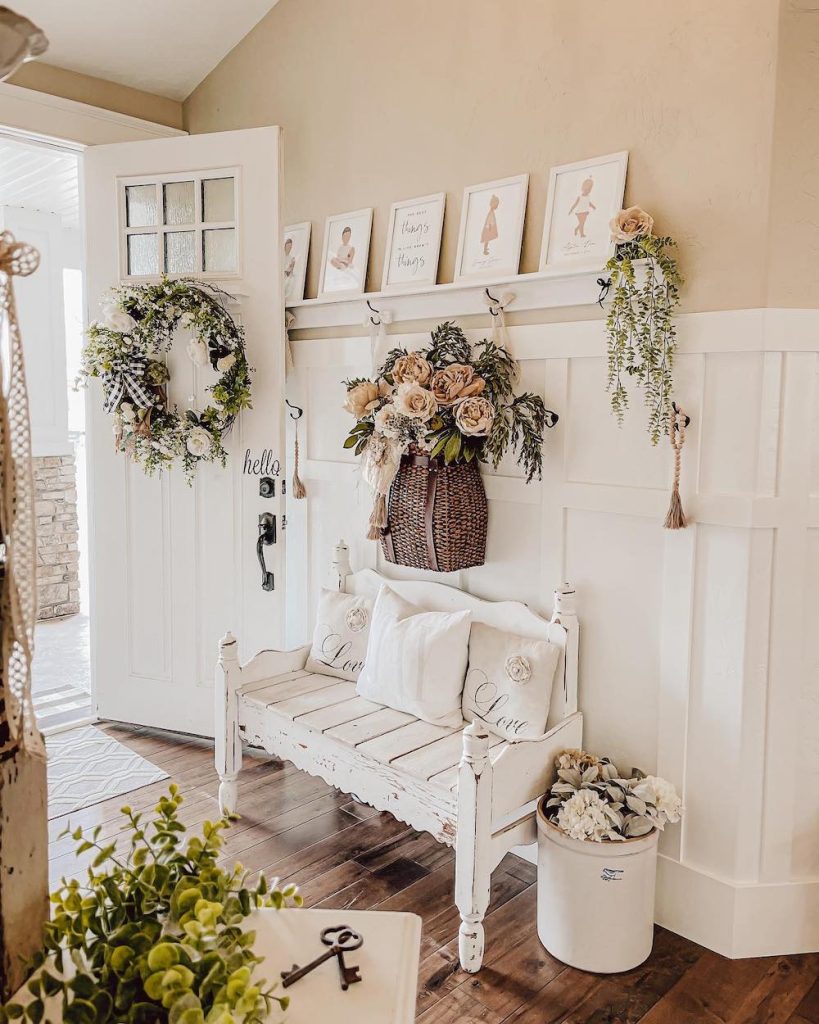
Wall-mounted coat racks with a farmhouse decor style. Keep your entryway looking its best by maintaining it so that it is clutter-free. Your entryway is the first place guests see when they enter your home. You’ll want to keep it organized and clutter-free. Consider storage options for an entryway that helps you stay organized. In today’s post, we share wall-mounted coat racks ideal for a farmhouse-styled home.
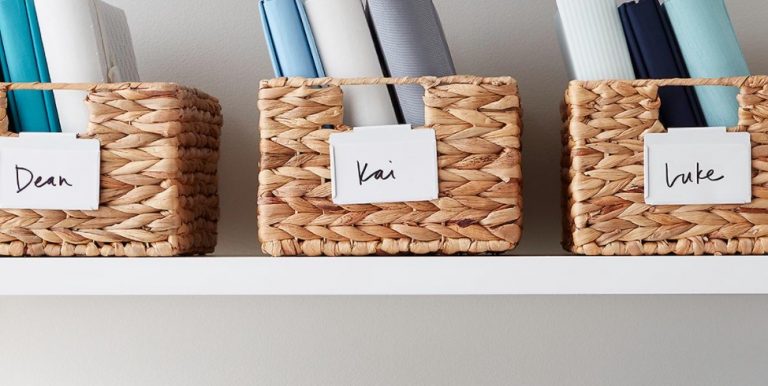
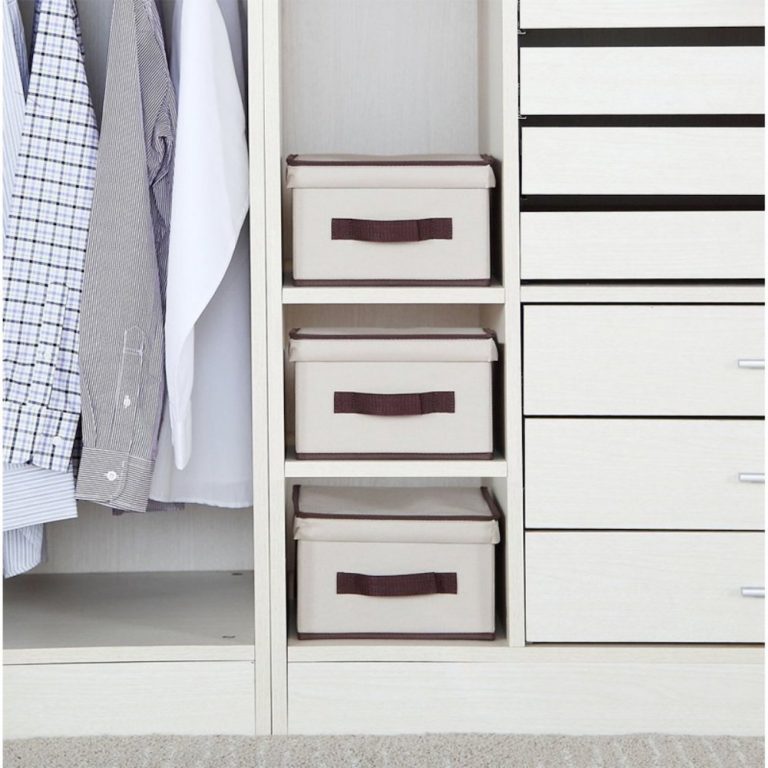
Maximize entryway storage using a console table, coat rack, baskets, umbrella stands, and more. Console tables with built-in shelves or drawers provide extra storage. Baskets that are stand-alone or stored on a console table shelf are another storage option. Umbrella stands offer a place to store umbrellas, walking sticks, canes, and more. Coat racks, either wall-mounted or stand-alone, provide a way to keep jackets, coats, hats, scarves, and more hung neatly from a peg or hook.
Placement of a Wall-Mounted Coat Rack
Hang a coat rack next to a front, side, or back door for easy access as you exit and return home. The handy coat rack at entry and exit points makes it easy to hang a jacket, scarf, or hat as you arrive and leave home. A coat rack provides an easy place to hang outerwear when you enter your home.
Best Places to Use a Coat Rack – Wall-Mounted Coat Rack
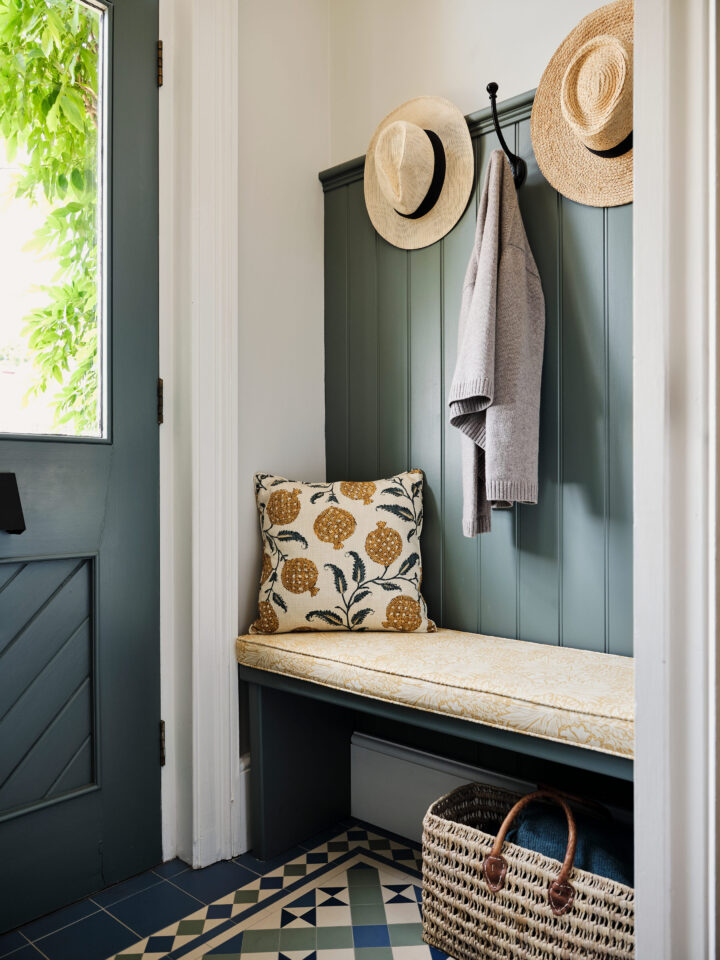
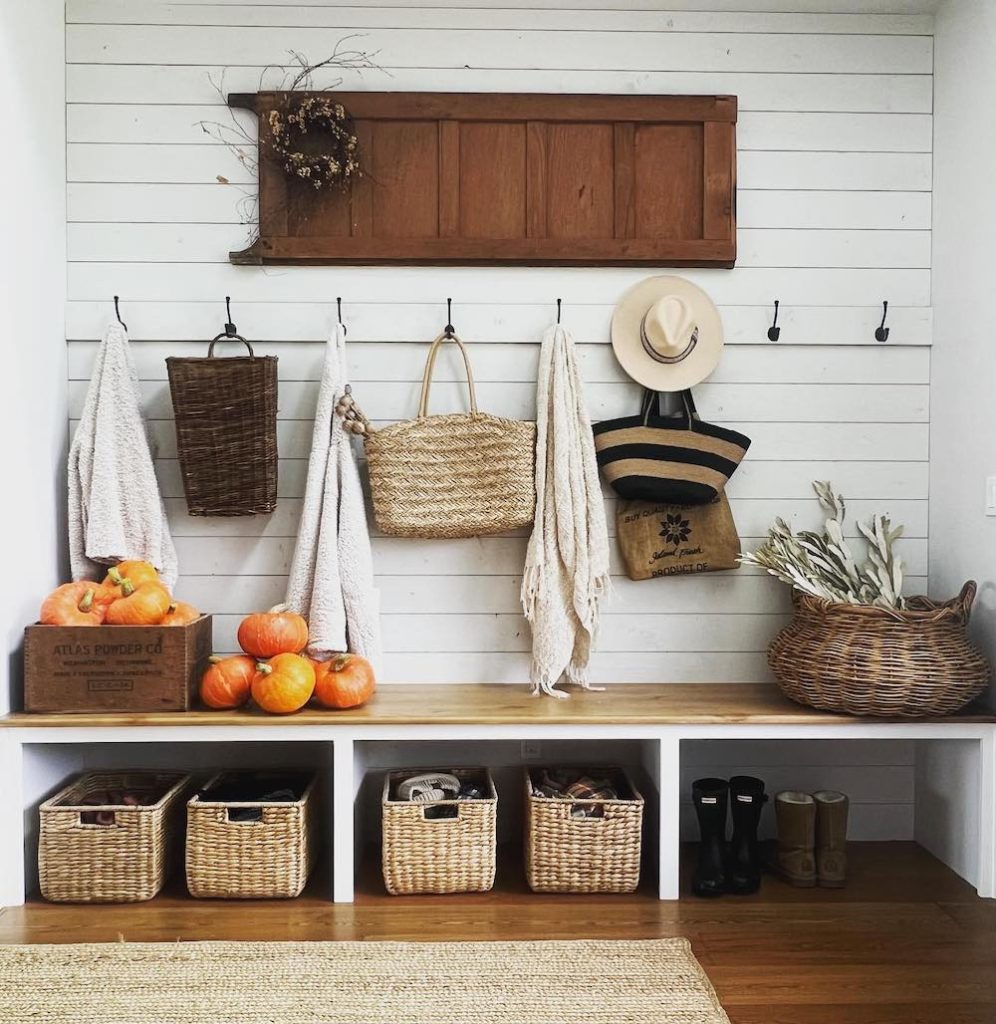
One of the best coat rack places is next to an entryway door. Second, mudrooms are also a great place to utilize a coat rack. Mudrooms are rooms typically located by an entryway next to the garage. Mudrooms are used as a changing station or room to change and store outwear when you enter or depart from the house. Open cubby bins, coat hooks, open shelves, cabinets, and other storage areas are frequently seen in mudrooms. Keep clothing and outerwear from cluttering the room. Use these hooks, bins, and shelves for storing outerwear and gear inside these bins, and shelves.
Umbrella stands can hold walking sticks, walking canes, and umbrellas. So, mudrooms are an excellent place to install a coat rack if it lacks one and if your home has a mudroom.
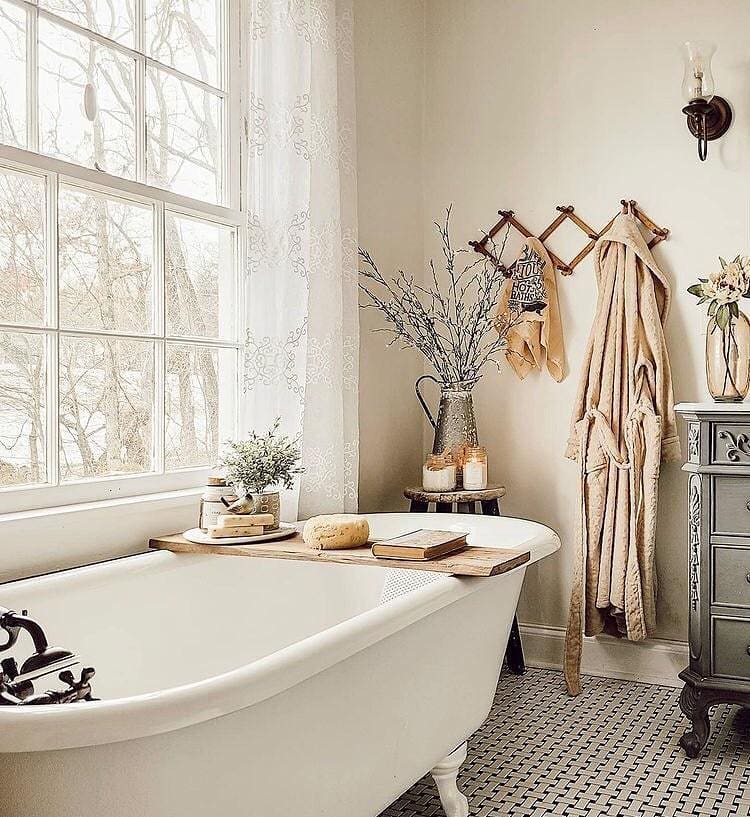
Use coat racks in bedrooms, bathrooms, and hallways. Hang towels, bed robes, bathrobes, loungewear, and more on these coat racks. Installed near the bathtub, a coat rack provides easy access to the items hung above in the image.
Install a Coat Rack
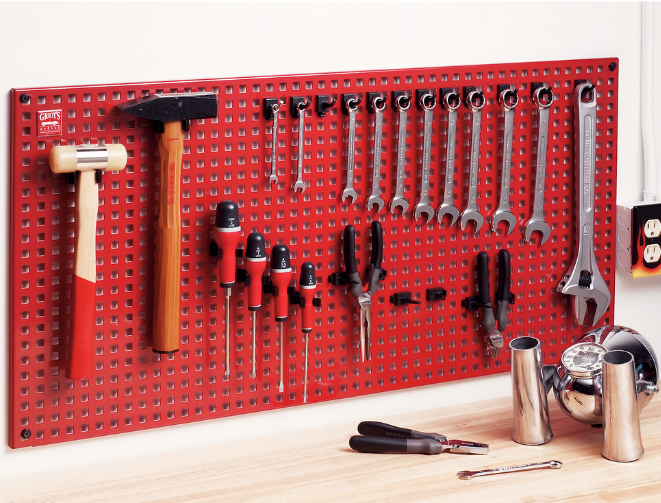
It is best to hang a coat rack on wood studs behind gypsum drywall. Attached to the wood studs are the gypsum drywall 4 by 8 sheets. The wood studs or framing is likely 2 by 4s or 2 by 6s. Attaching a coat rack through the drywall and into the studs is stronger and more likely to support what you hang on the coat rack.
In newer homes, studs are likely 16 inches apart in the center. However, some are 24 inches apart in the center. This means that from the center of a stud to the next center of the next stud – the distance is 16 inches apart or 24. The gap or space between studs is about 14 ½ inches apart when studs are 16 inches in the center.
In older homes, studs are different distances from each other. Older-built homes typically use 2 by 4 studs. To locate the studs in another home, you might need a stud finder device or by drilling small holes in search of the studs. Once you find the studs, you can attach the coat rack to the wall. Attach screws into the frame stud by 2 inches to support the rack. The coat rack you use should be solid and robust. Avoid coat racks that are poorly designed and not solidly built.
Use Hollow-Wall Anchors
There are alternatives to installing a coat rack to a stud with a screw. Support heavy loads using hollow-wall anchors as an alternative. Choose from several sizes supporting a variety of weights. Look for the working load limit on the packaging that indicates the number of pounds the anchor supports.

Some wall anchors penetrate the entire drywall and then expand on the backside. Screws can not be withdrawn when they are expanded behind the drywall. These screws and casing are known as molly bolts or toggle bolts, with toggle bolts being the more robust. Larger toggle bolts have a working load limit of up to 100 pounds.
Drywall anchors are designed to secure framed wall art, mirrors, clocks, and shelving. Nails and screws easily slide out of walls when not embedded inside drywall anchors. Again, anchors are used when there isn’t a stud behind the drywall to secure the screw.
How do Wall Anchors Prevent Nails and Screws from Slipping Out?
Screws installed directly into drywall (compressed gypsum covered with paper backing) without a stud as reinforcement are not secure. Although the drywall is excellent for interior walls, it is not strong enough to support nails and screws.
Install an anchor before putting a screw into the drywall. Drill a small hole into the drywall. Push or tap the nylon anchor with a rubber mallet into the drywall cavity. In this case, the anchor is a nylon sleeve with ridges that hold a screw in place. The ridges hold the anchor and screen in place without any slippage. Use a screwdriver to drive the screw securely into the anchor.
For toggle bolts and steel hollow wall anchors, drill a slightly bigger hole into the drywall. Find the correct drill bit size for the hole on the packaging of the toggle bolts and steel hollow wall anchors. It is essential to drill a hole the correct size. A bigger or smaller hole will not hold the screw and anchor in its intended place.
Install a Coat Rack Without Drilling
Use double-sided adhesive strips as an alternative to installing a coat rack without a drill. Apply 2 to 3 double-sided adhesive strips on the backside of the coat rack divided evenly across. Be sure to check the working load limit for the adhesive strips. Based on your needs for the coat hanger, determine if the adhesive strips can support the coat hanger and the contents you’ll be using.
Install a Coat Rack Without Nails
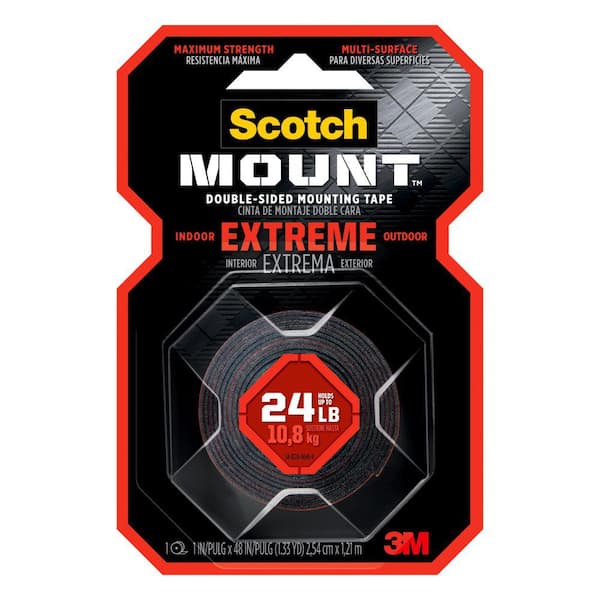
Use mounting tape that can support up to 24 pounds of weight. Note that this load limit includes the coat rack itself. Be sure to factor into the weight needed – the weight of the coat rack itself.
Steps to Install a Coat Rack on a Wall Surface
Follow this instructions to install a coat rack on a wall.
1. Wipe clean the surface of the wall area where you are mounting the coat rack. Allow the area to dry. The wall surface should be smooth, clean, and dry thoroughly—adhesive tape bonds best when the wall surface is clean and dry.
2. Measure the coat rack to determine the mounting tape length needed. Cut a strip the length of tape you need. Be sure to note the working load limit per square inch for the high-performance adhesive tape. Make sure that it meets your specific needs.
3. Adhere the extreme mounting tape to the back of the coat rack. Attach the tape to the entire reverse side. If you are uncertain if the tape is sufficient for your needs, add a second strip. The double strip of mounting tape adds extra security.
4. Measure the area where the rack will be mounted. Use blue painter’s tape to attach the coat rack to the wall, if necessary, temporarily. Verify the coat rack is placed at your envisioned spot.
Pro-Tips to Help with Installation
5. While the coat rack is temporarily attached to the wall surface, verify the rack is level. Use an I-beam level to confirm that the rack is level. Draw a faint line on the wall to guide you when you mount the rack. Remove the blue painter’s tape that temporarily attached the rack to the wall.
6. Remove the backing of the mounting tape once the wall area is right for your coat rack. This exposes the adhesive side of the mounting tape. Be careful not to lean it against a dusty or dirty surface. Keep the tape clean until you attach it to the wall surface to achieve the best bond possible.
7. Press the coat rack firmly on the wall using the pencil line as your guide. The coat rack should be level.
8. Allow the mounting tape to bond with the wall and coat rack for at least 24 hours or more. After the bonding period, hang outwear and essentials on the coat rack.
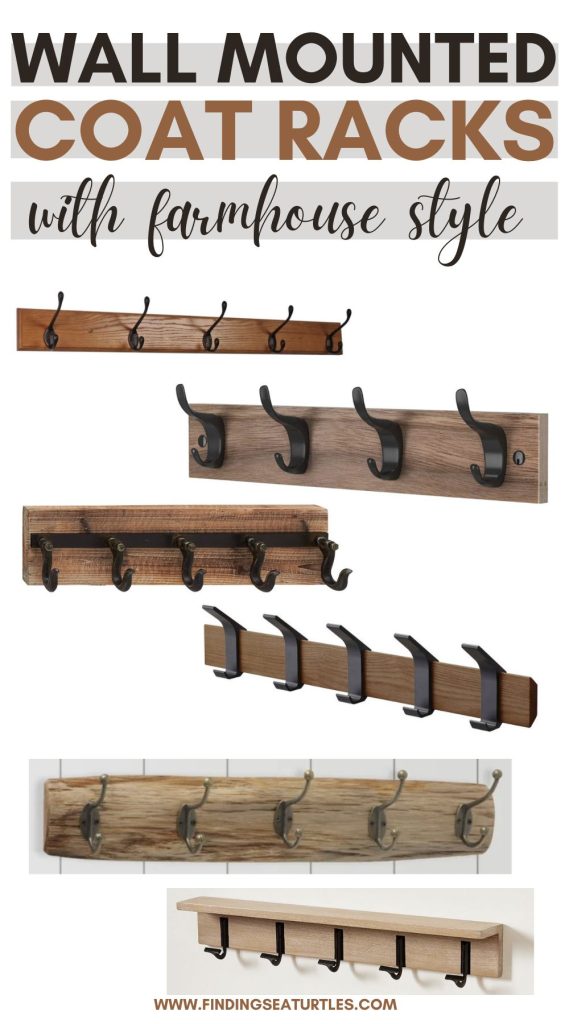
Our Picks for Wall-Mounted Coat Racks
We move on to our selection of wall-mounted coat racks for your entryway, foyer, mudroom, and home. Look at our selection of the best coat racks — a perfect accessory for keeping your home neat.

Be sure to share with us which coat racks are your favorites. Let us know what you think.
Take a look at our other posts for home decor inspiration. Drop us a line below in the comment section. Let us know all about your favorite home decor projects for your house.
Enjoy our other home decor-related posts for additional ideas.
Decorate your home with these great ideas. Check out our other posts for the interior and exterior of your home. Try these posts for additional decorating ideas this season.
Floor Lamps
Farmhouse Table Lamps
Picture lights
Reading Lamps
Reach out to us with any questions. We love hearing from our readers. Thank you for dropping by and taking a look at our blog.
Mary