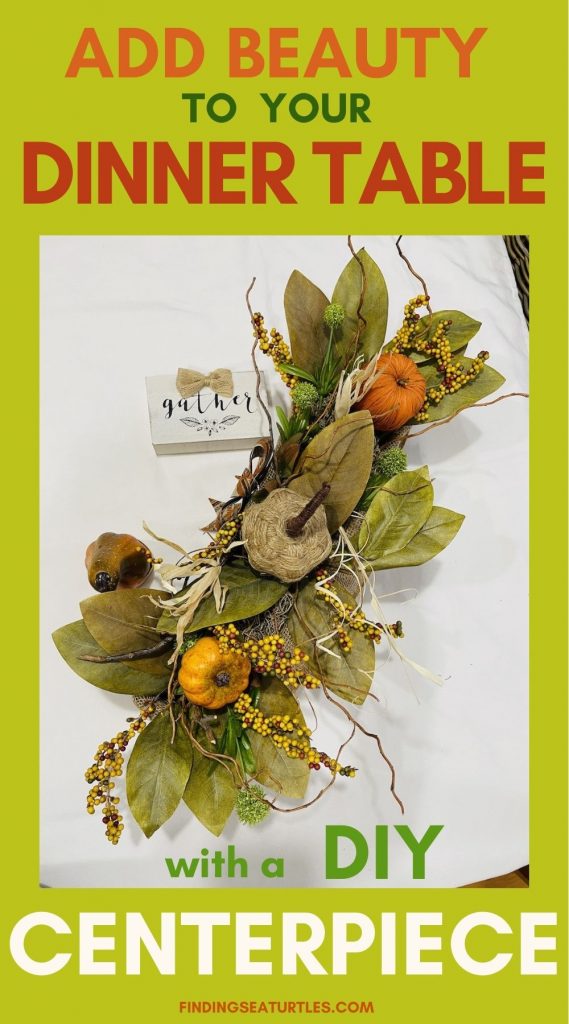
DIY Fall Centerpiece to Add Fall Beauty to Your Space
DIY fall centerpiece is the topic for today’s post. We are sharing a low-cost to no-cost, simple centerpiece. Many of us are conscious of our monthly budget. We are creating a fall centerpiece with the materials in our craft drawer. With the rising expenses of food and materials, many of us have cut back on expenses.
As we keep this in mind, we followed three rules in creating this centerpiece. First, to only use craft materials that we had in our craft drawer. Second, to style a festive centerpiece. Third, to create the centerpiece in less than one hour. In this post, we assembled this centerpiece by using materials in our craft drawer. Materials in the centerpiece were reused and in good condition.
Step by Step Instructions – DIY Fall Centerpiece
Pick a base or container for the centerpiece. Consider what the base or container will look like on your dinner table. In our case, we used a dark wood container in a rectangular shape. Similar to a small window box. This container was given to us a couple of years ago. The window box container measures about 3 ¾ inches tall by 19 inches wide and has a depth of 4 ½ inches. Perfect size for our table.
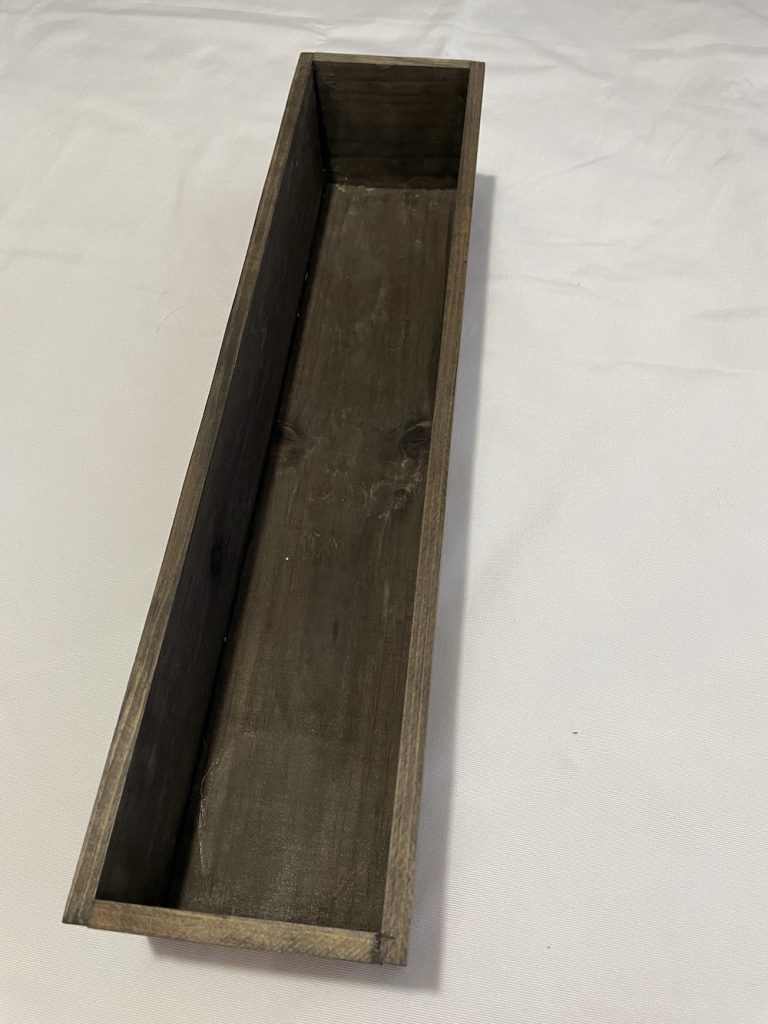
We selected this container for our DIY fall centerpiece. Stained in a dark chocolate finish. And more importantly, it is great for the use we had in mind.
Clean the container inside and out. Wrap brown burlap ribbon around the edge of the container base. Measure the container if you will be using ribbon or burlap to wrap the container. This step is optional. Skip this step if you don’t have a ribbon.
Measure Ribbon
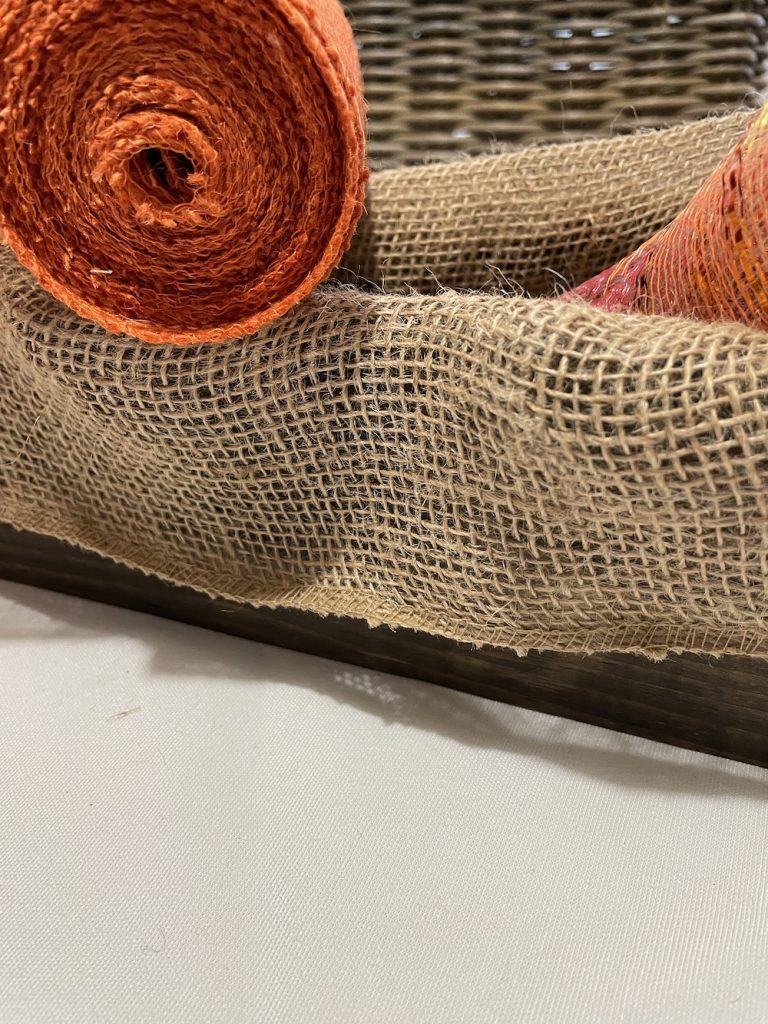
The strip of burlap we used to wrap the container was about 50 inches long. Secure the burlap ribbon. There are two ways to do this. Add hot glue to the burlap ribbon and the container. Or cut a large enough piece of ribbon to tie a bow to the centerpiece front. If you opt for a centerpiece bow, be sure to allow for extra ribbon.
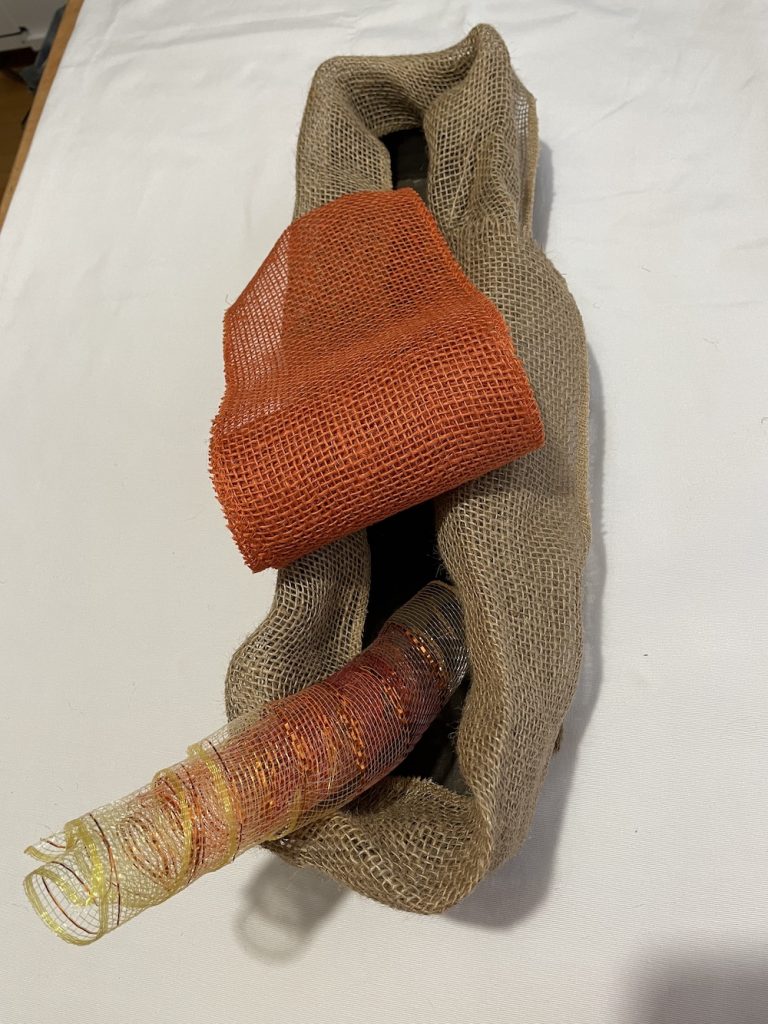
The burlap-wrapped base is photographed above with the edge wrapped in the burlap. Inside the container, there are two other ribbons. We dropped an orange burlap ribbon and a metallic fall mesh ribbon from the dollar store inside the base. These are both leftover pieces of ribbon. Substitute the brown burlap ribbon for the color of ribbon that you want for your centerpiece. The two ribbons are merely suggestions for substituting other ribbons.
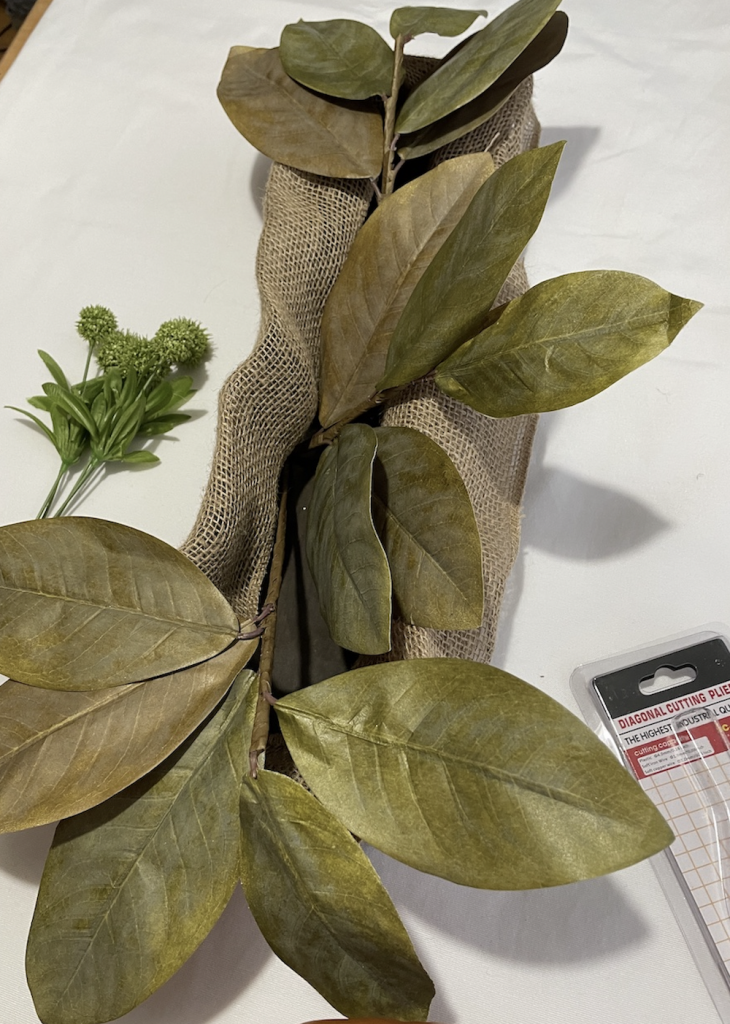
Insert a base layer of magnolia leaves. These are larger leaves that cover a larger area of the base container. As you can see, the leaves are a good size. Perfect for our centerpiece.
Take a bag of moss or filler to lay over the magnolia stems. We used Spanish Moss as our filler. Use whatever moss you have on hand as a substitute for the Spanish moss. Or even substitute crinkle cut shred tissue paper as a filler.
Examine the Centerpiece – DIY Fall Centerpiece
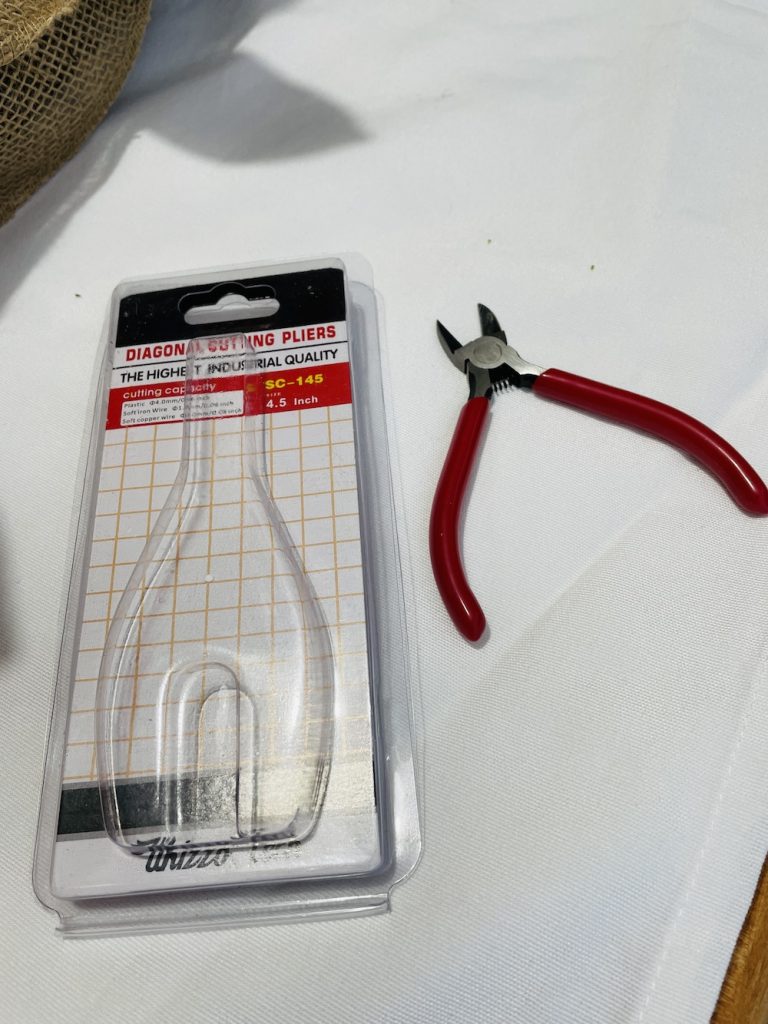
Continue spreading the moss across the inside of the entire container base. Insert some wood stems. We used leftover natural curly willow stems. Include faux greenery to fill in any bare spaces. Trim any faux greenery stems that are too long. Quickly make a note of the size you need before trimming the stems. Using diagonal cutting wire pliers, we cut the stems without any effort (see image above). We highly recommend these pilers. Carefully add your pumpkins or gourds. We added two orange pumpkins and a jute pumpkin. Afterward, it is best that you take a quick break to examine the centerpiece. Once you double-checked the centerpiece then continue. Make sure the centerpiece is to your liking. If you need to make any adjustment to the centerpiece, now is the time to do it.
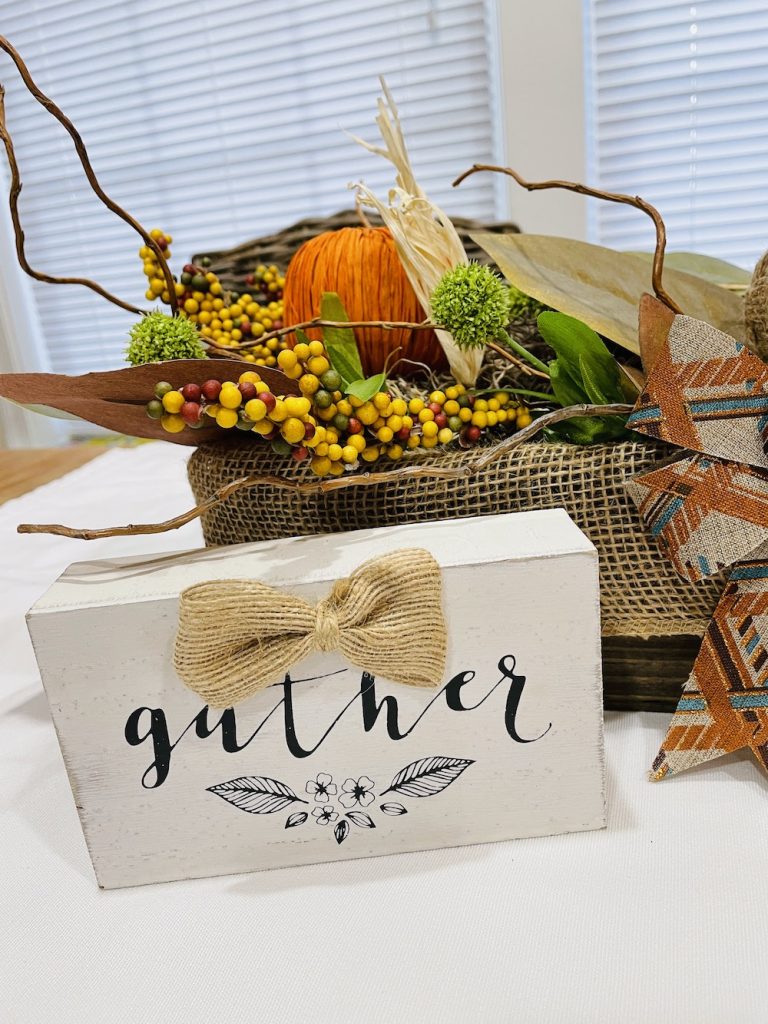
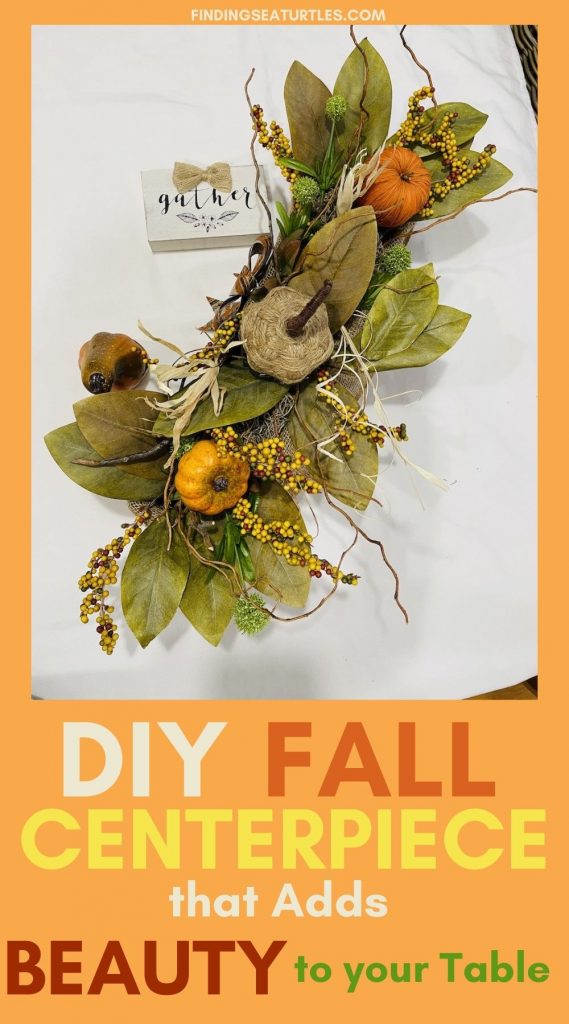
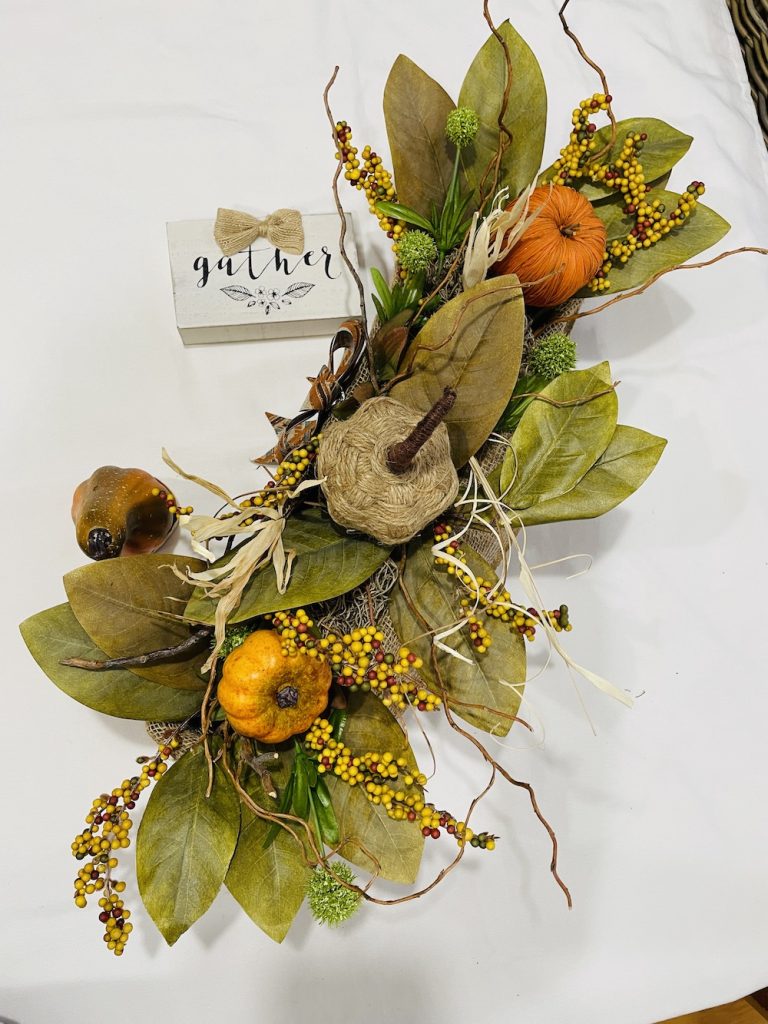
After taking a look at the centerpiece, we added some faux yellow, green, and amber berry clusters. The berry colors look fantastic against the faux green foliage and orange pumpkins. Below is our finished centerpiece. And every bit of the materials were either reused and repurposed. In a nutshell, we accomplished our three rules. As a final note, it took less than an hour to complete the centerpiece.
Below is our completed DIY fall centerpiece. What are your thoughts?
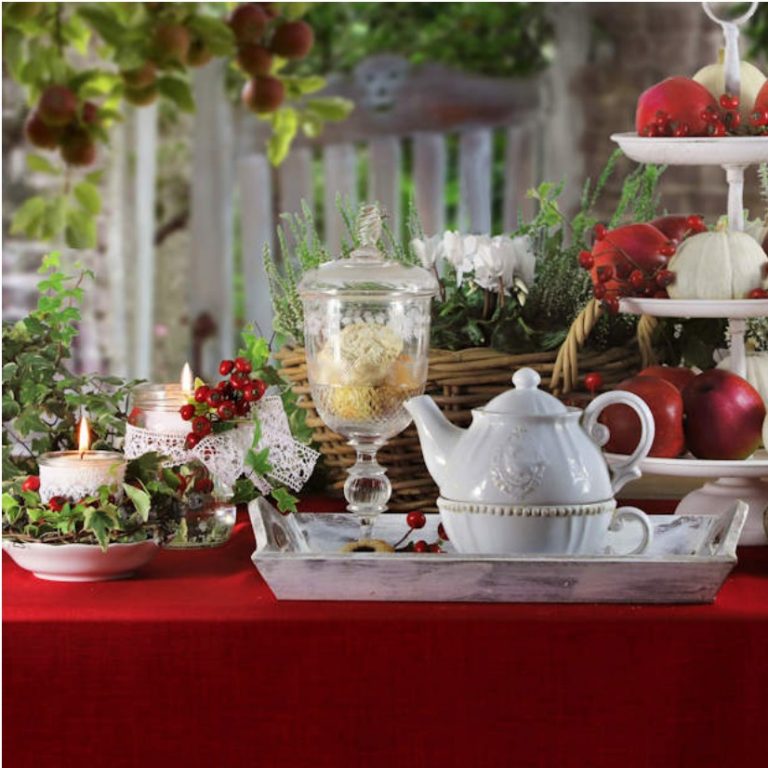
Alternative Ways to Style Your Centerpiece
Substitute orange pumpkins with white pumpkins, yellow gourds, red apples, pine cones, or wheat. Give your centerpiece an Autumn appearance with any of these items. Replace the magnolia leaves with other faux greenery as well. Use faux maple leaves that are orange, yellow, and red for a more festive appearance.
This ends our post for a DIY fall centerpiece for the dinner table. We hope that we inspired you to create a centerpiece for your home that welcomes the autumn season. And that you found a few tips to help you with your centerpiece.
Enjoy our other fall decor related posts for additional ideas.
- Best Fall Home Decor to Add Beauty to Your Home
- Fall entryway decorations
- Fall-inspired entryway ideas
- Most inspiring fall vignette styling ideas
- Tips for styling a fall vignette
Reach out to us with any questions. We are always ready to help you out. Thank you for stopping by our blog.
Mary