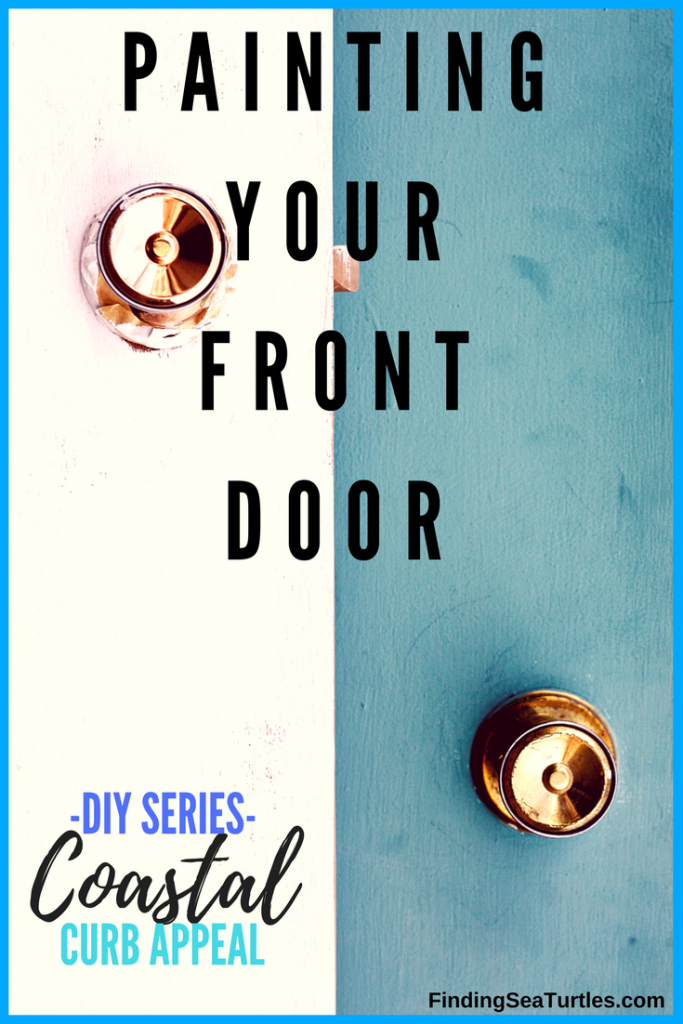
Curb Appeal DIY: Paint Your Front Door
A new year and warmer weather is around the corner or at least we hope so. If you are like us, you are most likely beginning to think about warmer weather holidays, activities and the blessed summer. Then inevitably that conversation turns into what home repairs or home projects should we tackle this year.
Aside from the regular ongoing maintenance of your home which does take some time, what home improvements can we do ourselves this year? We prefer to do most of the work ourselves if we have the time. We look for any home improvement projects that are inexpensive and don’t require a lot of time. Quick and easy home improvement projects that take either an afternoon or at most a day to complete are best with our hectic schedules. And given everyone’s busy schedule, make sure you prioritize the projects that will give you instant coastal curb appeal!
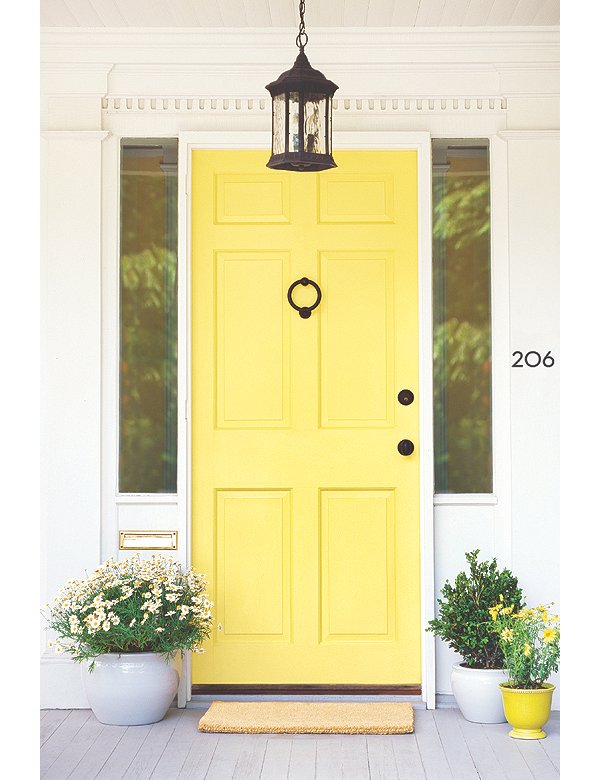
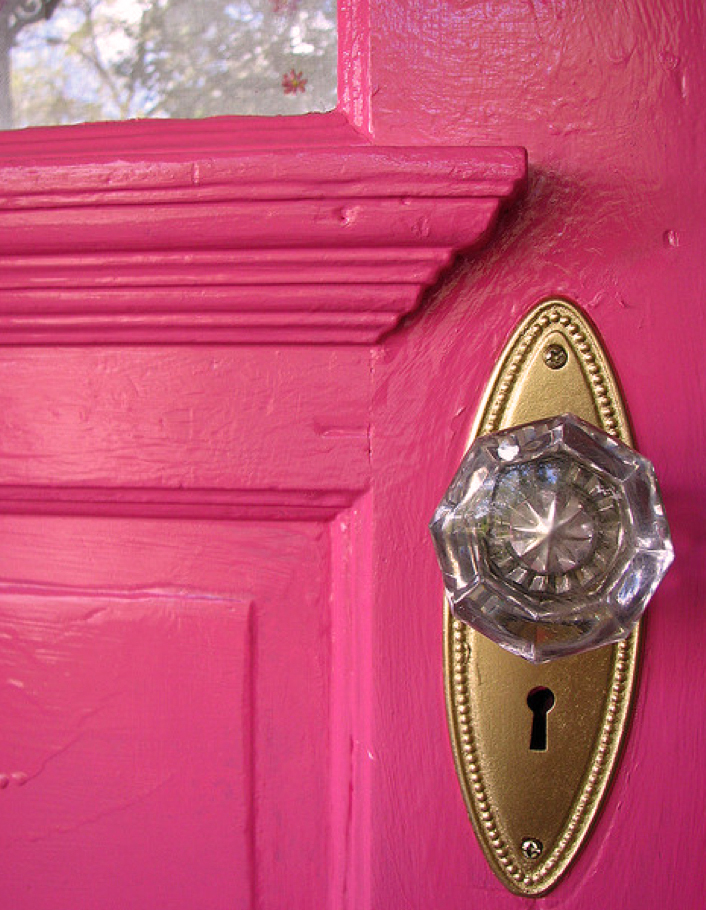
This first project that comes to mind is repainting our front door. Repainting our front door is a quick and easy project to tackle in a few hours if the weather is dry and warm outside. Our front door was an old blue color that wasn’t that interesting, it was to be honest a very boring dull dirty old blue. Last fall, we hastily painted the front door black because we happen to have a can of Rust-Oleum enamel black paint. It was without a doubt an improvement over the dull dirty blue color. The glossy black looks great but …. We are thinking about taking the front door up another notch by painting it a bold and colorful color such as an orange, turquoise, or yellow. Hmmmm. What color should we go with? If you’re considering a splash of color yourself, check out our post on bold coastal front door colors for some inspiration.
If you are thinking about painting your front door and you’ve never done that before, we’ve included some steps to help you along. The most important thing is the weather conditions must be dry and warm enough. You’ll need warm temperatures to not only paint the door but to allow the door to remain open until it dries. If you use a water based paint, the door will dry faster and can be recoated is less time than oil-based paints. Most oil-based paints can take between 6 to 8 hours to dry. So if you decide to use an oil-based paint, you might want to begin painting early in the morning.
If your front door is not protected by a separate storm door or is exposed to rain and other elements, make sure your paint is made for exterior use. The black Rust-Oleum paint we used covered the old color easily and the finish seems very durable and went on without the need for a primer.
As a side note, if you live in a coastal community you are accustomed to regular maintenance on your home due to weather conditions we experience living by the shore. Because of these sometimes harsh and extreme conditions we prefer to use an oil-base paint that will stand up the humidity and cold winter temperatures.
Before you begin your painting project, be sure you protect the floor and area around the door so that paint doesn’t spatter on the surrounding area. And wear comfortable old clothes that you don’t mind getting soiled or paint on. You should consider wearing a dust mask while working as protection from the dust, loose paint chips, and the paint fumes. Safety is first is important!
After you’ve covered the floor, protected the walls and yourself you are ready to begin. Here are the steps for painting your front door:
- Remove any hardware such as knockers, kick board but not the door knob and lock. (Tip: Use small ziplock bags to keep small screws from getting lost)
- Using painter’s tape, wrap the door knob, deadbolt, and door hinges (Tip: don’t rush this step, as a good masking job will make all the difference in the end result. Use many small pieces of tape to mask any curved edges.)
- Clean the front door with a bristle brush and then a quick wipe down with rubbing alcohol
- Scrape any loose paint gently with a paint scraper tool or metal putty knife
- Lightly sand and scuff the door with sandpaper or steel wool
- Fill any large nicks with wood putty and let dry
- Lightly re-sand areas you applied putty to (if any)
- Clean front door again to remove any pieces of wood putty or sanding dust
- If you are using a separate primer and top coat, prime the door then let it dry according to the manufacturer’s instructions. You may need two or more coats if you are changing the door color, especially if you are going with a lighter or brighter color.
- Paint the front door after the primer is dry and apply additional coats according to manufacturer’s instructions
- Re-paint until the front door is evenly coated and, if changing color, the old color is covered.
- After door has completely dried, reattached door knocker and any other hardware you removed then remove the painter’s tape from the door knob and deadbolt.
After your front door has thoroughly dried, you are ready to decorate your front door exterior entrance and front door interior entrance.
This is a quick and easy coastal curb appeal project. Unless you have double front doors or a really large tall front door, painting your front door should take you no more than two hours. In fact you’ll spend most of your time waiting for the front door to dry. Don’t forget painting is one of the easiest and least expensive home improvements you can do yourself! Trust me this is a great way to add some coastal curb appeal.
So consider a bold, colorful front door upgrade to your coastal home. Be sure you let us know how you make out. If you have any questions feel free to reach out to us. We are always ready to help!

You need to be a part of a contest for one of
the finest websites on the internet. I most
certainly will recommend this site!
Thank you for the compliments! Glad you like the site – Mary@findingseaturtles