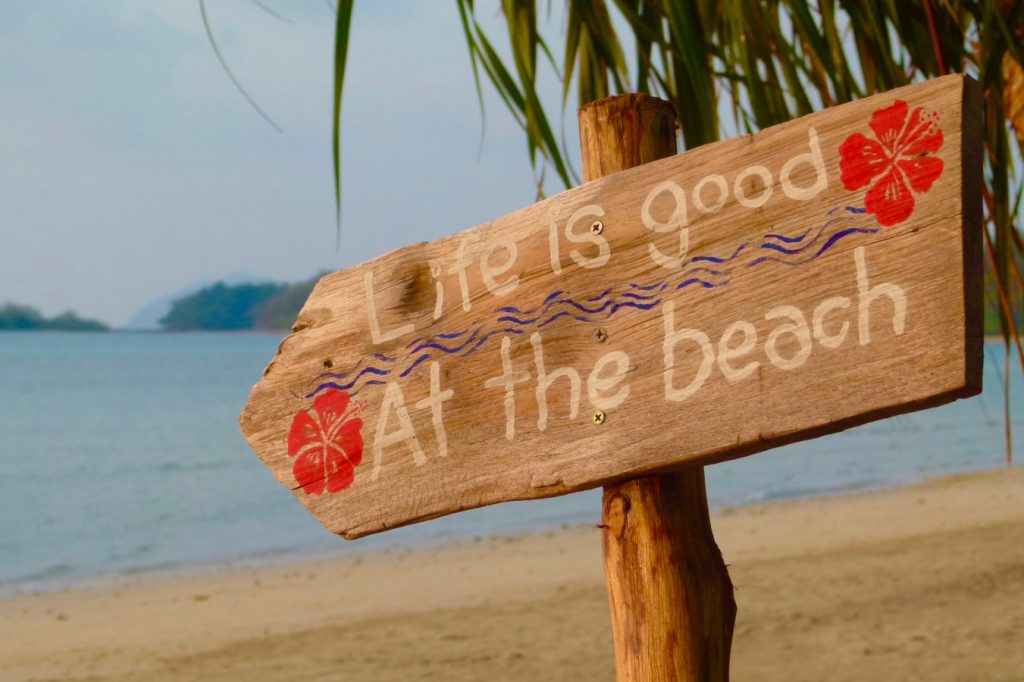
DIY: How to Make a Beach Directional Sign
While out at the beach have you noticed these really cool, beach directional post signs? Often listing faraway places or destinations that we only dream about visiting.
Well, we came across one directional sign for sale at Frontgate and we realized it wouldn’t be that difficult to make one ourselves. And best of all, it won’t cost nearly as much as the one we found online. We can personalize it to reflect the destinations that we dream of going to.
Work on this Summer Fun DIY project over a weekend or over the Summer with your children’s help. This Summer Fun activity will last as long as your time and schedule allows you to. Take a look and let us know what you think.
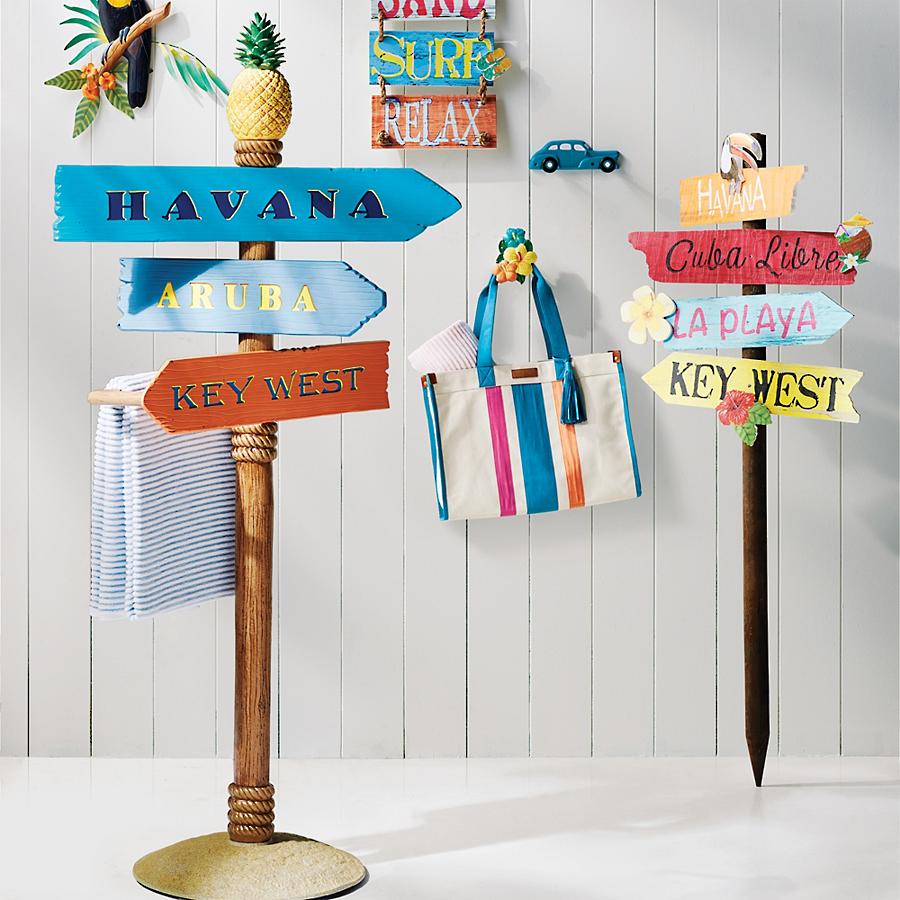
The Frontgate Havana Directional Post Sign is painted in beautiful, bright-colored paint with complementary painted lettering in bright beach colors. Great touches are added with rope around the post base, the pineapple finial, and Hibiscus add on.
Design of Your Sign
Before you begin, consider a few things about your directional post sign. Will your directional post sign be placed on a covered porch or deck? Will the directional post sign be placed in your yard exposed to the weather elements? A directional post sign placed on a covered porch or deck will need a base or stand whereas a post sign in a yard won’t need a stand but will need paint that can withstand the Summer heat, rain, humidity, and even wind.
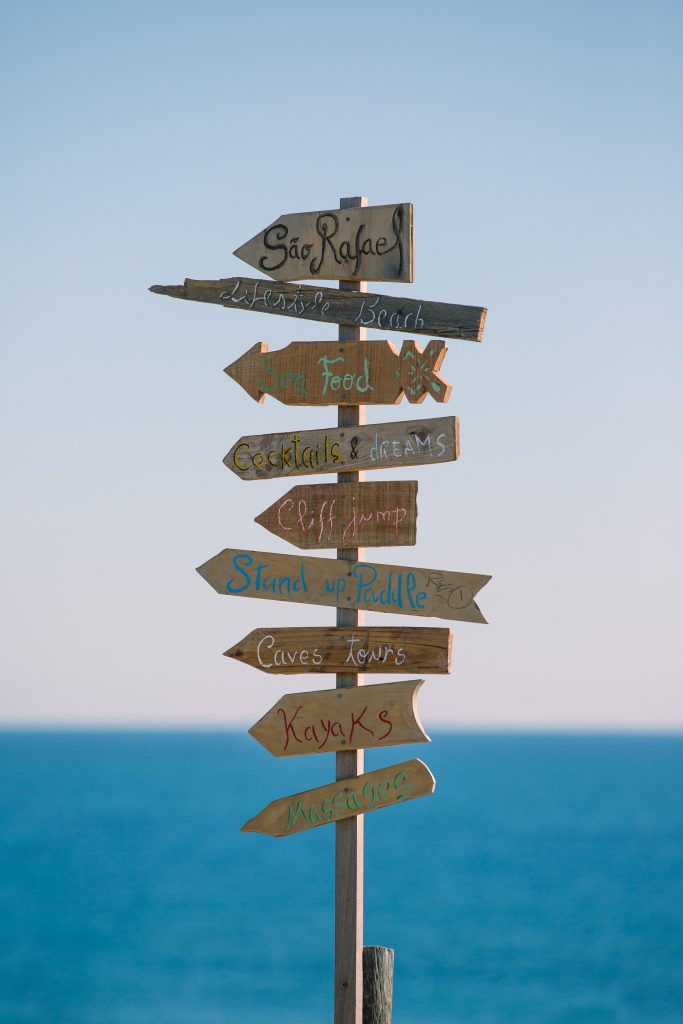
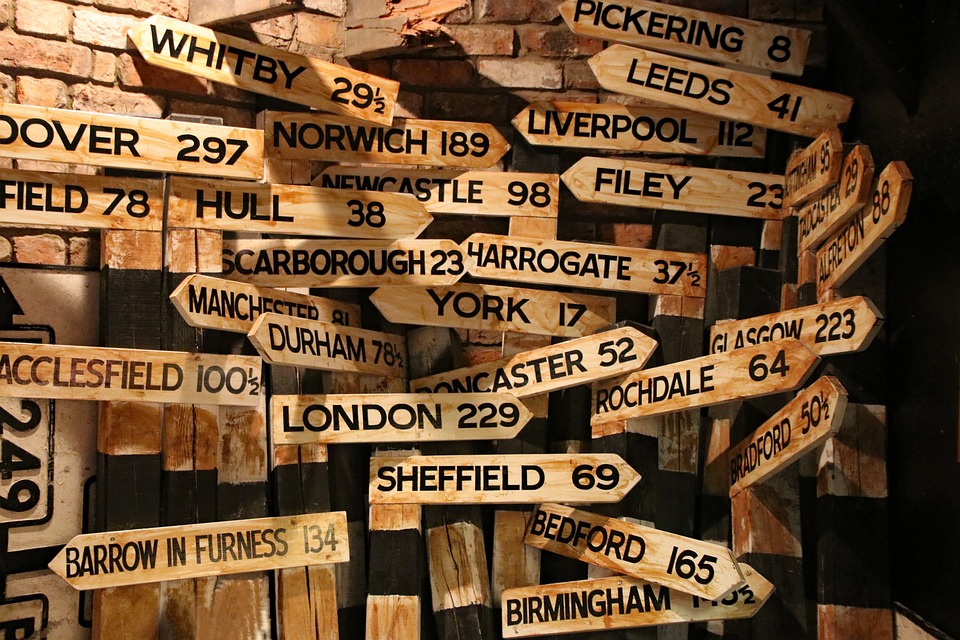
Second, will the post signs direct the pedestrian or visitor to a specific location such as the beach or La Playa, a picnic area or playground, outdoor showers, a nearby Waterfall, Surfing beach, Kayaks, Cave Tours, Paddle boards, or bike paths. There are numerous beach or nautical ideas to select from.
You can also include visitor information of the direction of certain beach destinations and a number of miles to reach the beach destination. Places such as Miami Beach, Waikiki Beach (Hawaii), Key West (Florida), Cape Cod (MA), Nantucket (MA), Santa Catalina Island (CA).
International island locations to consider as well might be the Bahamas Islands, Corsica (France), Grand Cayman Islands, Great Barrier Reef (Queensland, Australia), Mallorca (Spain), Menorca (Spain), Santorini (Greece), or Sardinia (Italy).
Tools and Supplies
A list of the supplies and tools you’ll need to complete this DIY project are:
One post made of wood, metal, or a picket from a picket fence (for a more basic, simple look) Note: For a distressed or rustic look use repurposed, worn, or scrap wood and materials which will give a weathered beach look to the Beach Directional Sign. For a bolder, brighter look, use new pieces of wood with bright colored paint.
Old wood pieces that are between 1 to 2 inches thick in various lengths and shapes for signs
Piece of wood to use as base for the post to stand (only if directional post sign will be standing on a porch or patio)
Saw to cut board signs if they are too big
Paints in various colors (to save money use leftover paints or purchase sample paints at a paint store)
Paint brushes or sponge brushes plus paint brush for writing on sign boards
Nails plus hammer or screws plus drill for attaching signs to the post and the stand to the post (if you are using a stand)
Shovel to dig a hole (only if the directional sign post will be placed in the ground) plus rocks for placing around the post in the hole
Optional:
Finial for the top of the post such as a lighthouse, pineapple, fish, etc.
Cardboard to create stencils of starfish, seahorse, whale, shells to paint on signs
Rope for a nautical look to wrap around the post.
Flood light for night time viewing.
Painting and Assembling the Signs
- The old wood pieces of varying lengths may need to be cut down to smaller sizes or can be cut on one side to make the board appear as if it is pointing in a certain direction.
- Once the wood pieces are cut to size, they can be painted a background color or remain bare for a distressed look. To obtain a distress painted look, paint the background white or apply a primer (usually white) then lightly apply another paint color over the primer so that some of the primer white paint remains exposed. For an even more weathered look, leave the wood board edges unpainted or lightly painted. For a bolder look, give each wood board a minimum of two solid coats of bright colored paint such aqua, yellow, hot pink, or orange covering the entire board completely.
- Allow the paint to dry per the paint manufacturer’s instructions in between coats and after applying the final background coat. If you are painting on a humid day or near the beach, drying times may take a little longer.
- Using a writing paint brush with a different paint color than the board, add the location or destination to the board. If you would like to add the distance in terms of miles use the How Far Is It Between link. Under the Options section, in the FROM box enter your city, country location (i.e. NYC), in the TO box enter city, country destination (i.e. Santorini, Greece), in the MEASURE area select either miles or kilometers option then click on the SHOW button. The miles or kilometers will be displayed in the DISTANCE AS THE CROW FLIES box (i.e. 5069.87 miles). So your sign will display Santorini, Greece 5070 miles rounded up.
- Using the cardboard stencils, paint any embellishments such as starfish, whale, or surfboard on the painted post signs (optional).
- After the painted directional post sign boards have dried, attach the boards to the post using either the nails and hammer or the screws with the drill.
- Attach the base or pedestal to the post, if this beach directional sign will be used standing. If you wish, you can paint the pedestal or leave it as it is.
- Attach the rope to the post to give it a Nautical look (optional).
- For beach directional signs that will be place on the ground, dig a hole the width of the post plus 6 additional inches wide and 1 to 2 feet deep. Place the post in the hole and fill with rocks using larger rocks at the ground level.
- Add lighting at the base of the post using a flood light for nighttime viewing (optional).
Additional Tips
You don’t have to create all your signs in one Summer. You can begin by creating 2 or 3 directional signs this Summer then adding another 2 directional signs next Summer. You can continue adding signs every Summer until your DIY Beach Directional Sign post is covered in signs! Make this an annual Summer event with your kids.
If you add any international beach destinations, consider having your children research that particular destination and learn about the culture, language, economy, and other important facts about that beach destination. When your children return to school in the Fall, they will know something a little extra about other far away beach destinations.
Don’t forget to take pictures every Summer with your children to compare your DIY Beach Directional Sign progress as well as any growth spurts of your children. Your first photo could even include your children wearing construction helmets to mark the erection of the Great Family DIY Beach Directional Sign!
You don’t need to spend a lot of money to create your own DIY Beach Directional Sign project. Try to utilize old wood from your garage or barn to create the post and signs. Use any leftover paint or purchase small sample paints from the hardware store or paint shop. Reuse your paint brushes and any other materials you have to minimize the amount of money you spend to build the DIY Beach Directional Sign.
If you try the DIY Beach Directional Sign project be sure to let us know how you make out.
If you are interested in other fun Summer activities, be sure to read our post on 100 Ultimate Summer Blast Bucket List.
For information on affordable LL Bean Outdoor programs see our post 12 Budget Friendly Outdoor Summer Activities and for budget-friendly ideas, check out our post 10 Amazing and Affordable Date Night Fun Ideas.
If you have any questions be sure to reach out to us in the comments below. We are always ready to help!