How to Make a Tree with Yarn Bee
Make a tree with Yarn Bee yarn in 3 simple steps. Searching for an easy to make tree with Yarn Bee? We love kid-friendly projects that don’t take a ton of money or time to complete.
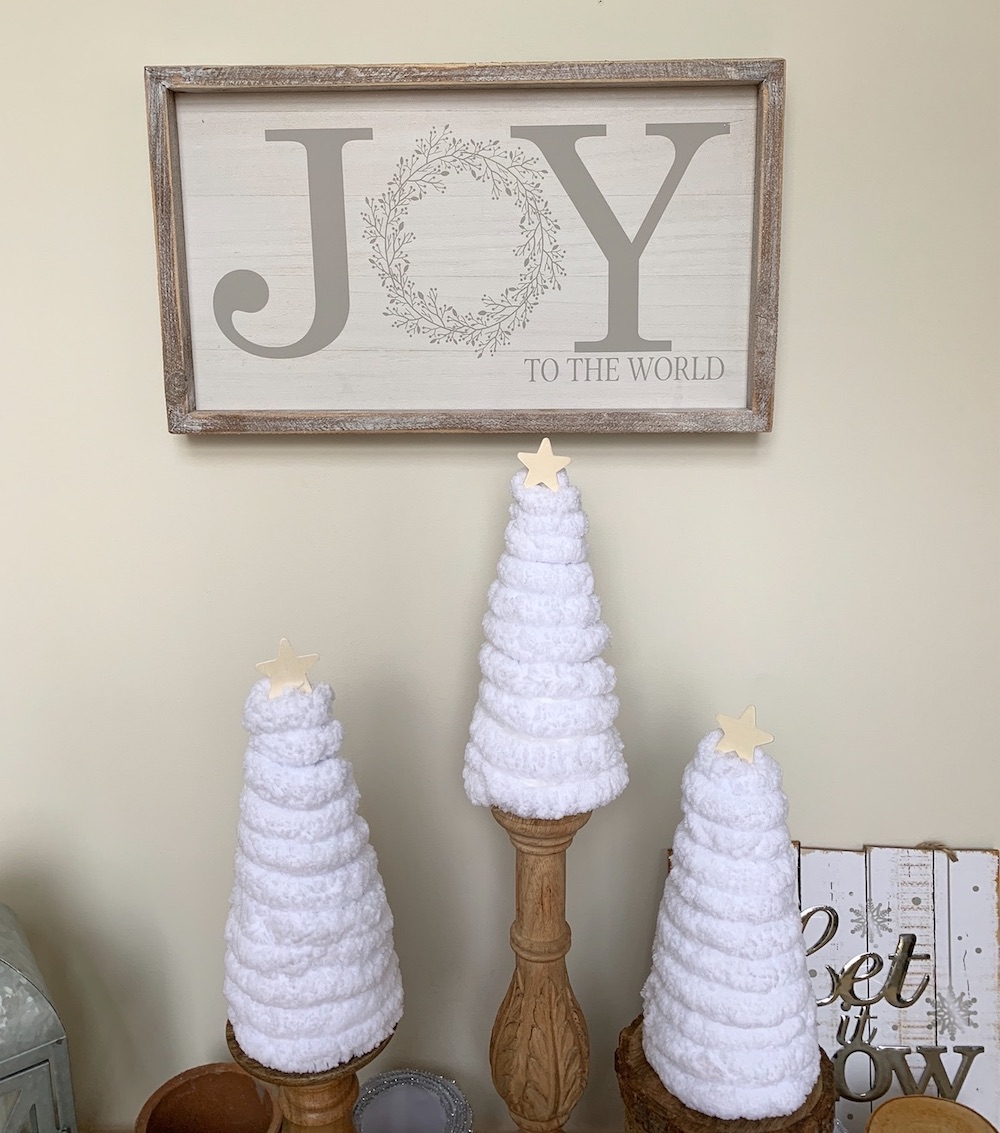
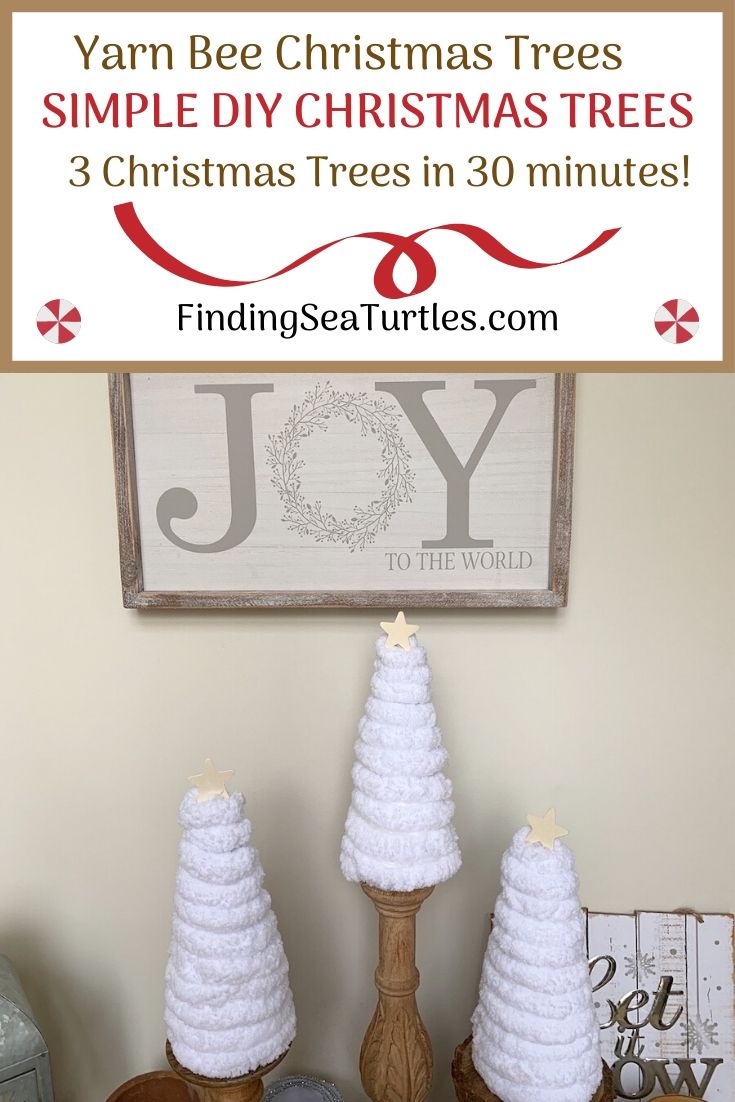
Our make a Christmas Tree with Yarn Bee project takes just 30 minutes! In fact, we made three small Christmas Trees in less than 30 minutes. Once you have your supplies, you can create these trees in minutes.
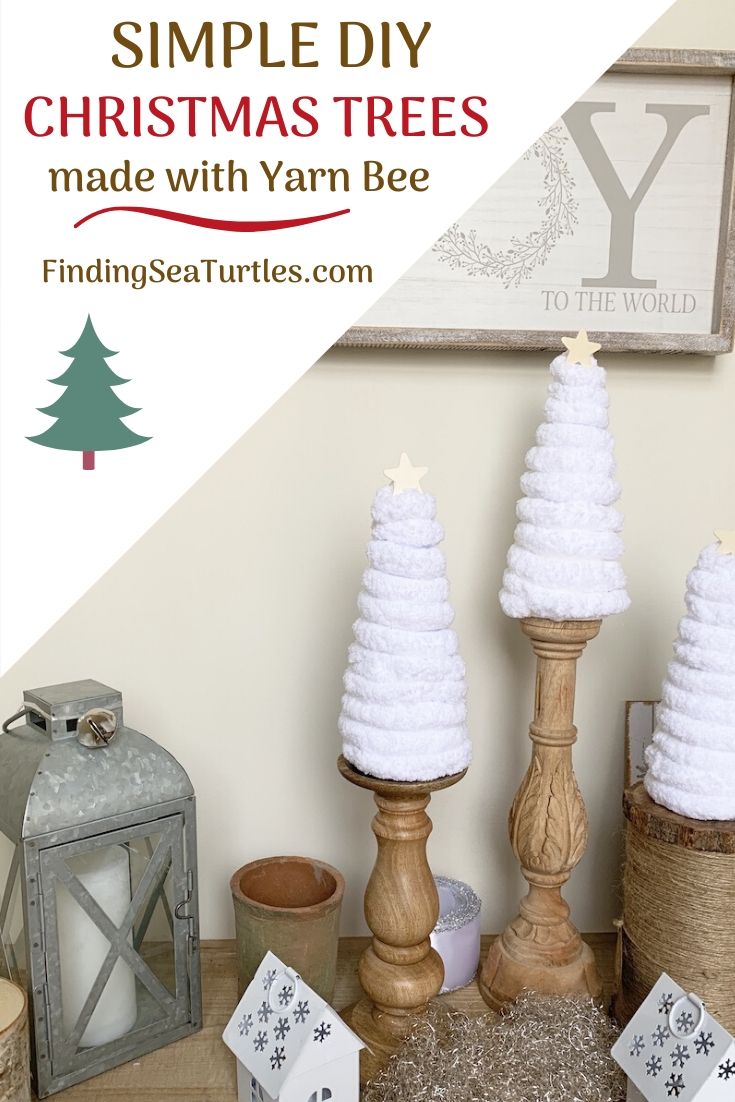
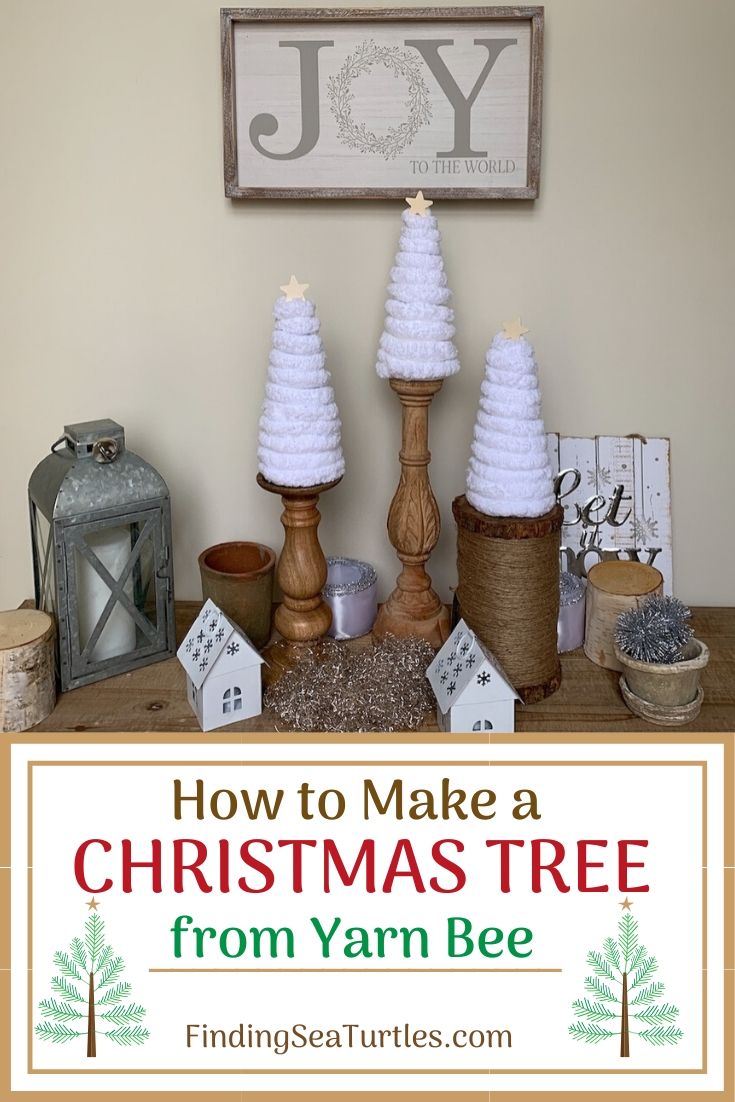
Take a look at these small white trees. Perfect for a Winter Wonderland vignette.
-
Gather Tree Supplies to Make Tree with Yarn Bee
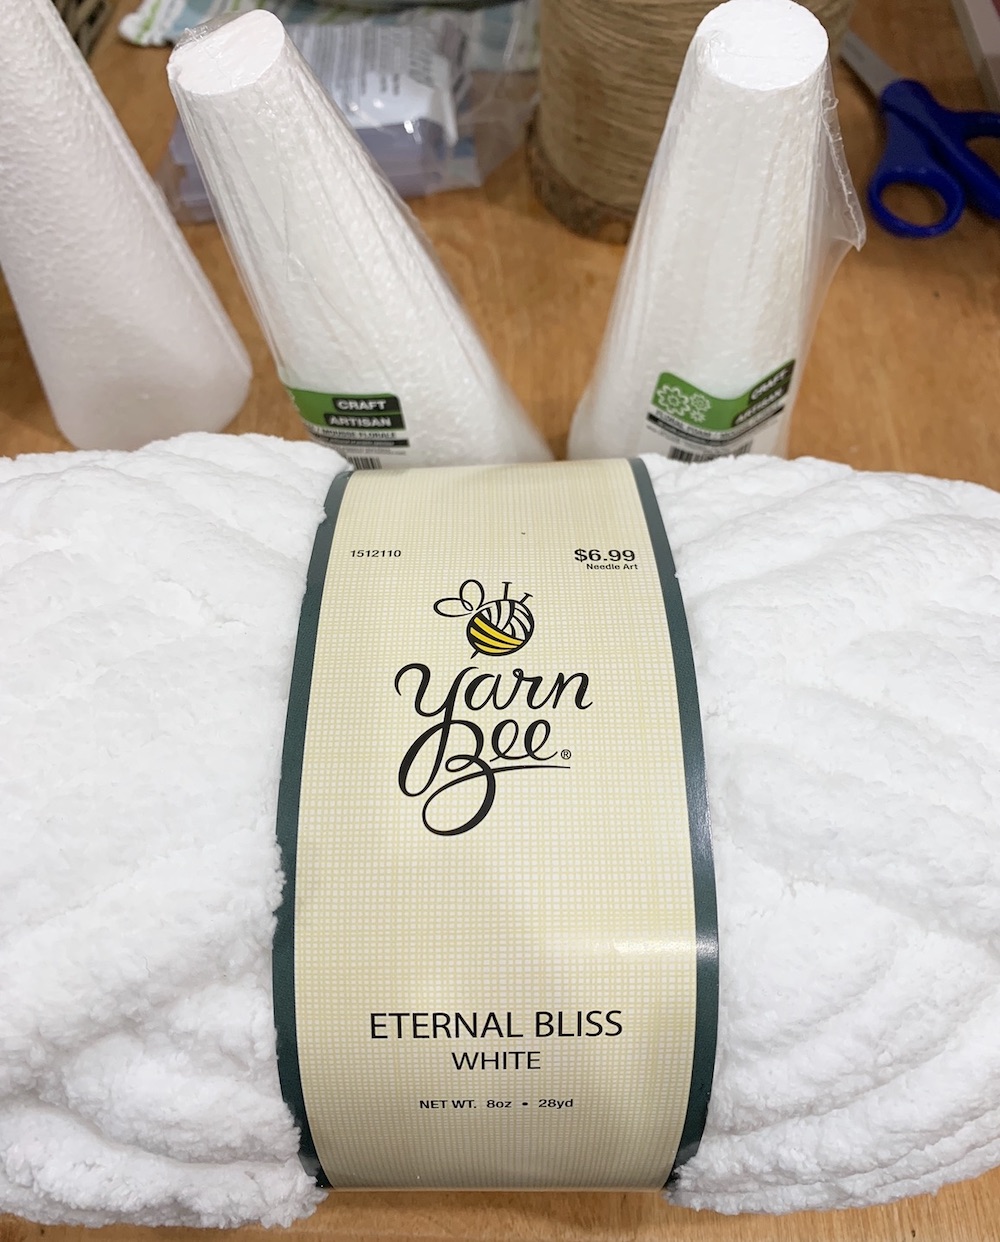
For a set of three small 8 to 9 inch Christmas trees (finished size), you’ll need these supplies.
Supplies:
Yarn Bee in Eternal Bliss White color (100 percent polyester) or any color that you’d like
Styrofoam 8 inch cones (we used three small Dollar Store cones)
7 to 8 Glue Sticks (regular size)
Glue Gun
Scissors
Optional Supplies:
Wooden Stars for the Tree top. Or use Miniature Ornaments to embellish the tree. And of course, you can always add an old tree branch to the base of the styrofoam cone tree. Then add a base to the other end of the tree branch to stabilize the tree. This will elevate the Christmas tree.
2. Glue Yarn Bee to the Cone
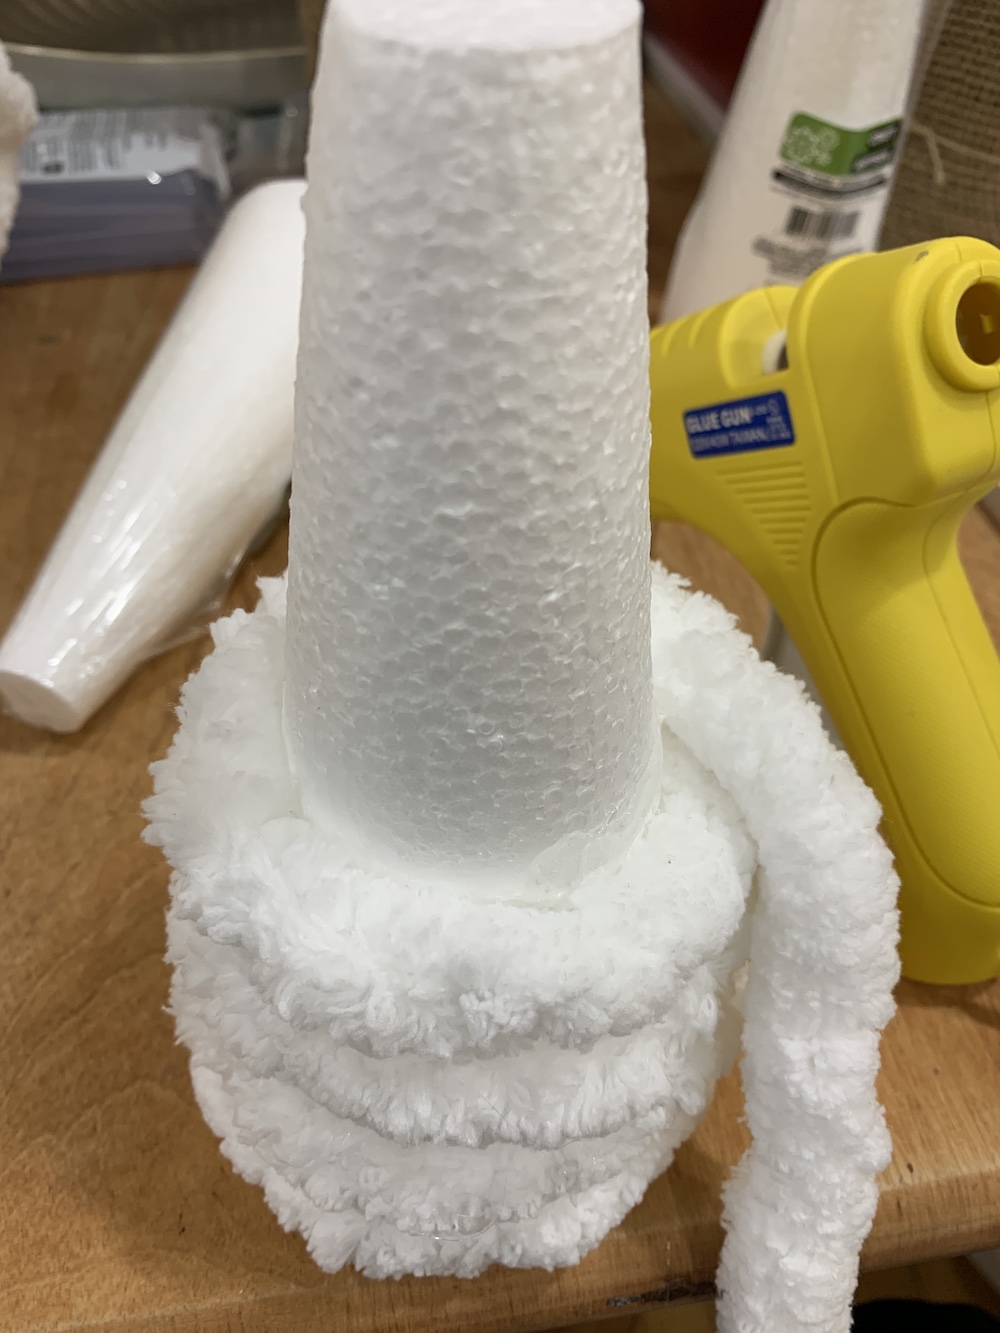
Connect the glue gun to the power source. Remove the wrapping from the styrofoam cones. Once the glue is heated, squeeze hot glue to the base of the cone. Place Yarn Bee over the hot glue on the cone. Rotate the cone adding glue to the cone. Then place the yarn over the hot glue.
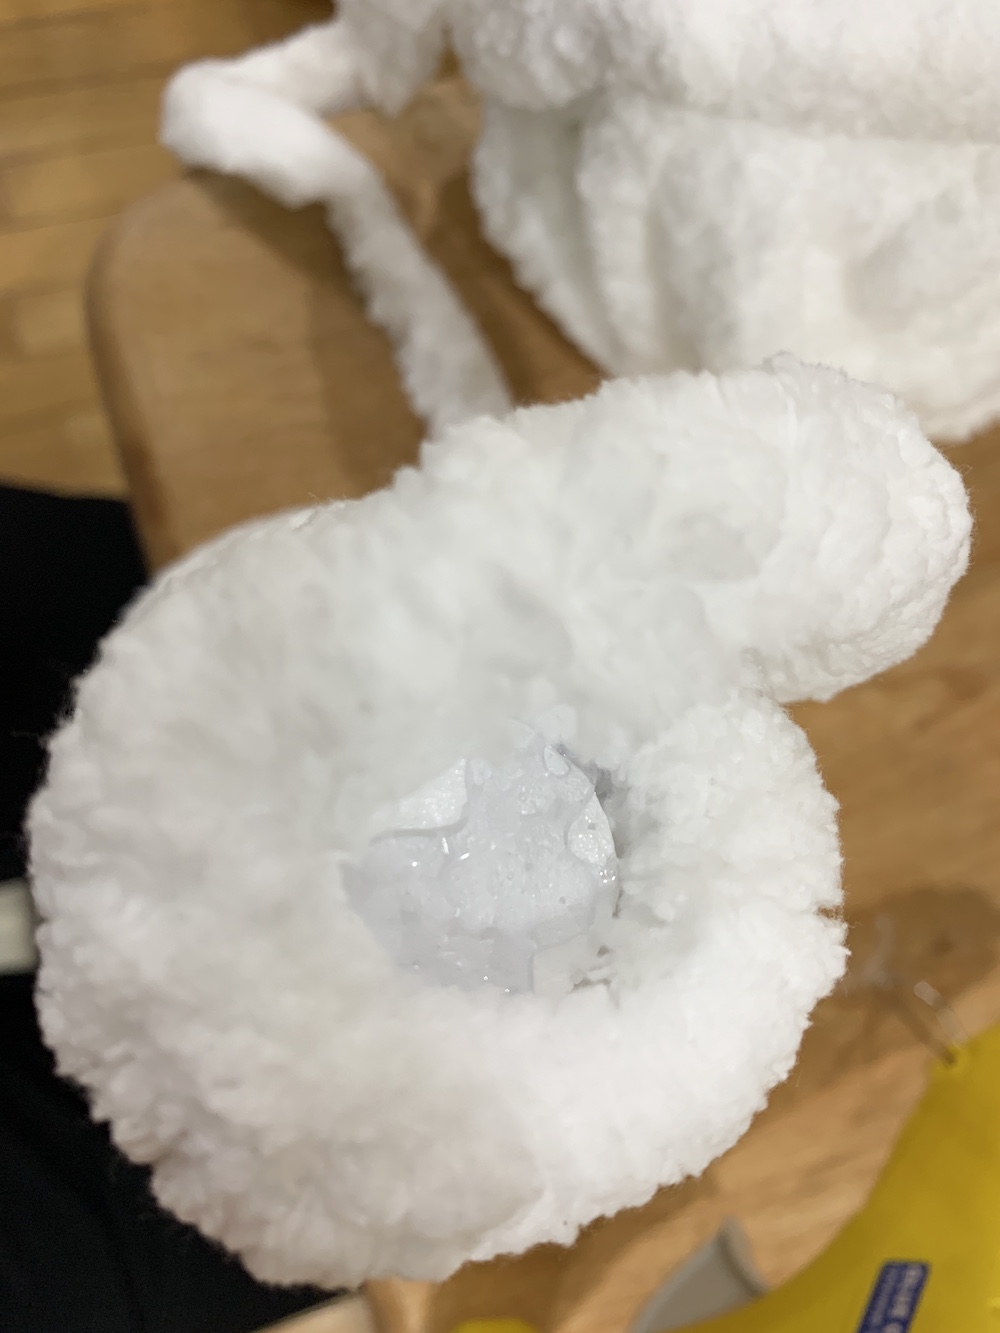
Continue adding the glue and yarn to the foam cone. Stopping about ¼ inch from the top of the cone. Be sure that you don’t leave any gaps exposing the styrofoam between the yarn strips. When you reach the cone top, snip the yarn about one inch longer than what is needed. At the cone top, curl the yarn around, add glue then tuck the yarn end in the center of the tree top. The tucked in yarn should form a small peak.
Allow trees to dry between one to two hours before handling.
3. Decorate the Christmas Trees
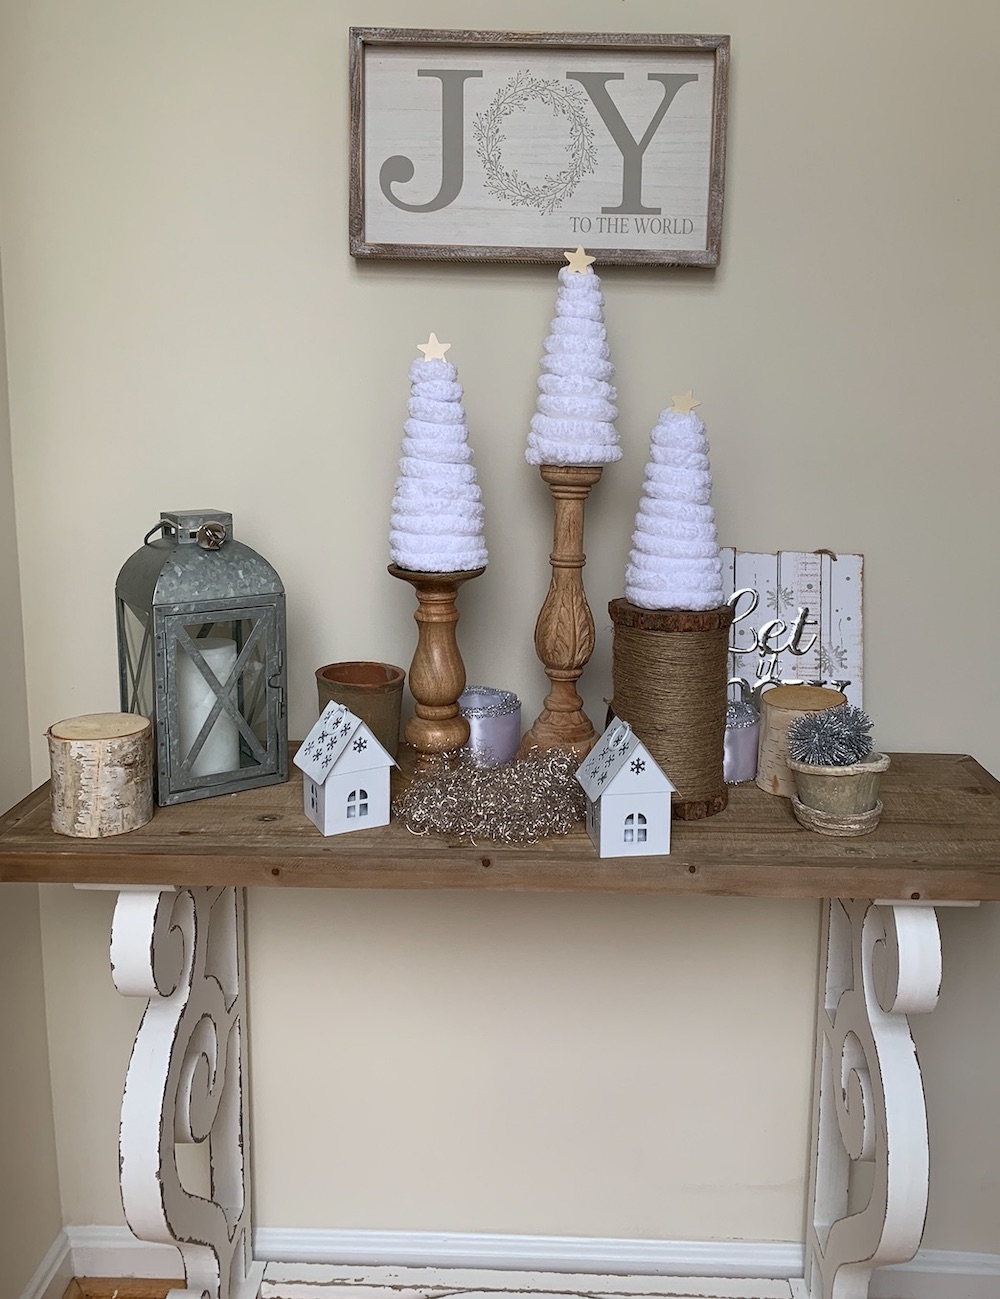
Add as many embellishments as you like or have time for. Add wooden or craft stars to the tree top. We added wooden stars to the tops of the small white Christmas trees. We bought our wood stars at Michael’s for $3.99 (about 130 pieces).
Decorating with small shiny ornaments or garland give the trees a more festive look. Attach these embellishments with a glue gun. And be sure to allow the tree to stand undistributed for an hour or two before handling.
We love neutral colored decor for our home. These three Christmas trees look beautiful in our vignette. Ultimately, we only added a wooden star to the Yarn Bee Christmas trees. This was in keeping with a neutral Farmhouse decor. Simple and so easy!
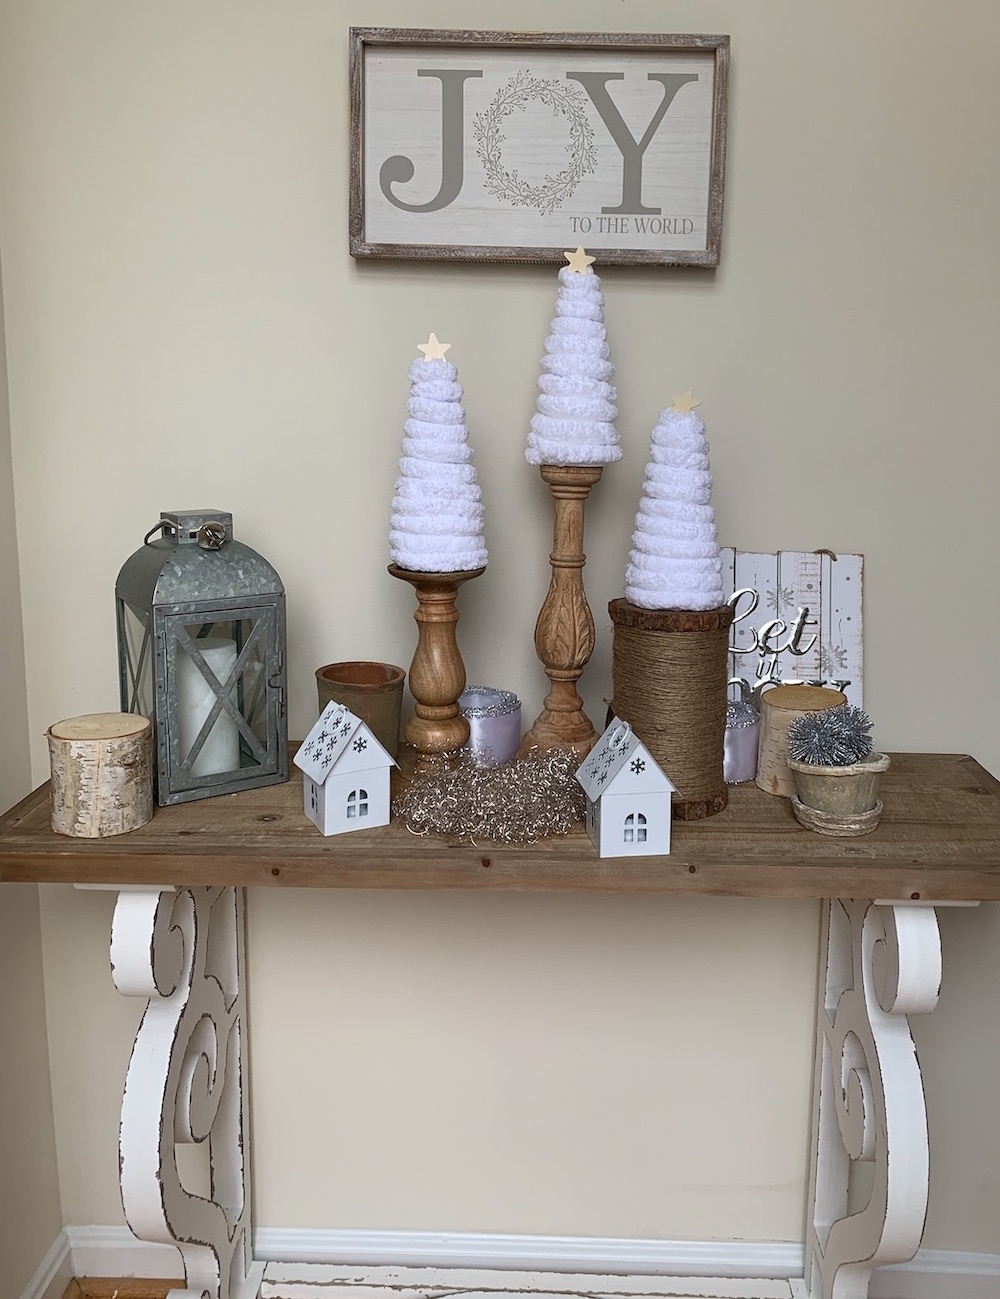
This is what the three white Christmas Trees made from Yarn Bee look like.
Nice and full trees with the Yarn Bee yarn. The Eternal Bliss White works really well with the neutral rustic decor look of the console table. Each tree cost less than $3 to make. The most expensive part was the $1 styrofoam cone from the Dollar Store.
We are really pleased with the way the trees turned out. Perfect for a Winter Wonderland vignette. Do you have any Christmas trees that you have made? We’d love to hear about your DIY Christmas projects.
Enjoy our other home decor related posts.
Rustic Christmas Lodge Accessories for the Home
37 Affordable Christmas Accents
30 Farmhouse Christmas Decorations to Celebrate the Season
If you have any questions, feel free to reach out to us. We always are ready to help you out. Thank you for stopping by.
Mary

