How to Plant Spring Bulbs to Maximize Curb Appeal
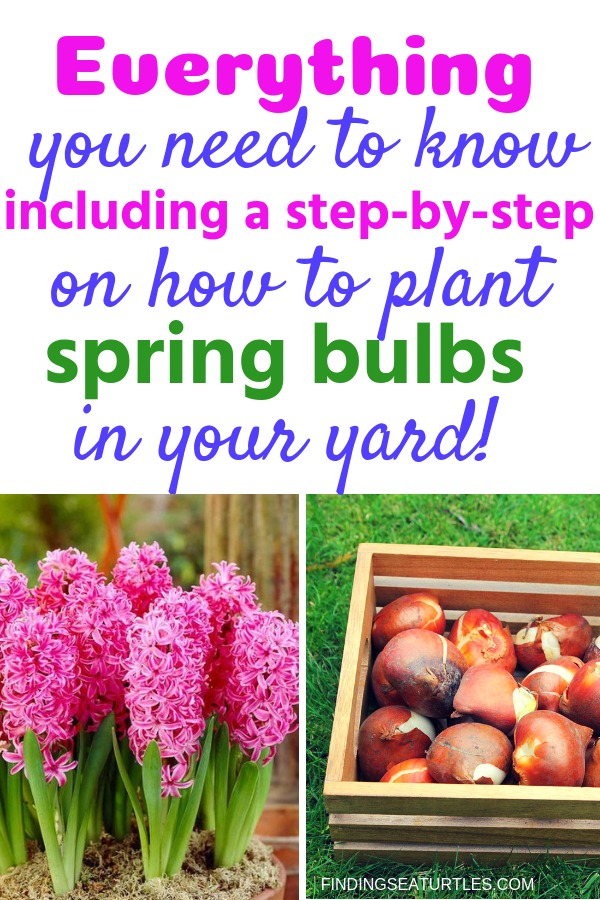
For a quick way to maximize your curb appeal, why not plant Spring bulbs to welcome Spring? A quick and easy way to get that Welcome Spring look at home is by planting Spring blooming bulbs. If you are a new or recent homeowner and are wondering how to plant Spring bulbs, well we can help you with that. It’s an easy curb appeal project that homeowners can do themselves. Planting Spring bulbs is a budget friendly way to add curb appeal especially after a sometimes long, harsh Winter season. For Spring blooming bulbs, plant Spring bulbs the previous Fall. You’ve may have noticed Spring bulbs on Sale in mid Summer. This is a great time to pick up some Spring bulbs on sale and many for less than $10.
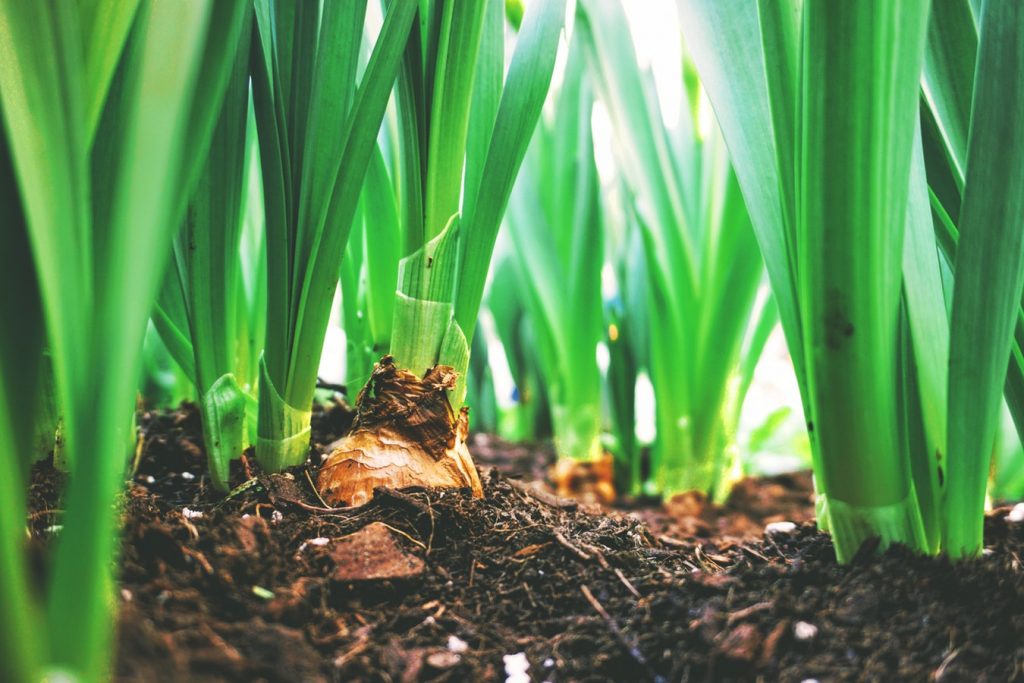
Spring bulbs planted in the Fall are cold hardy or cold tolerant. Hardy Spring bulbs such as Alliums, Crocuses, Daffodils, Hyacinths, and Tulips can survive the Winter season below ground and rely on the Winter cold to remain in a dormant state for a certain period of time until they can grow.
In a warmer climates, plant Spring bulbs in late October or early November once the soil has cooled. If necessary, store Spring bulbs in a cool area before planting. If you store them in the refrigerator be sure to store them in a lidded container away from fruits and vegetables that may release gases that could harm the Spring bulbs.
In a cooler climates, plant Spring bulbs in the Fall according to the bulbs instructions and as soon as you are able to. Before the ground freezes for the Winter season.
Before Planting Spring Bulbs, Think About Your Design
You may have some thoughts on where you’d like to plant your Spring bulbs in your yard. Planting Spring bulbs around the base of a freestanding mailbox, around boulders, in front of a fence, in garden beds, or by a garden gate can really make a difference in your overall landscape. It is best to have an idea on how the bulbs will be laid out.
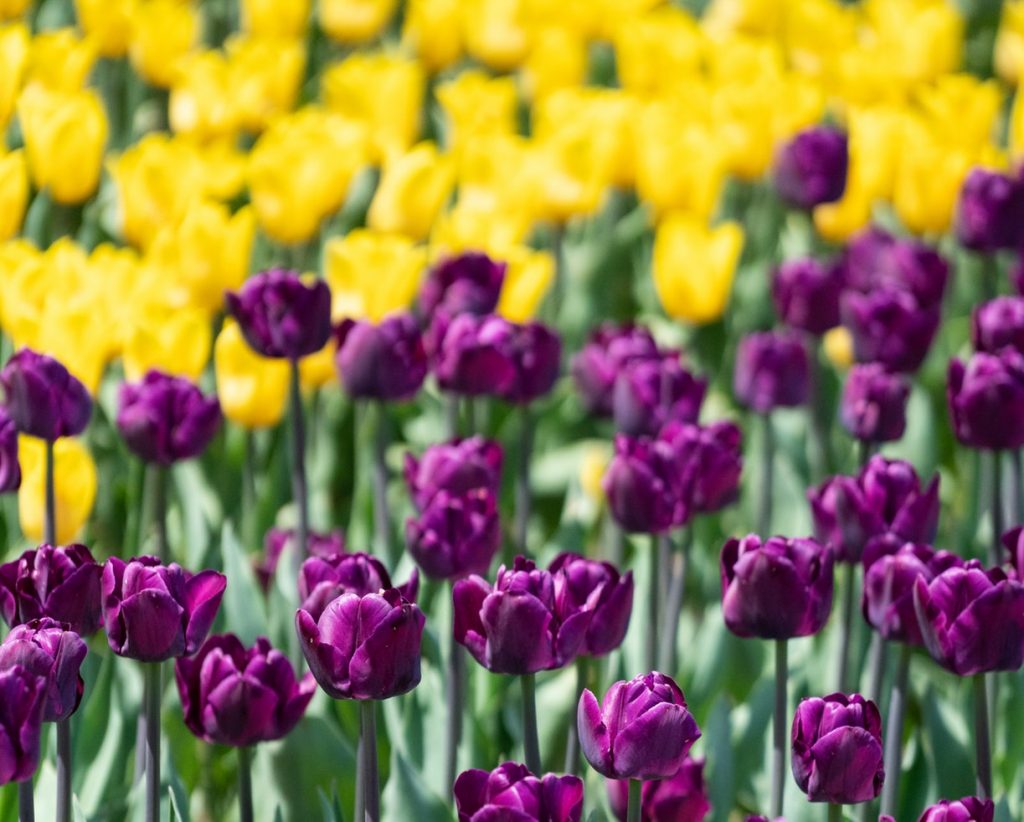
Rather than planting Spring bulbs of the same color and type in a neat and tidy single row, you’ll make a greater impact by planting them in a group. It is more desirable to plant Spring bulbs in a group or cluster which gives a better visual effect than planting them in rows. A grouping of same color bulbs delivers the highest color impact than a single planted Spring bulb.
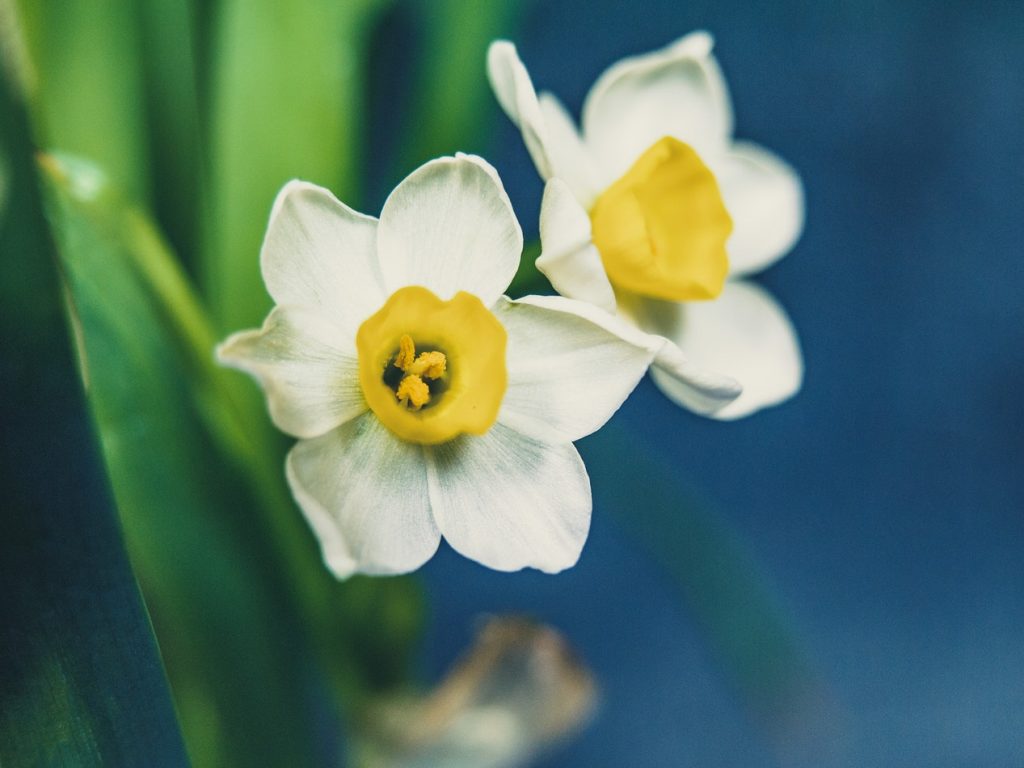
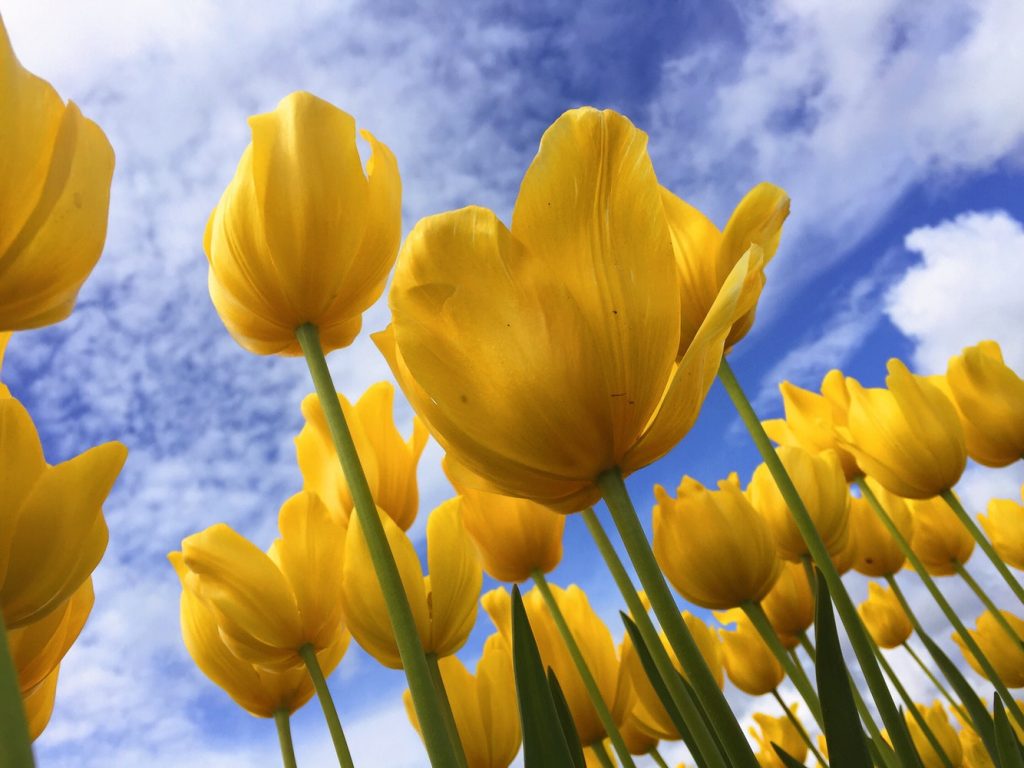
When using a variety of bulbs, you’ll need to carefully design or even sketch a layout of your bulbs. Since different bulbs bloom at different times and are different heights, you’ll need to give your plan some thought. For example, Crocuses are low growing and one of the first Spring bulbs to bloom. Crocuses when blooming are about 4 inches tall and bloom in early Spring which is some time after March 20th. Daffodils or sometimes called Narcissus such as Narcissus Minnow bloom in April and are between 5 and 6 inches tall. Planting Crocuses with Narcissus Minnow may not be the best effective way to add Spring color to your garden since the two are so close in height. It might be better to plant Crocuses with Tulips or taller Daffodils that bloom at a later time.
Garden Tools and Supplies
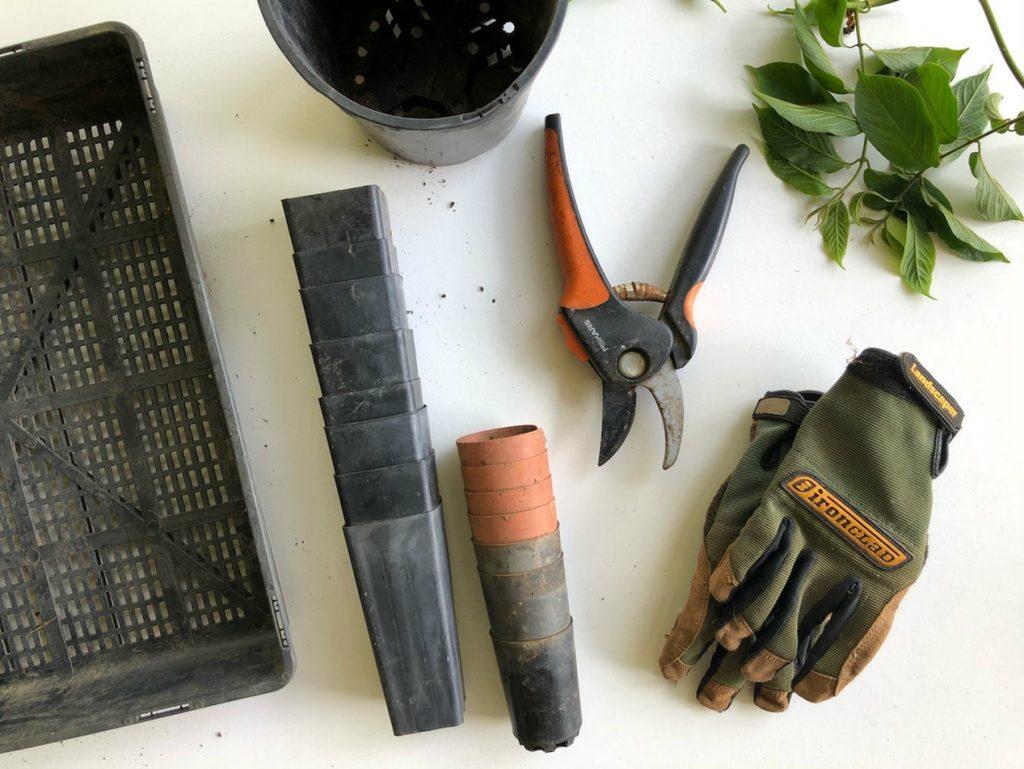
The tools and supplies you’ll need to plant Spring bulbs are: trowel or bulb planter, pair of garden gloves, kneeling pad, compost or fertilizer, and your Spring bulbs.
How to Plant Spring Bulbs – Step by step instructions
Step 1
Check your soil and make sure it is well draining. If you have existing garden beds and know exactly where you’ll plant your bulbs then you won’t need to work your garden soil if it is well draining. If you are planting Spring bulbs in a new garden area, then you’ll need to break the soil and check to see if the soil is well draining. Spring bulbs need soil that is well draining and doesn’t retain excessive amounts of water. If you have clay soil or sandy soil work some sphagnum peat moss and either organic material or compost to your soil. Work the peat moss and compost or organic material into the soil about 8 to 10 inches deep. Add some bulb fertilizer such as Espoma’s Bulb-tone in to the freshly dug hole following the manufacturer’s instructions.
For a quick soil test – pick up a handful of soil and squeeze it tight. If the soil remains in a ball and is sticky, it has a high level of clay. Soil that never clumps and falls apart is light and either silt or sandy soil. When you lift a garden shovel full of clay soil it is noticeably heavy whereas sandy soil is lighter and readily falls off your shovel. Well draining soil that has organic material has a medium weight and forms smaller clumps of dark soil.
If you do not have any compost to add to your garden soil, consider starting one especially if you garden regularly. It is easy to start a compost and can provide you with a fair amount of compost soil for your gardening projects. For us, the best time to start a garden compost is in the Fall because of the large volume of leaves our trees shed. In New England, we have numerous tall massive maple trees which are beautiful and drop many, many leaves in the Fall. Rather than have our town collect our leaves, we compost them ourselves and reap the rewards the following Summer! For instructions on starting a compost, read our post How to Save Money On Soil by Starting a Compost.
In lieu of compost, you can add an organic soil conditioner such as garden gypsum to clay soil. Garden gypsum loosens heavy clay soil which improves poor drainage problems that are common in clay soils. For sandy soil, add an all natural fertilizer such as greensand to bind sandy soil and increase the water holding capacity of sandy soils.
Step 2:
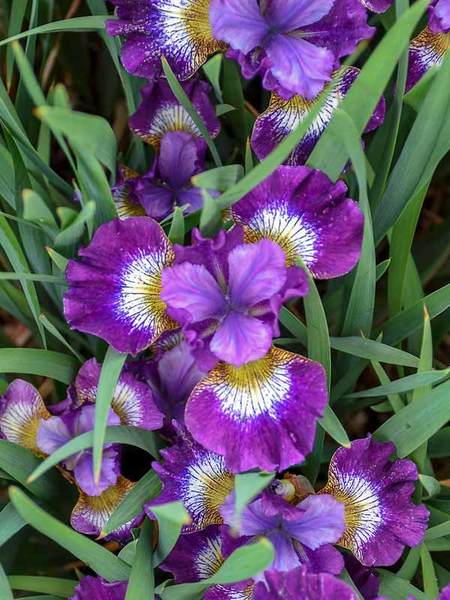
Dig the garden bed or area where you will be planting the Spring bulbs. The depth of the area will depend on the kind of Spring bulb you are planting. Follow the planting instructions for each type of bulb you are planting. Also consider the distance between bulbs for optimal performance. Typically, Crocuses are planted between 2 to 4 inches deep. Hyacinths are planted 4 to 6 inches deep, Tulips between 4 to 8 inches deep, Daffodils between 6 to 8 inches deep, Allium between 3 to 6, Muscari or Grape Hyacinth about 3 to 4 inches deep, Anemones between 2 to 3 inches deep, Dutch Iris about 6 inches deep, and Glory of the Snow around 3 inches deep. These are only guidelines which can help you plan your gardening area depth. The area width will depend on the number and type of Spring bulbs you are planting.
Step 3:
After digging the hole or holes, place bulbs with pointed side up and with roots down and cover with soil. If you have a problem with wildlife in your neighborhood consider placing a mesh cloth over the bulbs to prevent them from disappearing!
Step 4:
After you’ve covered and planted the Spring bulbs, water the area well. Add about 2 inches of mulch over the freshly planted Spring bulbs.
These are 4 quick and easy steps to planting Spring bulbs. Keep your curb appeal fresh year around with this DIY garden project.
After the planting and watering is done, sit back and relax knowing next Spring your hard work will pay off. Every Winter season is different and who knows what this Winter season will bring … in like a Lion out like a Lamb or will it be the other way around? One thing I’m sure of, is that you’ll be glad you planted Spring bulbs especially next Spring! And you have the added benefit of maintaining your home’s curb appeal. If you try our step by step instructions on How to Plant Spring Bulbs, let us know how you make out.
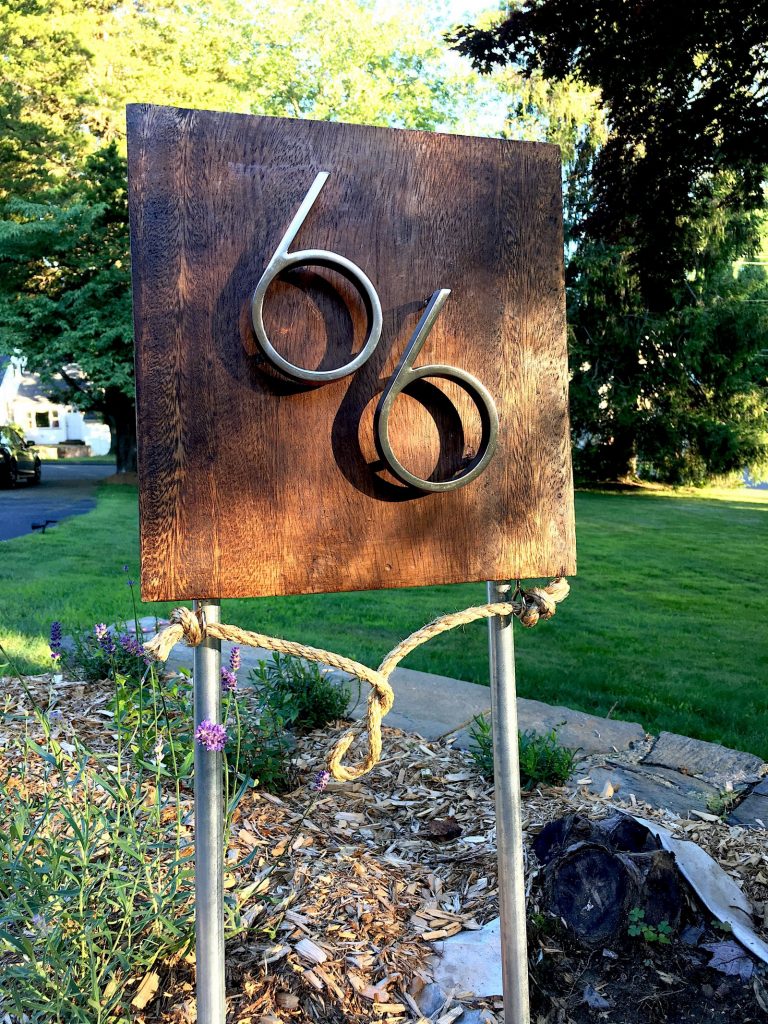
For information on another DIY project, see our post on making a street address sign. Motivated by a notice from our wonderful local Fire Marshal to all town residents, who stressed the importance of having a clearly visible address sign in the event of an emergency. The reminder stated that street address signs should be visible from the street during day and night hours. See our post – Coastal DIY: Mid-Century Modern Address Sign. And another added benefit? The street sign adds curb appeal to our front yard!
For information on Fall annuals to plant now, see our posts 8 Fantastic Annuals to Plant This Fall or for Spring blooming bulbs see 20 Sensational Spring Blooming Bulbs to Plant This Fall! If you have any questions, feel free to reach out to us in the comments below. We always are ready to help you out.

